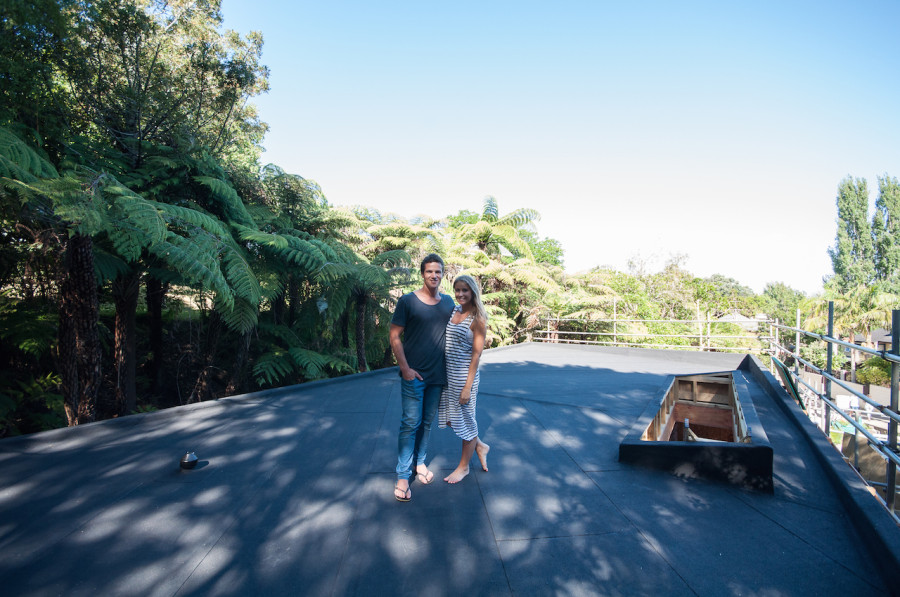
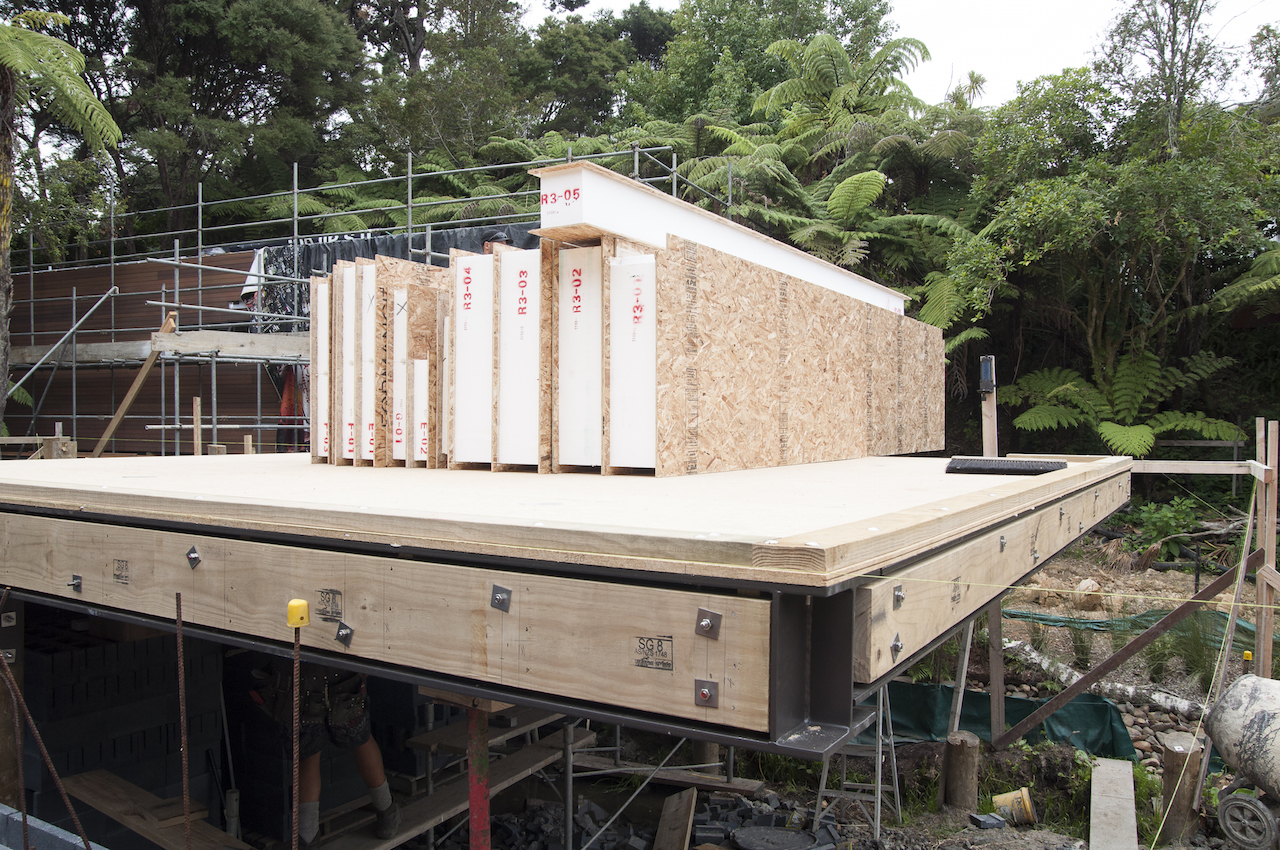
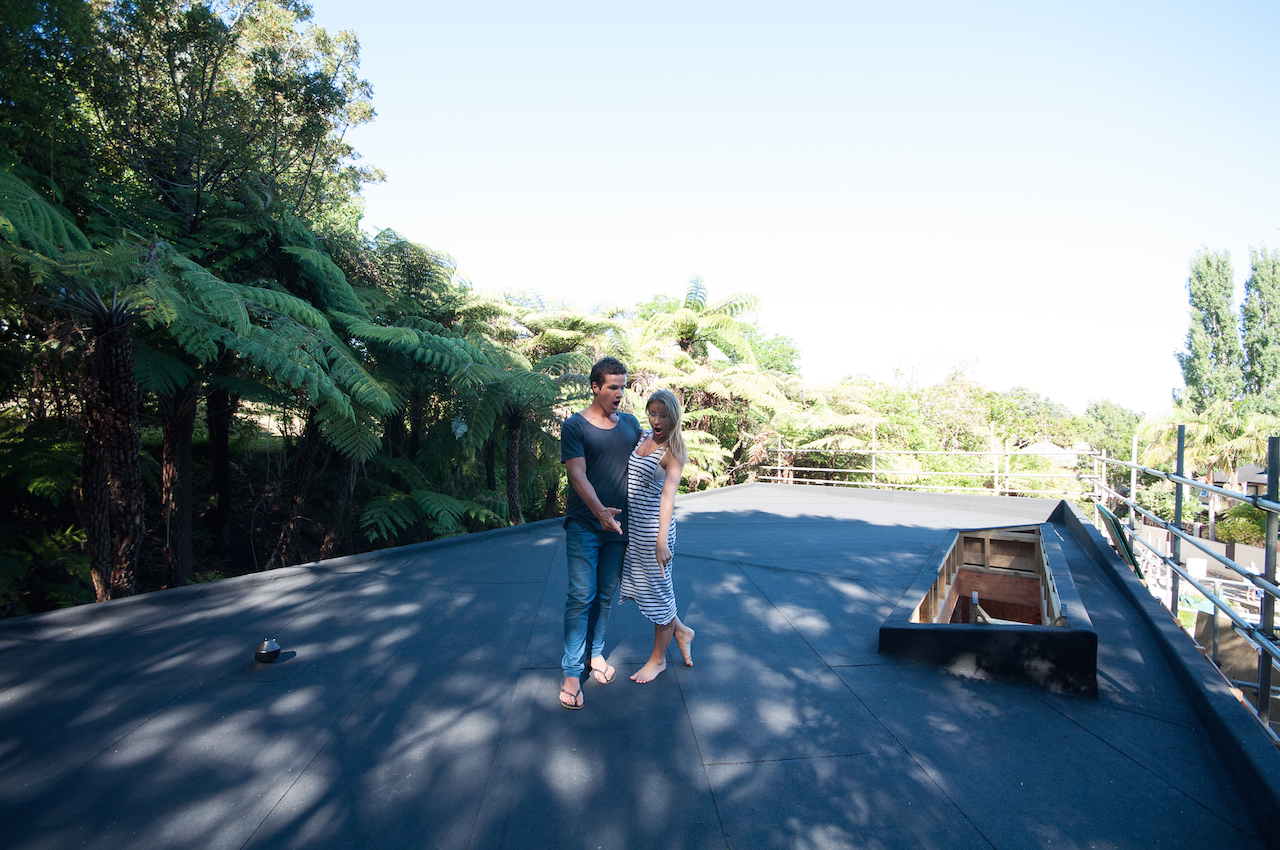
We have a roof – well on the bedroom pod – and damn it looks good!
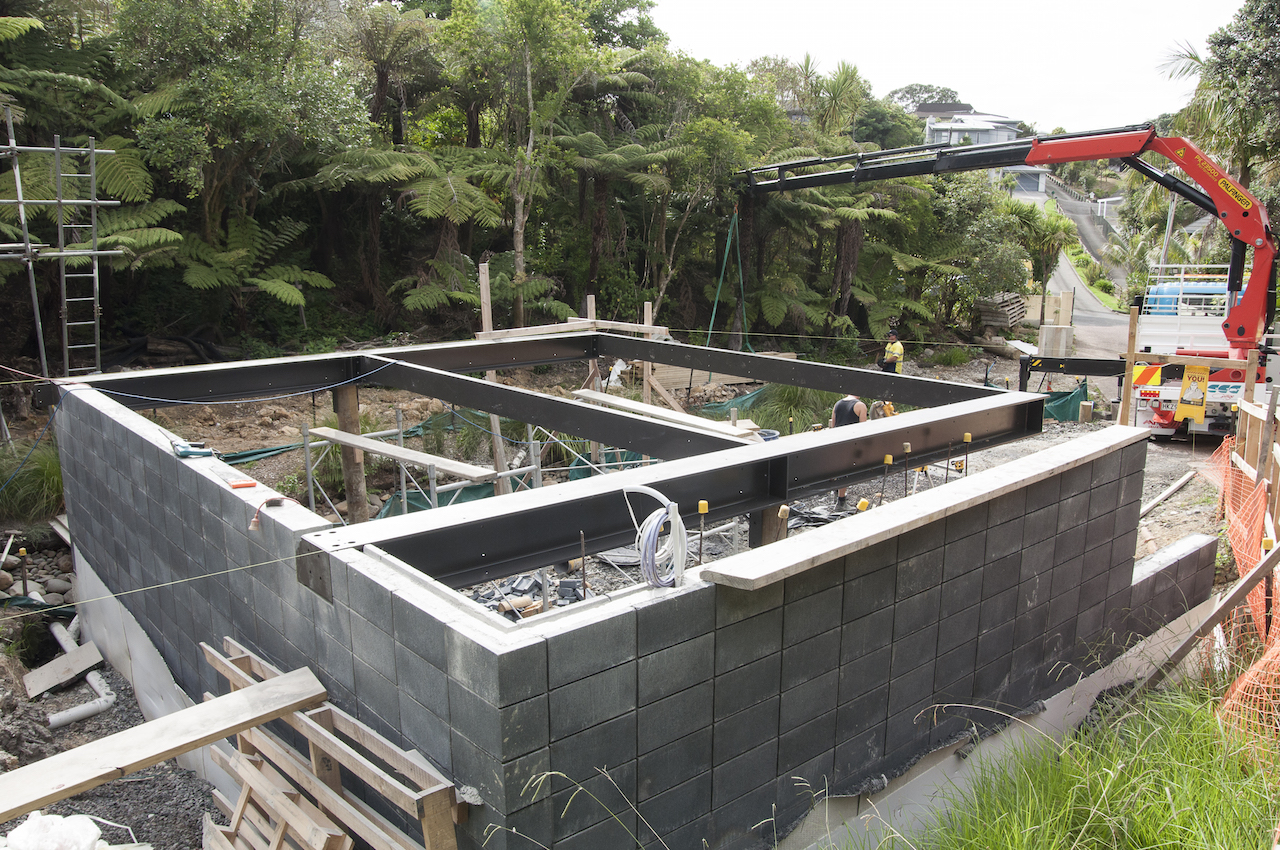
It’s been really fascinating to watch it being built over the past couple of weeks. First our builders constructed the parapet around the top of the pod to provide the illusion of a perfectly flat roof. Then they spent hours crafting the roof’s substructure – creating the falls needed to direct water straight into the gutters – before laying plywood over the top of this intricate framework.
With the structure in place, it was time for Terracon Industries to come in and apply the Nuraply 3PM membrane system that makes the roof watertight and provides it with a striking finish. Terracon were one of three approved applicators that we considered. Kylie and I decided they were the guys for the job after meeting with owner Nigel Campbell in his Albany headquarters to discuss our plans. As well as being flat-roof application experts, we got on really well and clicked straight away, which I think is really important in the build process. And that hasn’t changed since. In fact they are some nicest guys we’ve had the pleasure of working with so far.
Terracon began by applying a bitumen primer over the plywood surface. When the primer was dry, a peel and stick base sheet went down in long lengths, following the pitch of the roof to eliminate the chance of leaks. Then finally, and the most exciting stage to watch, was the application of the bitumen cap sheet with its lovely mineral chip finish.
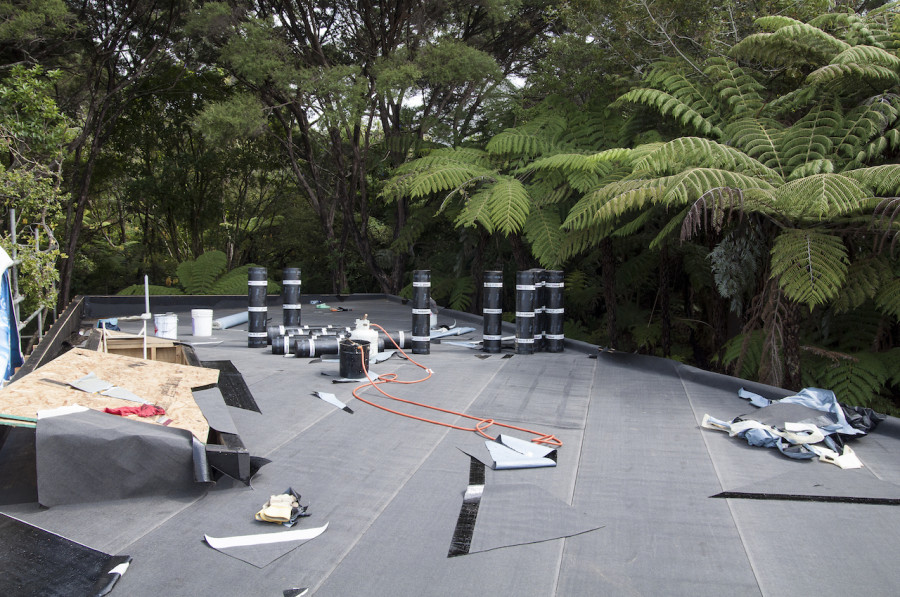
As each sheet was rolled out, it was literally heat welded to the base layer with a gas flamethrower. Quite the spectacle, especially on top of a wooden house in a tinder dry bush setting! With some final detailing work and vents installed, the roof was completed and our bedroom pod was officially watertight. The double membrane layers offsetting each other, forming a bulletproof back up system and providing us with peace of mind even in the heaviest of rain.
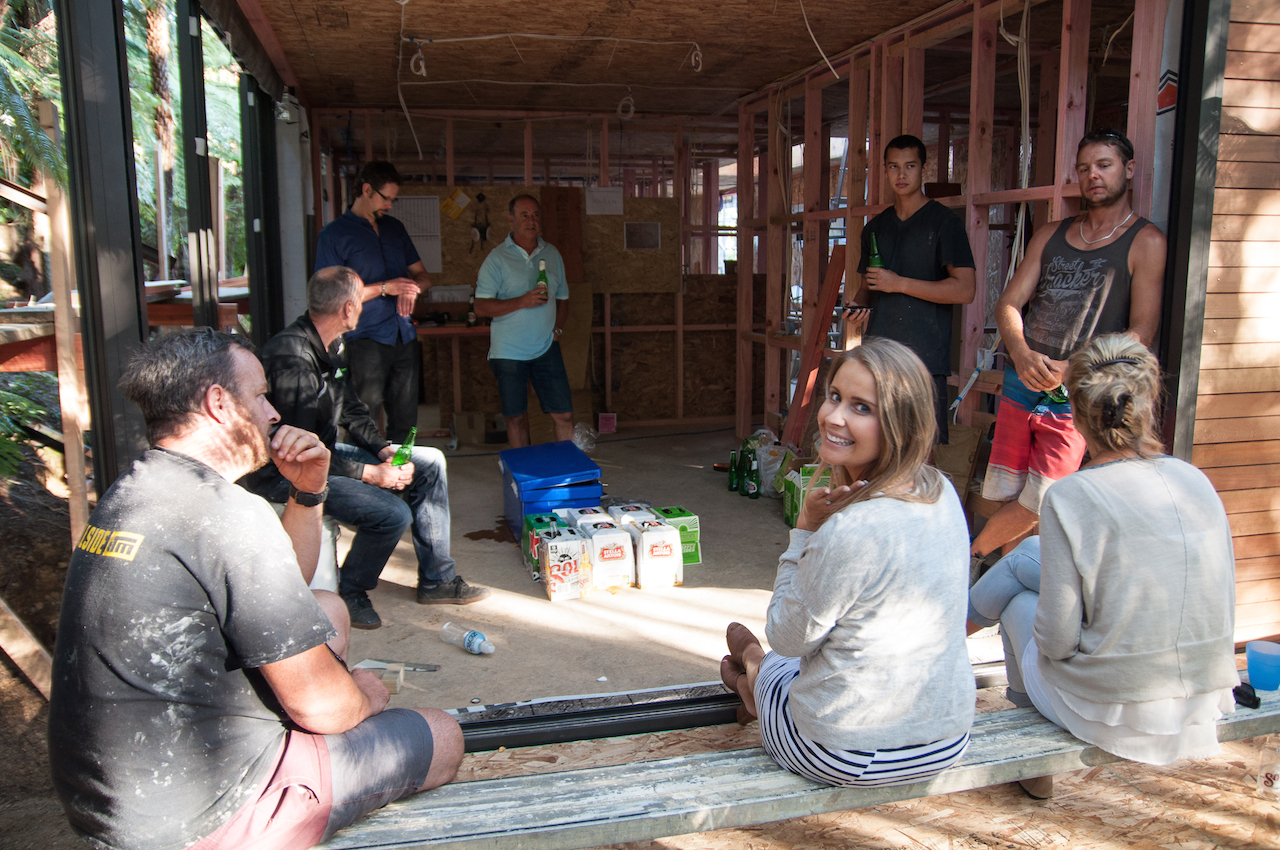
Then it was time for a few beers and the traditional roof shout!
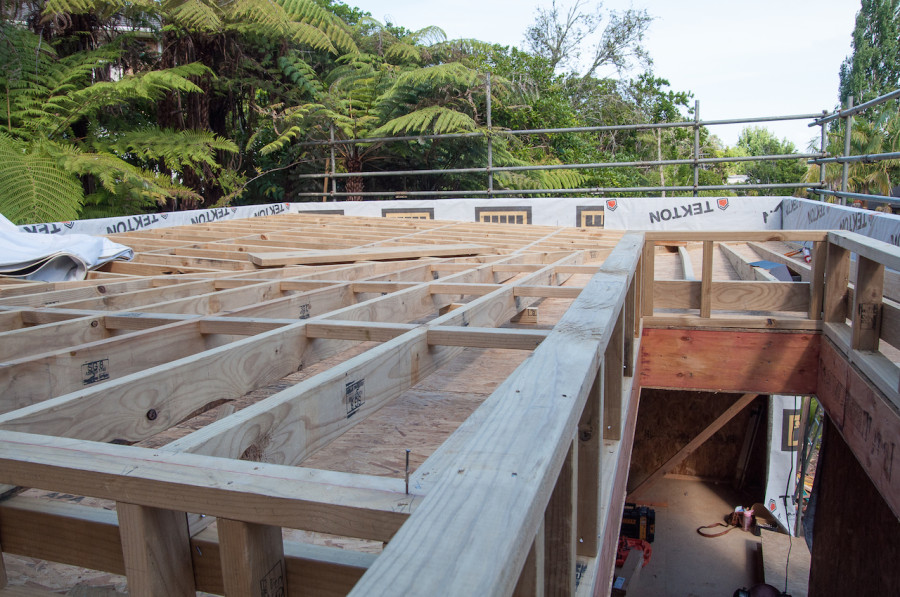
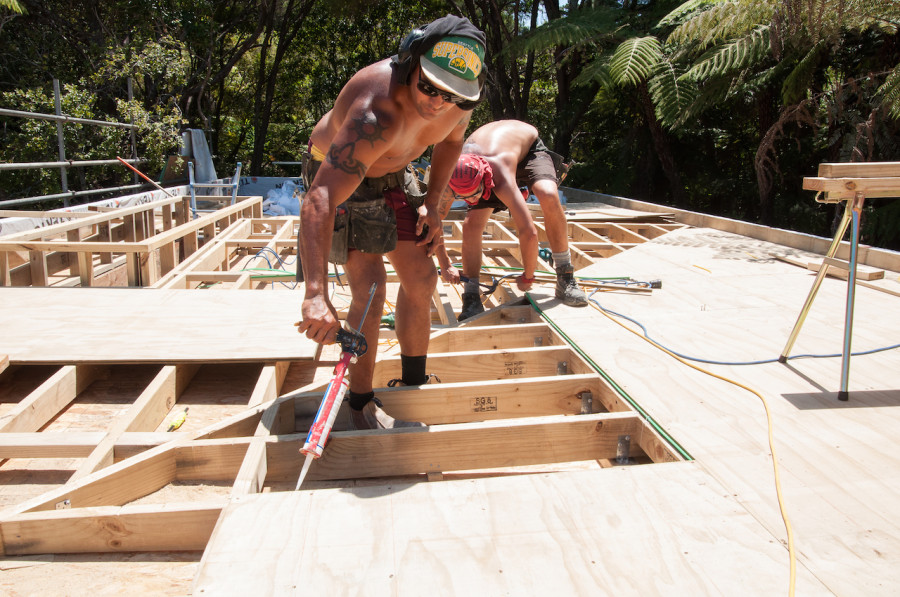
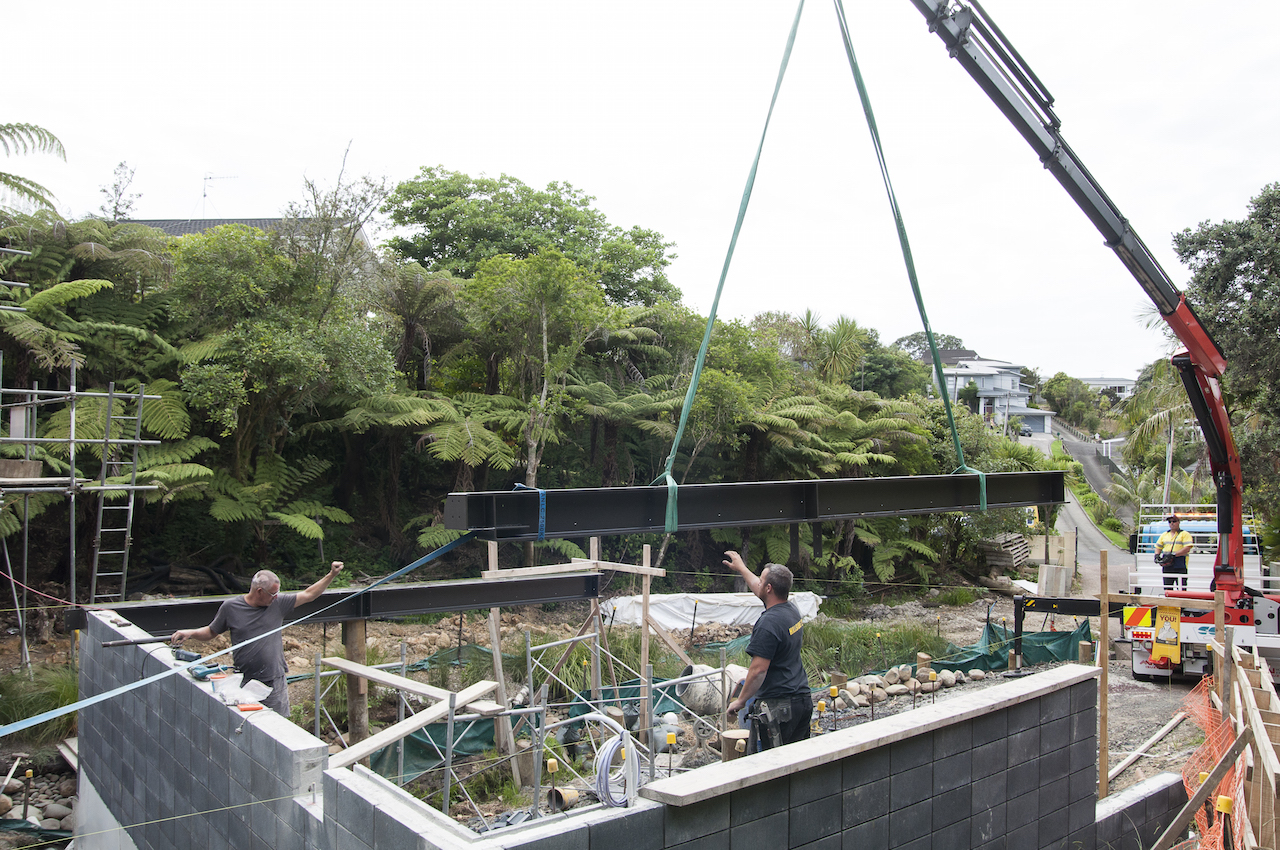
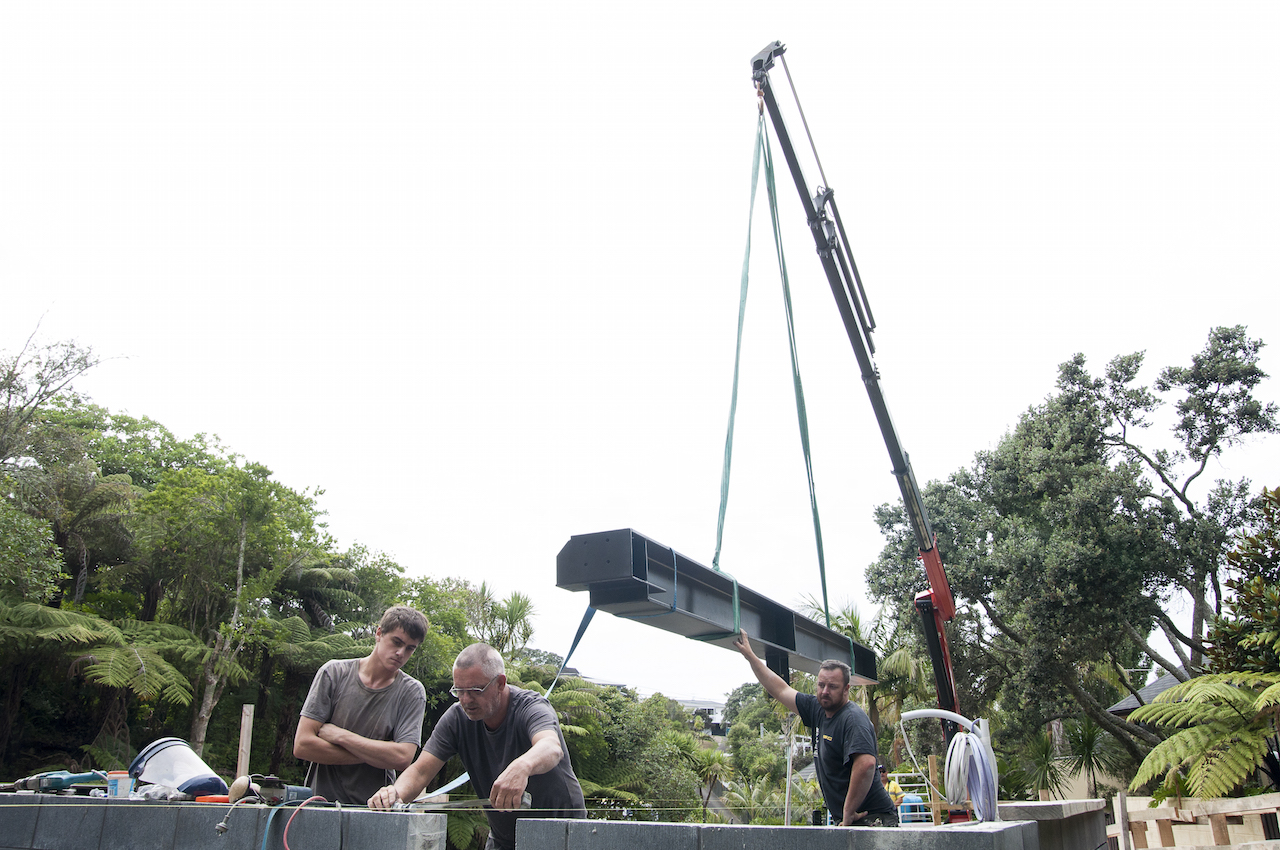
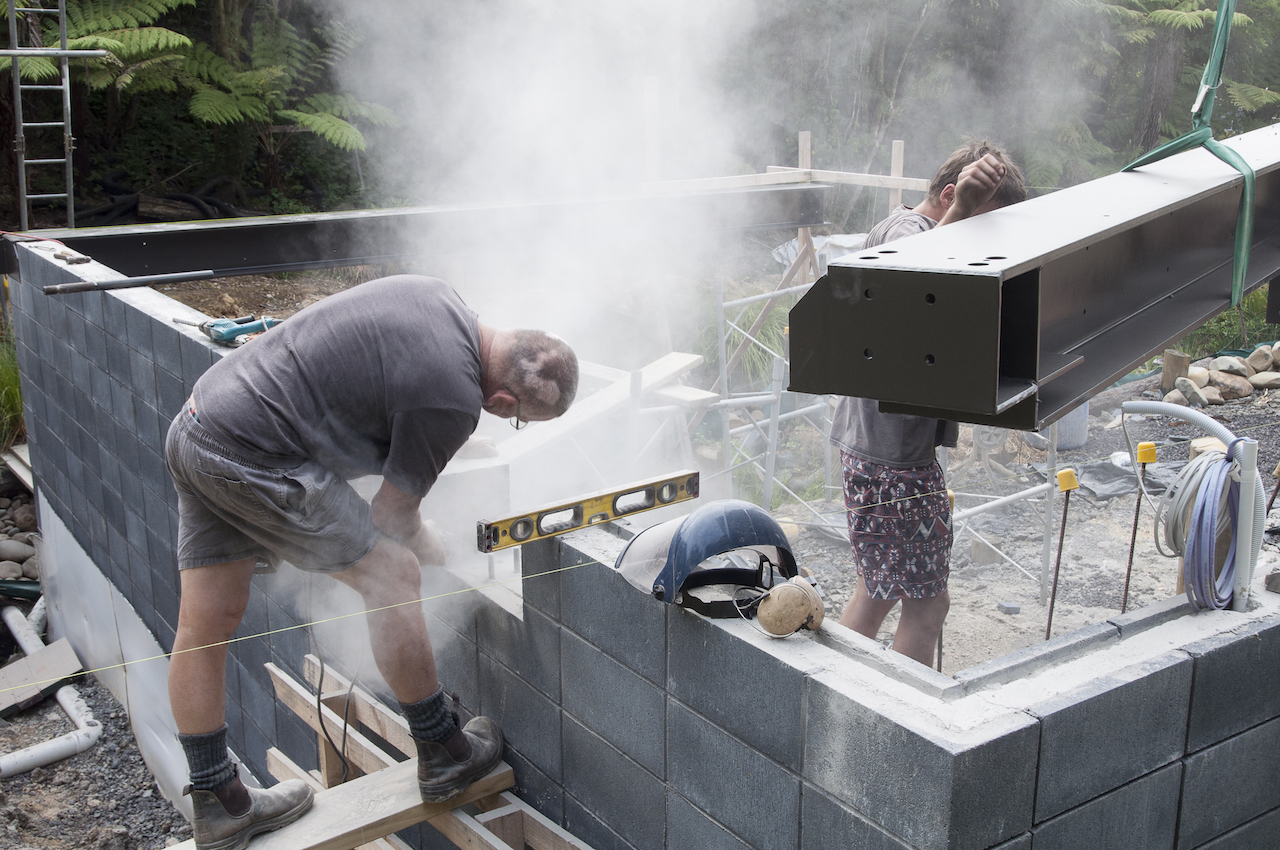
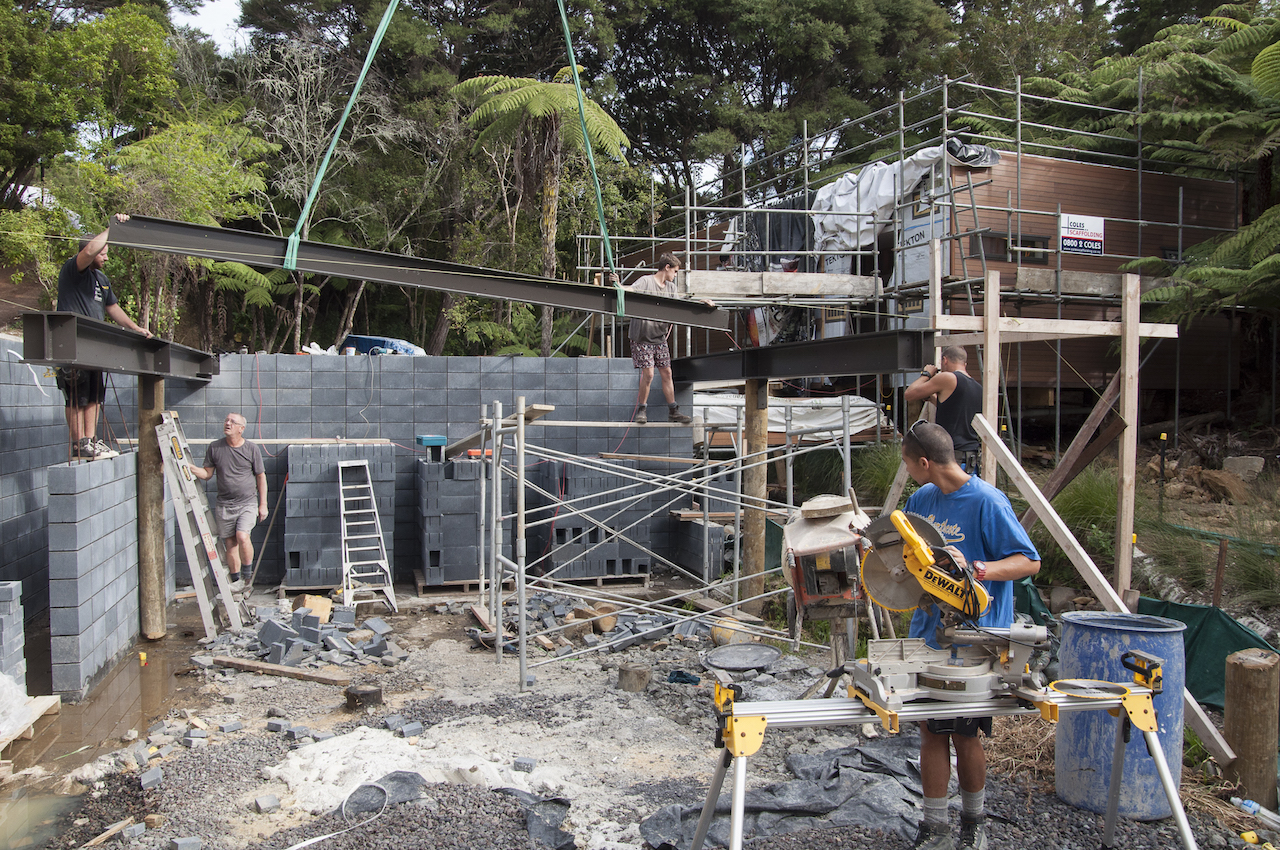
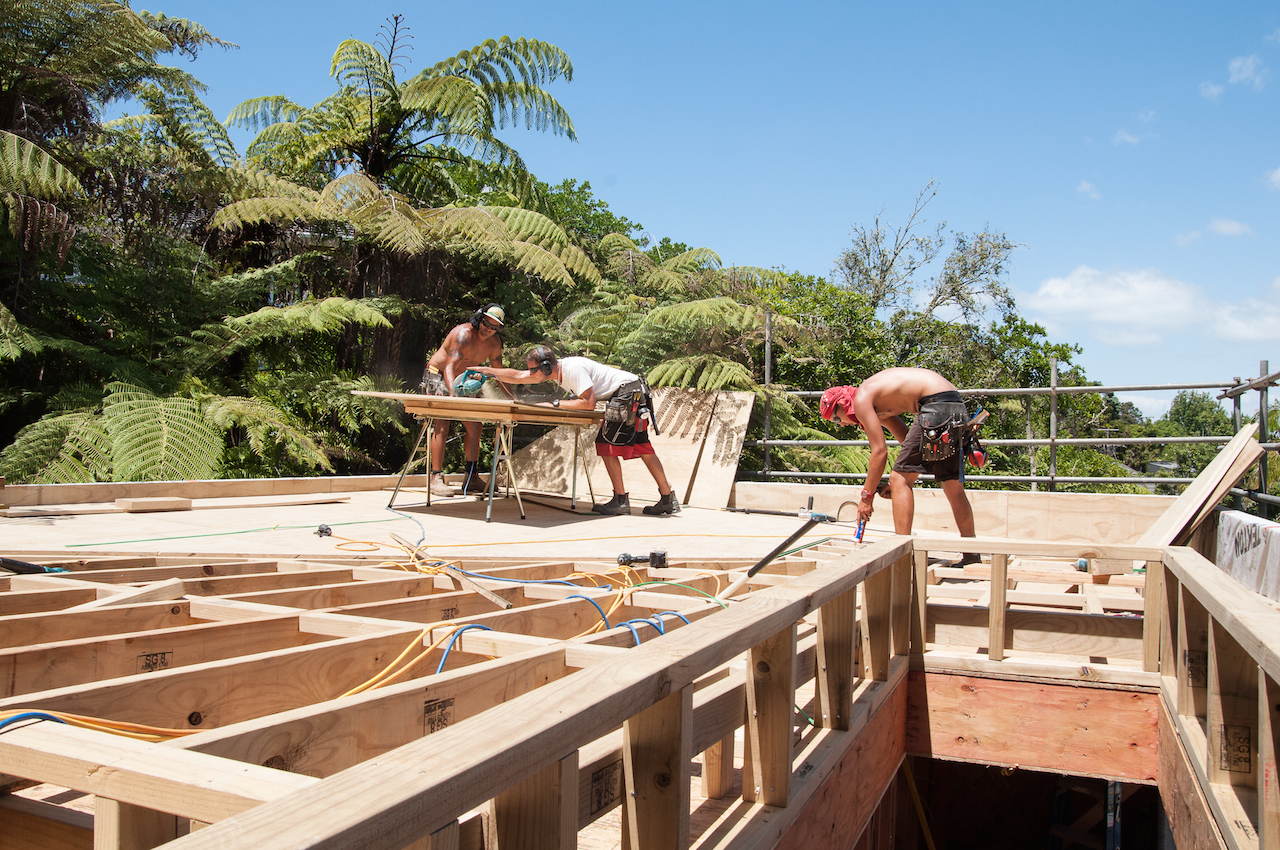
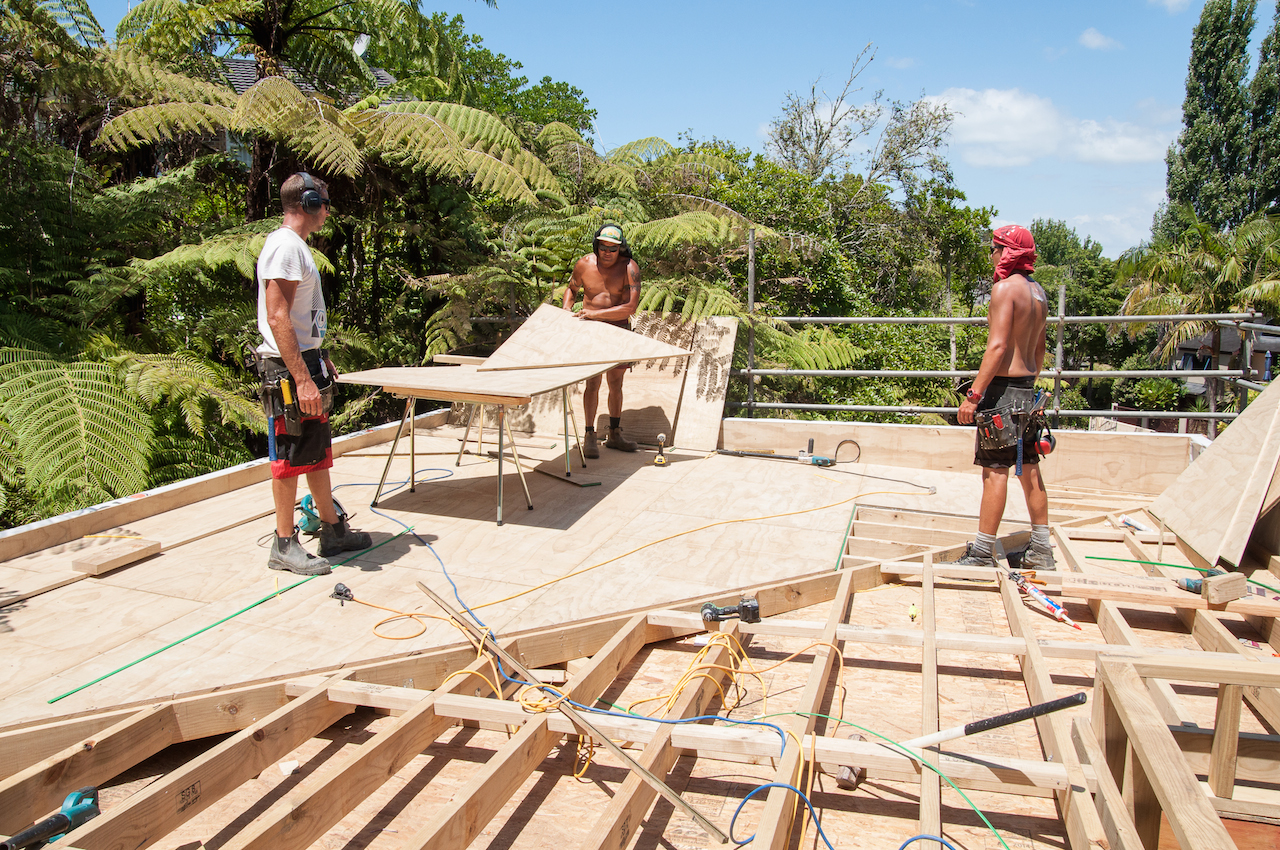
Before the bitumen membrane could be laid, our builders had to toil away creating the substructure that forms the roof’s fall and pitch.

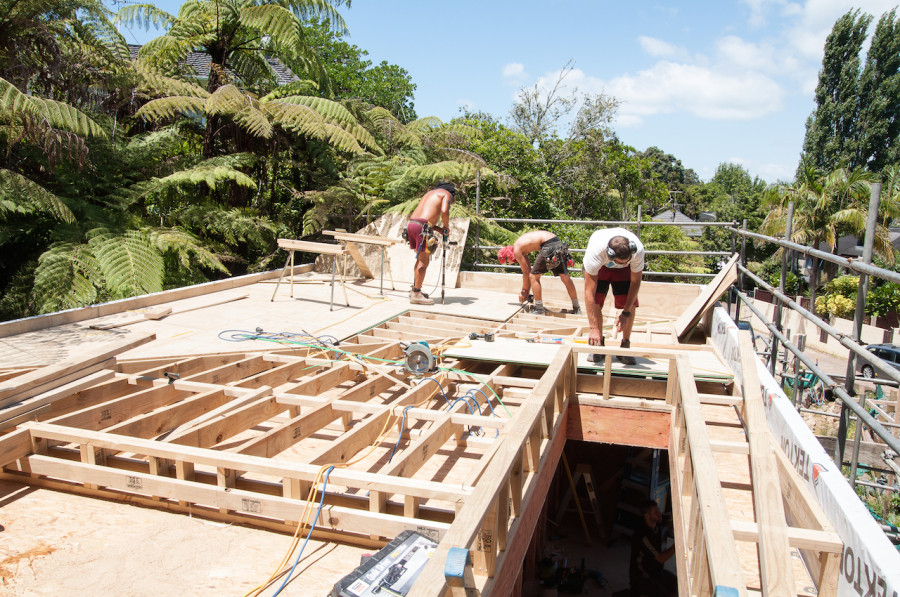
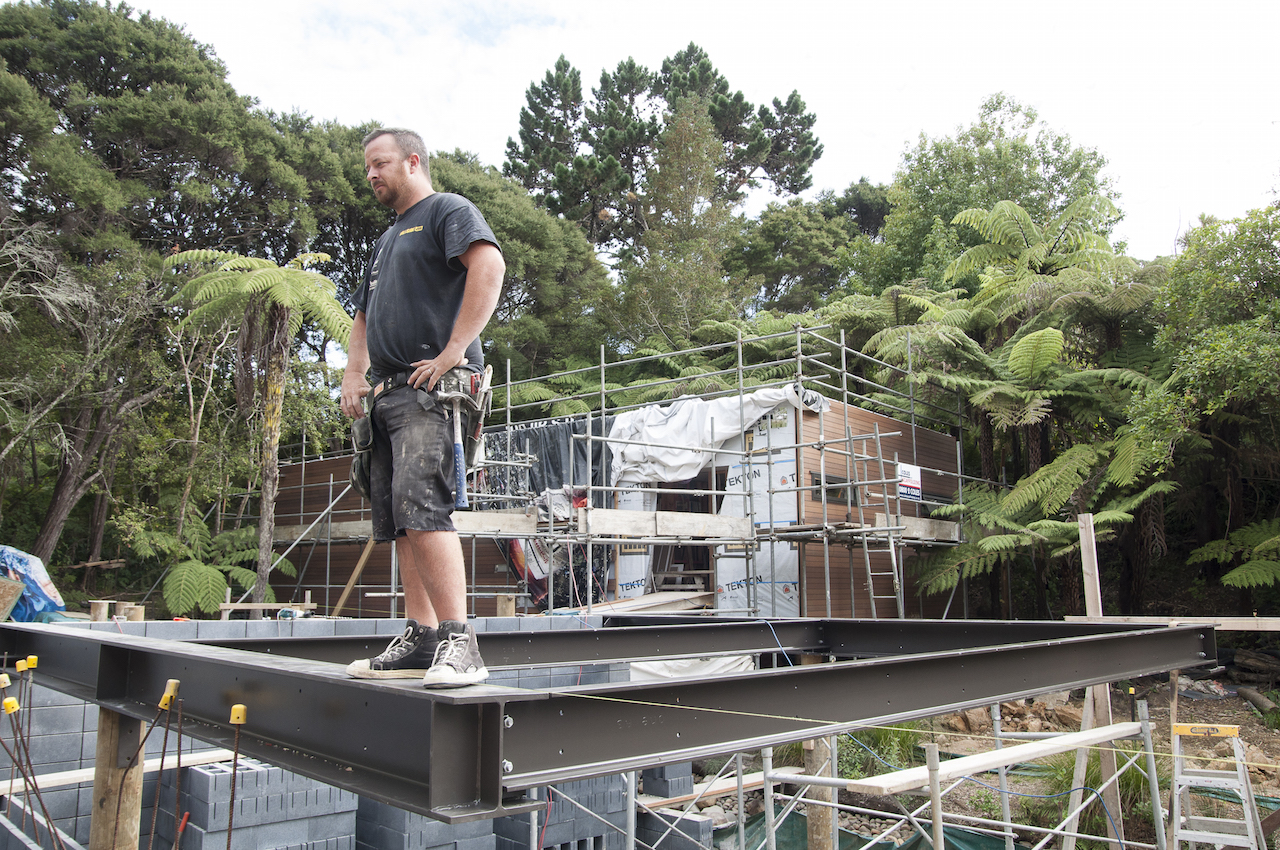
John, Dan and Rawere doing their thing. Damn hot on that roof!
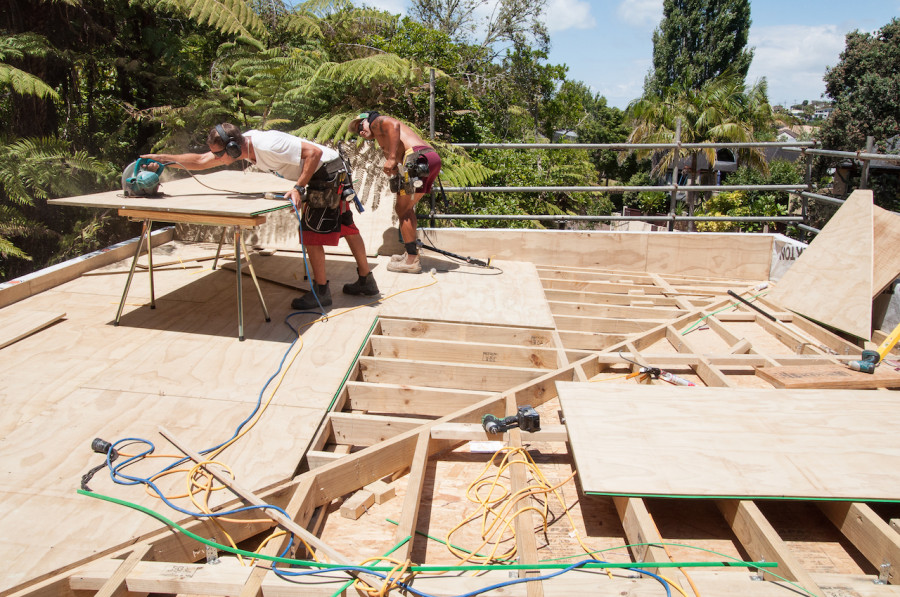


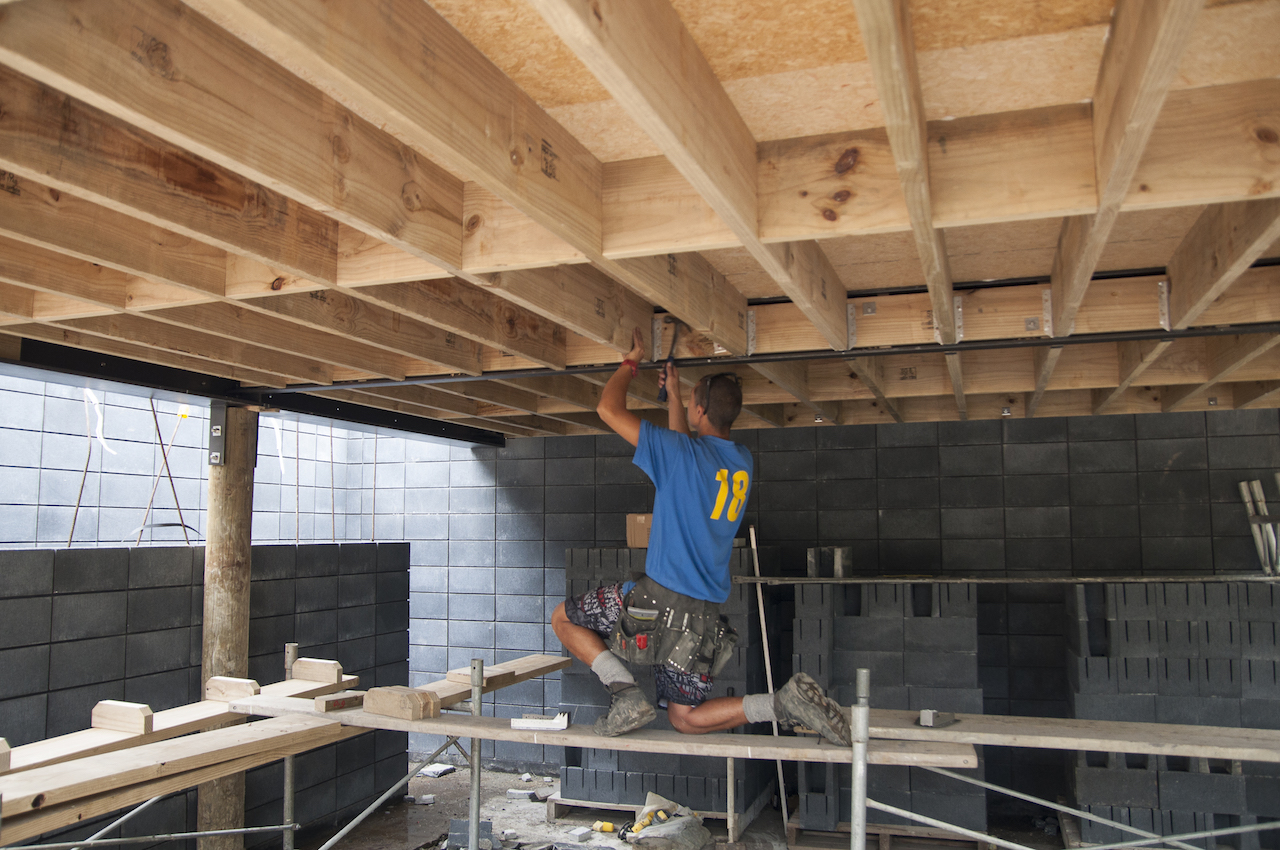
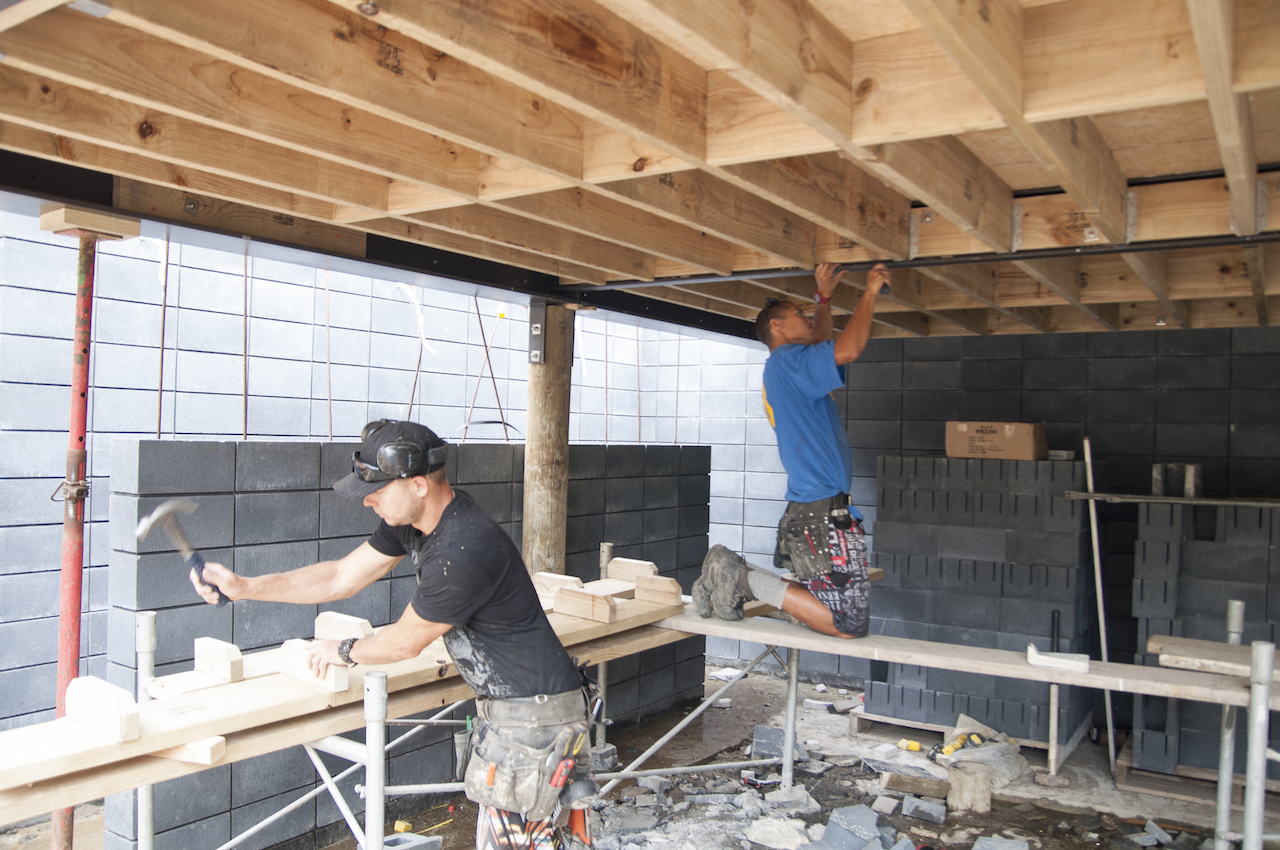
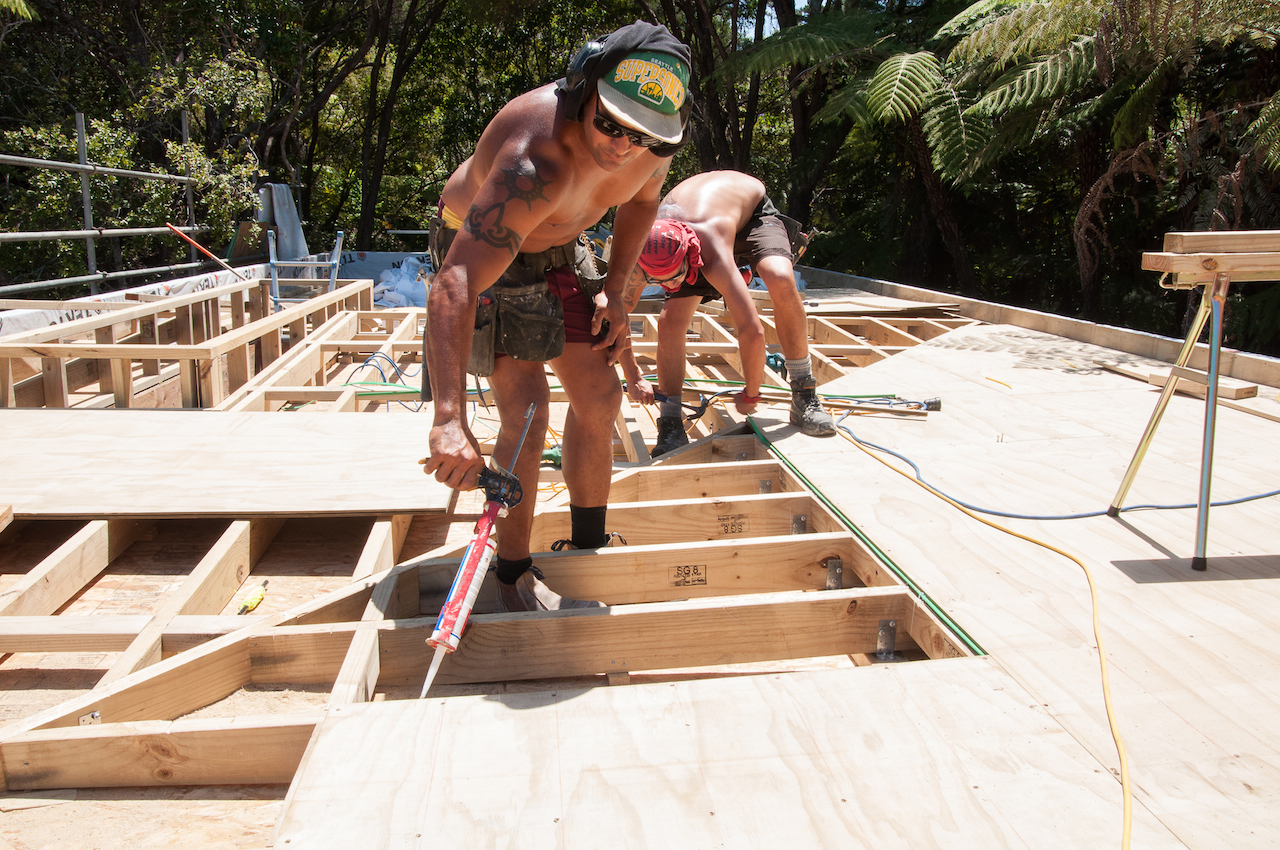
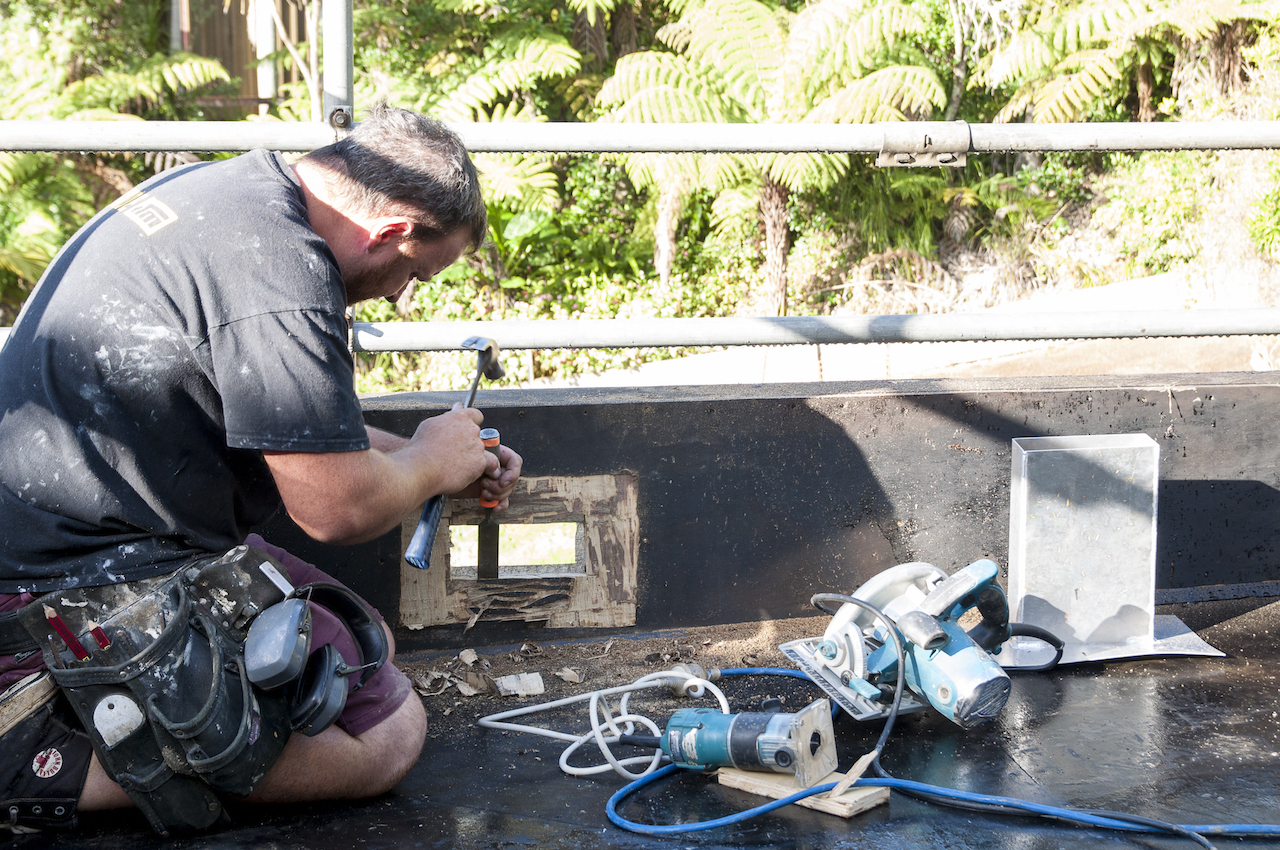
Then over the top of the framework the guys laid sheets of plywood which needed to be glued and screwed down.
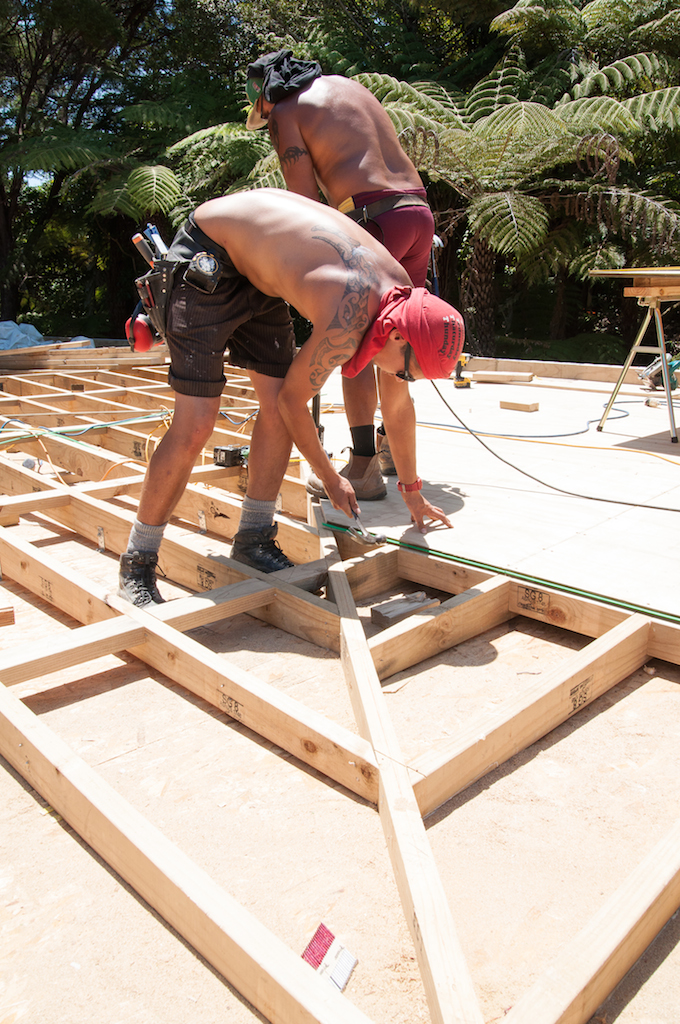
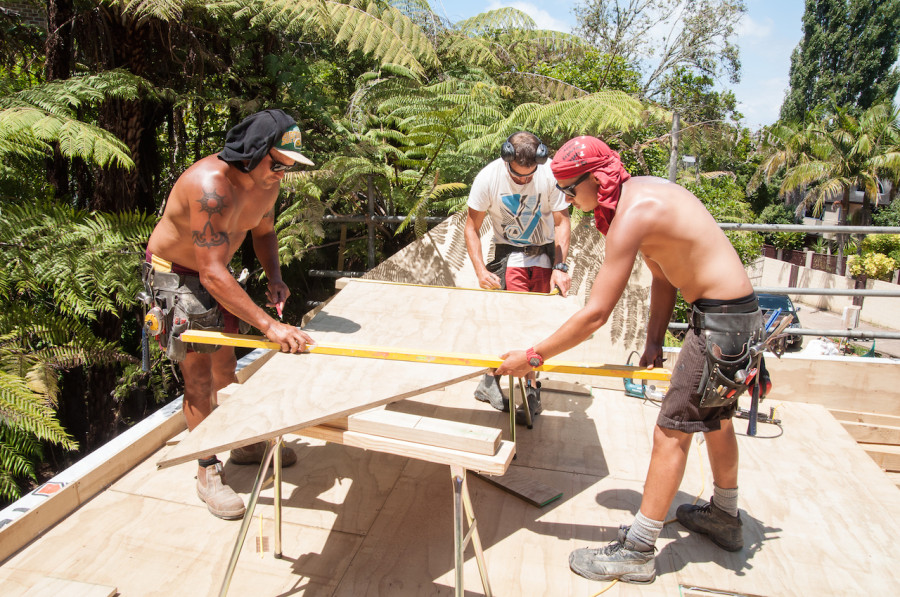
Here’s Rawere knocking a plywood sheet into place while John screws it down.
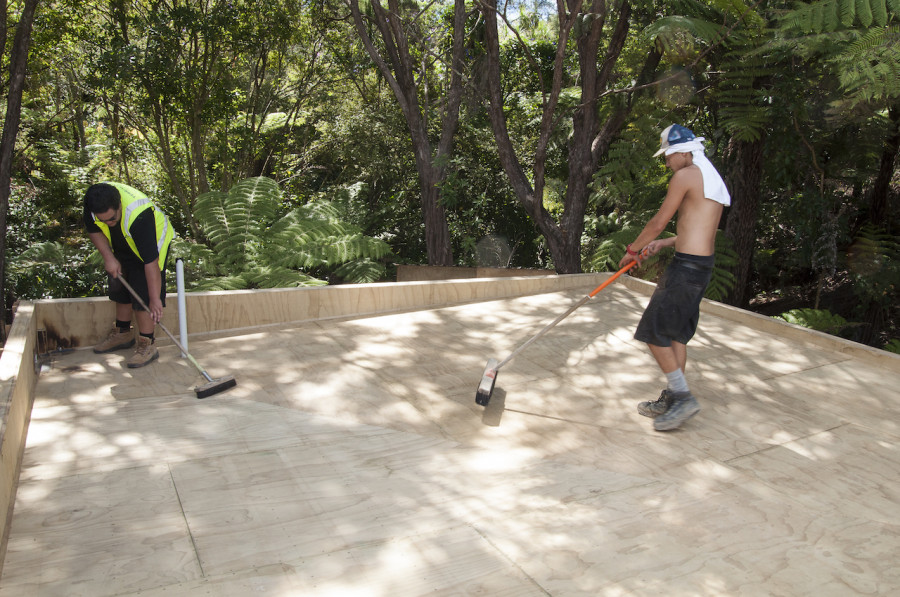
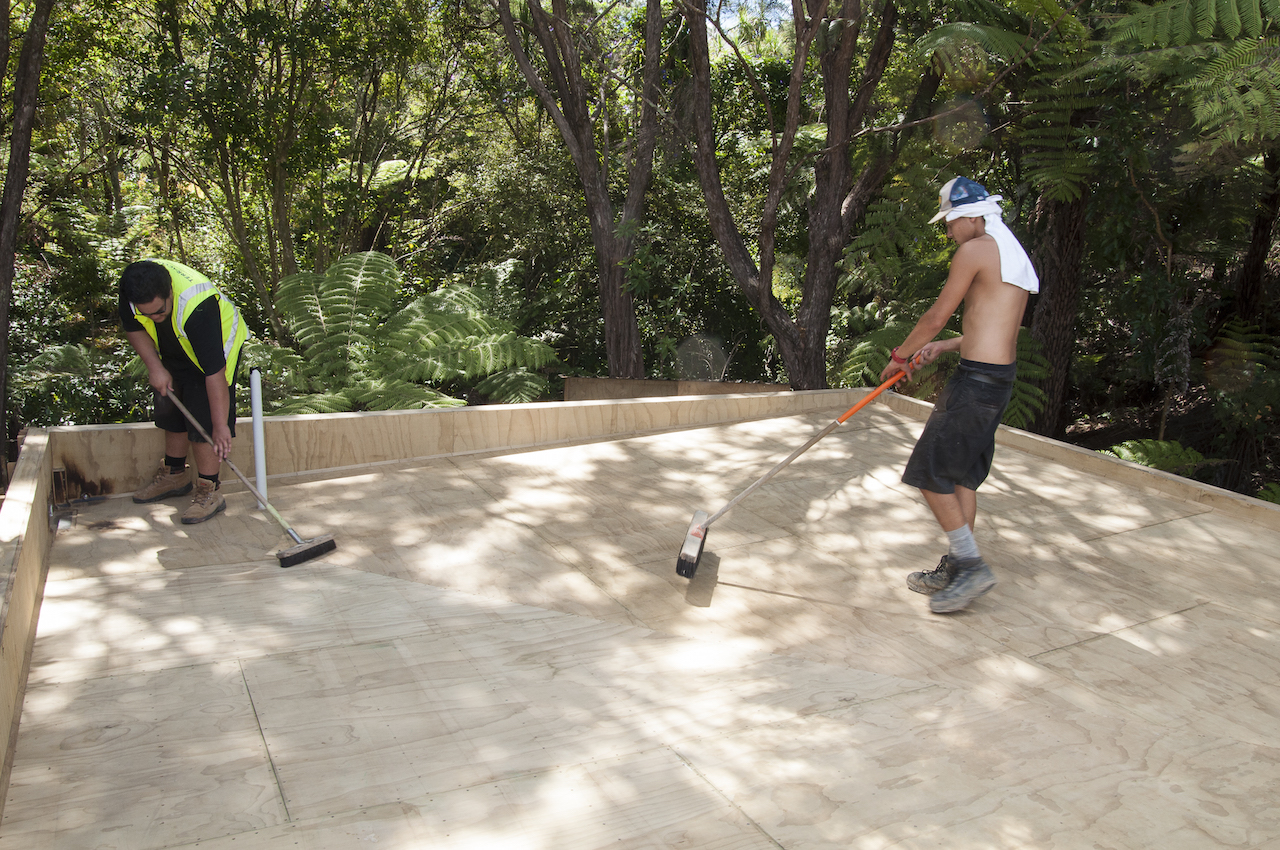
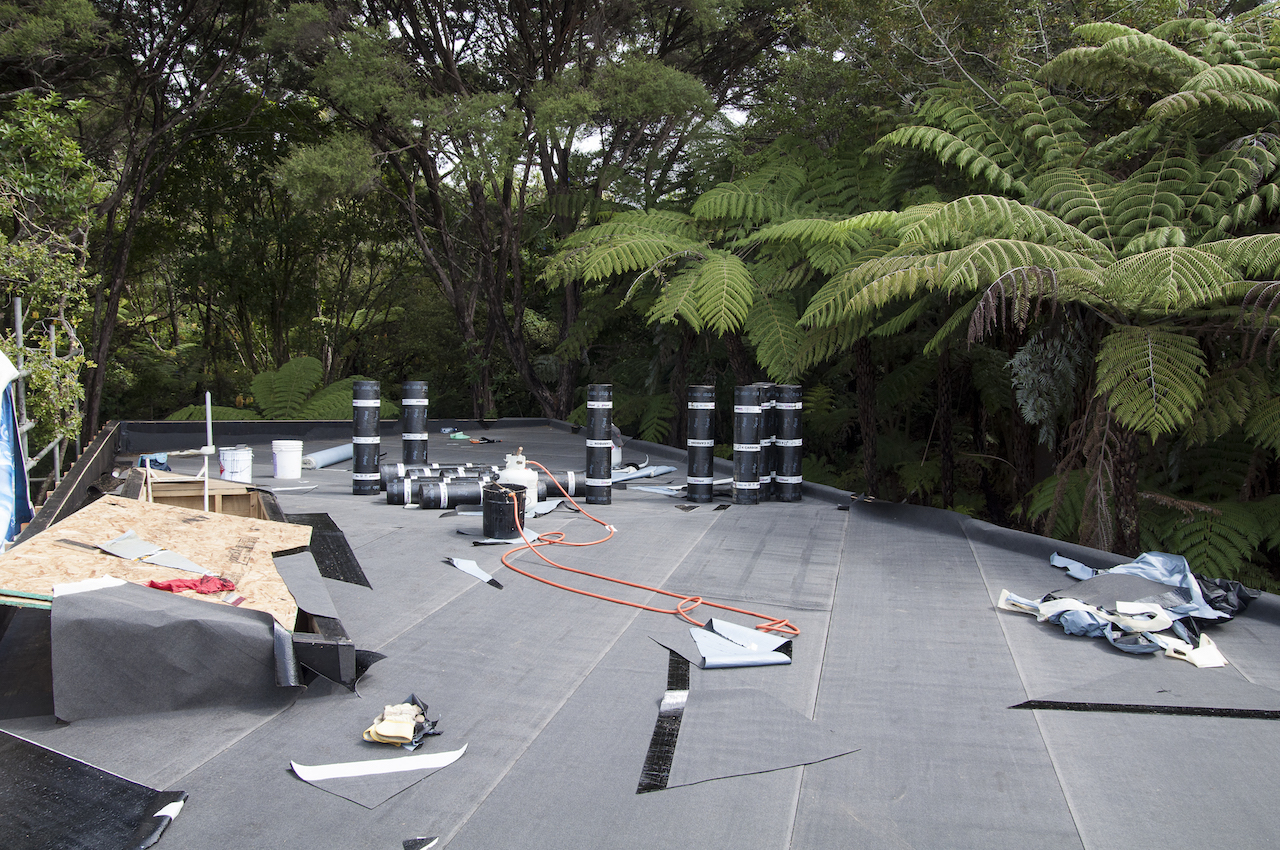
Finally after some intricate work the whole roof was covered in ply. Time for a quick tidy up before the Nuraply 3PM system could go down.
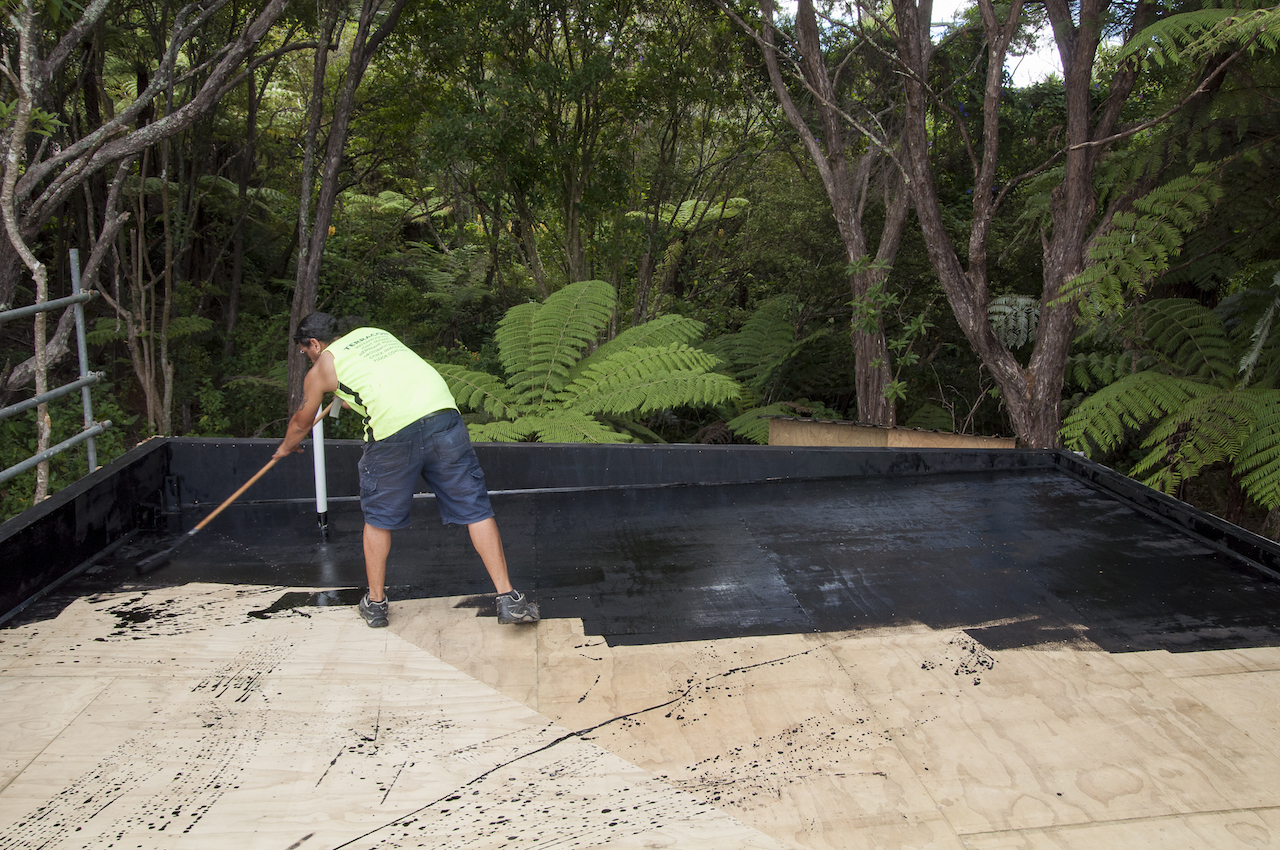
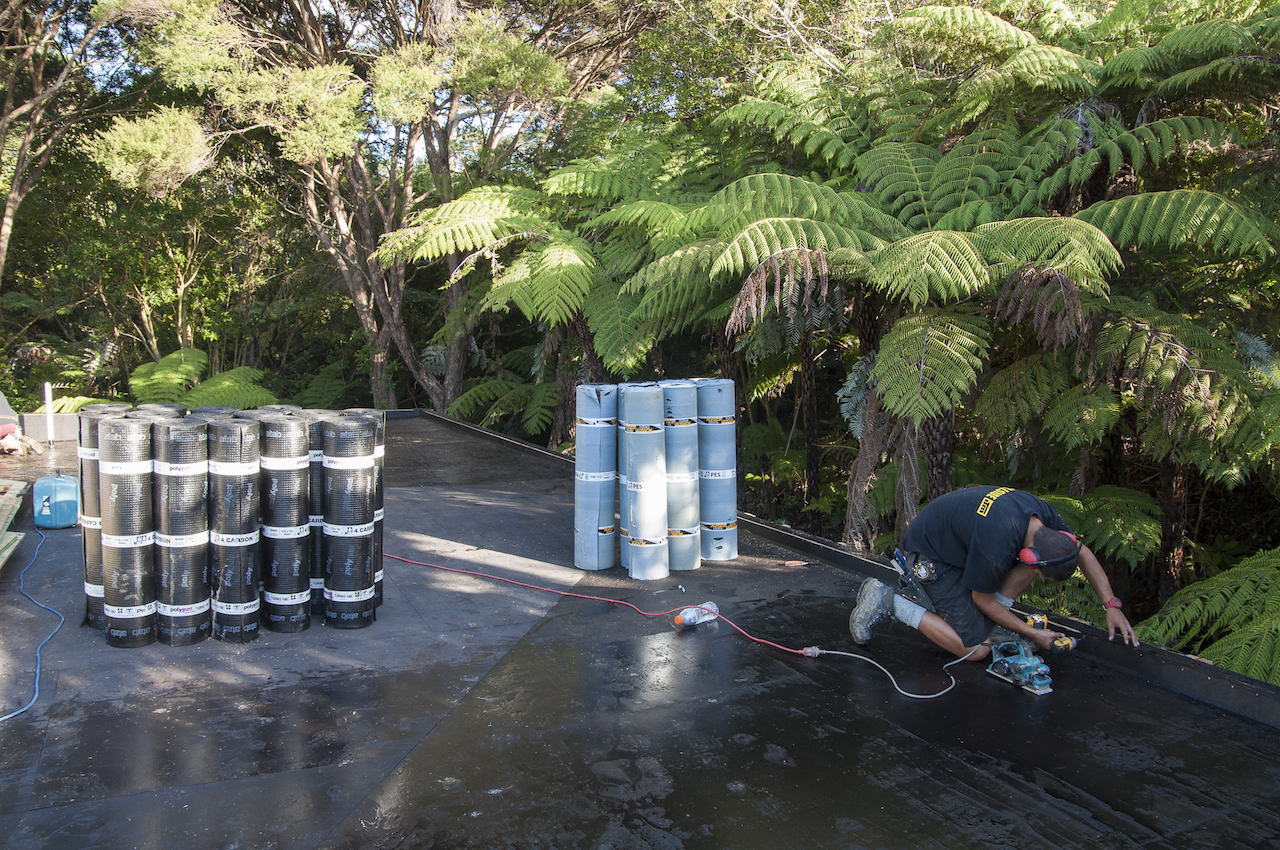
The first thing the Terracon guys did was apply a bitumen primer onto the ply.
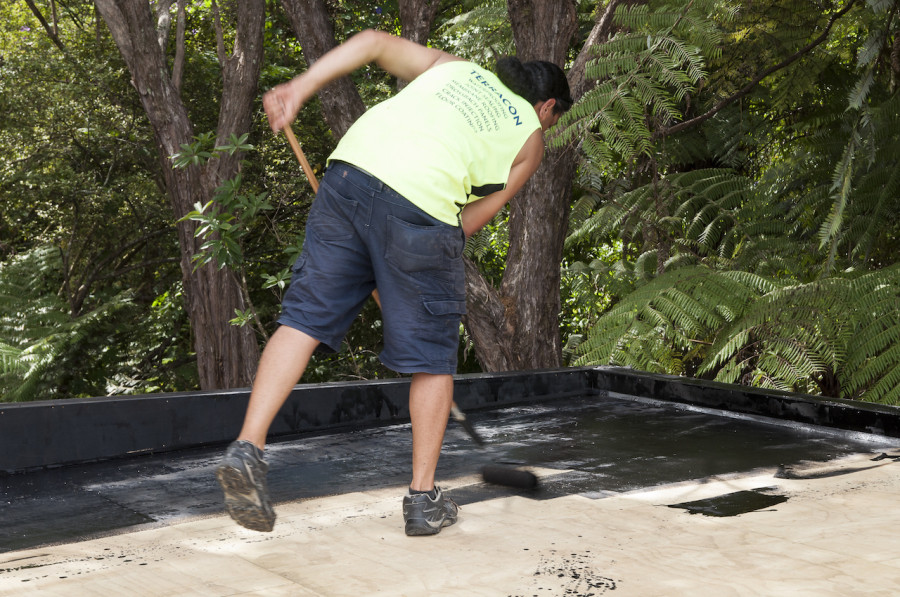

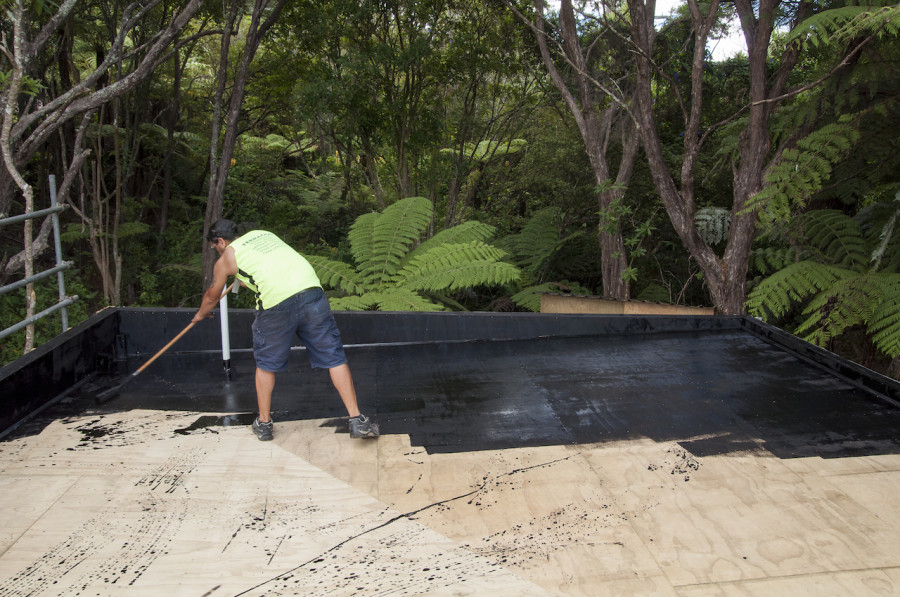
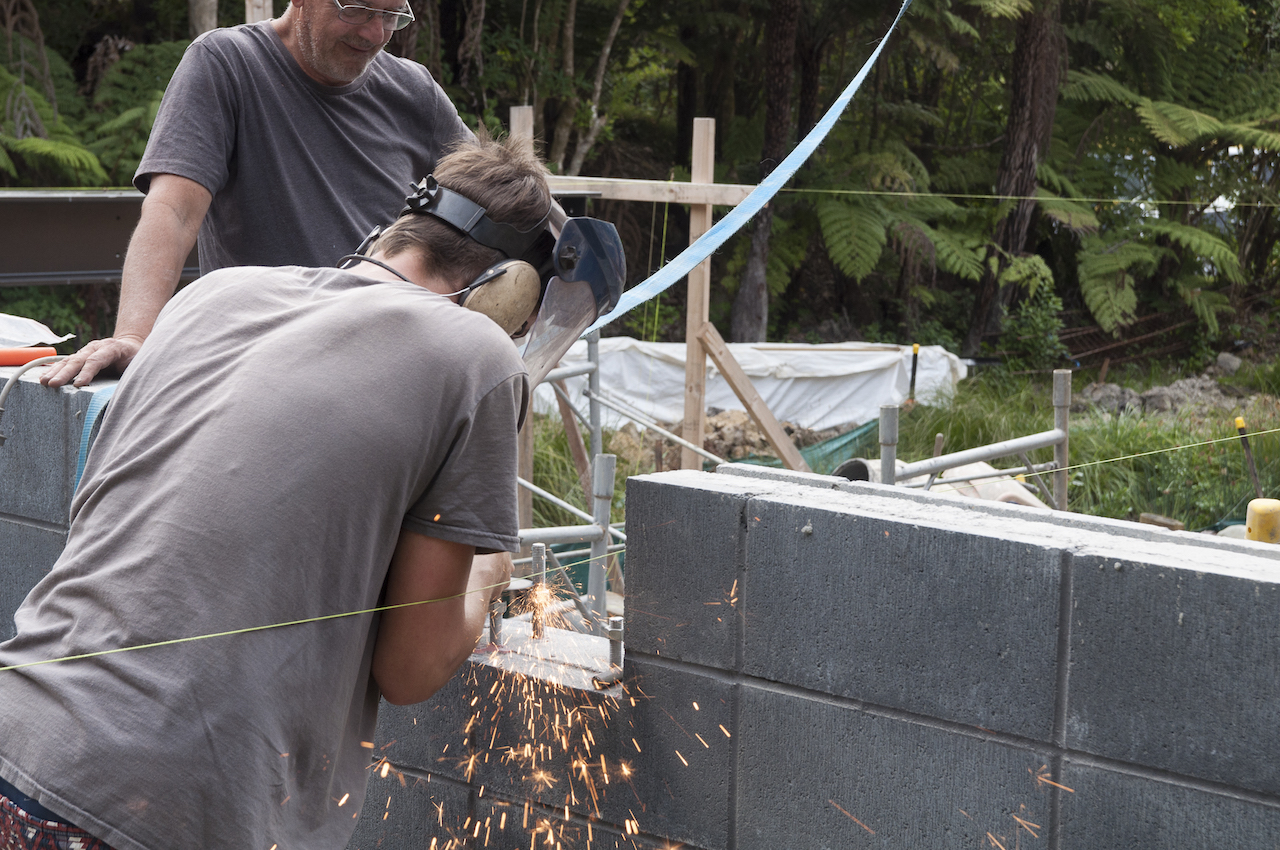
The roof fully primed while Rawere does some finishing touches to the parapet.

And Garrick does some work on the overflow outlets.
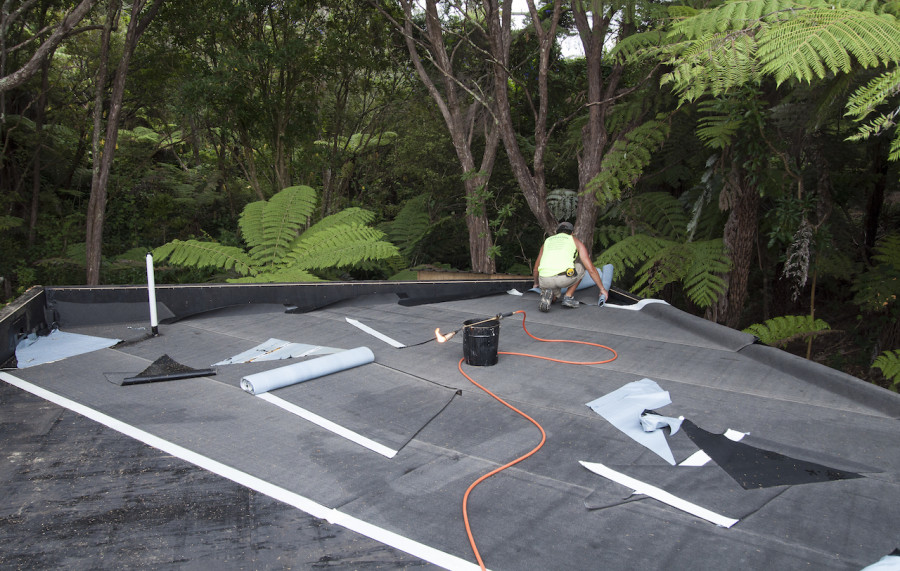
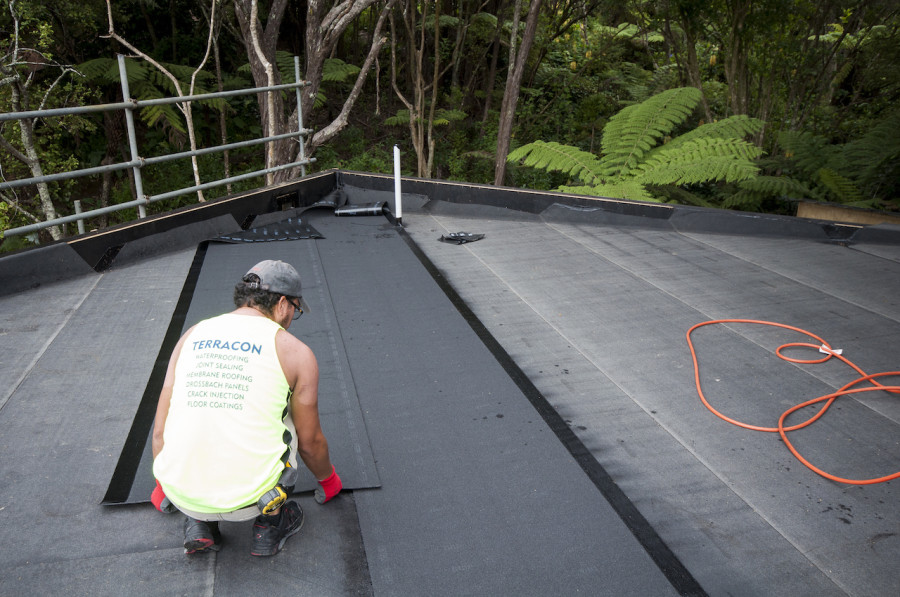
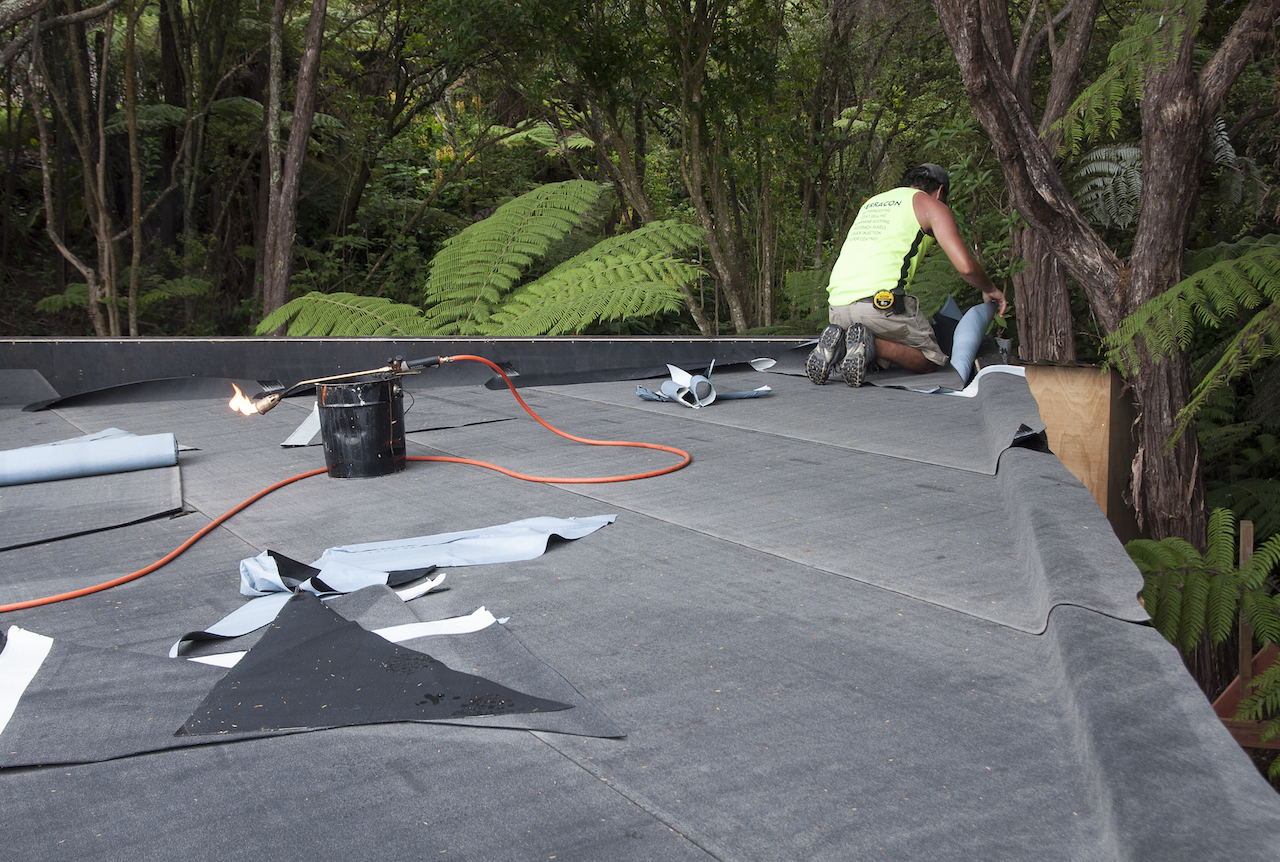
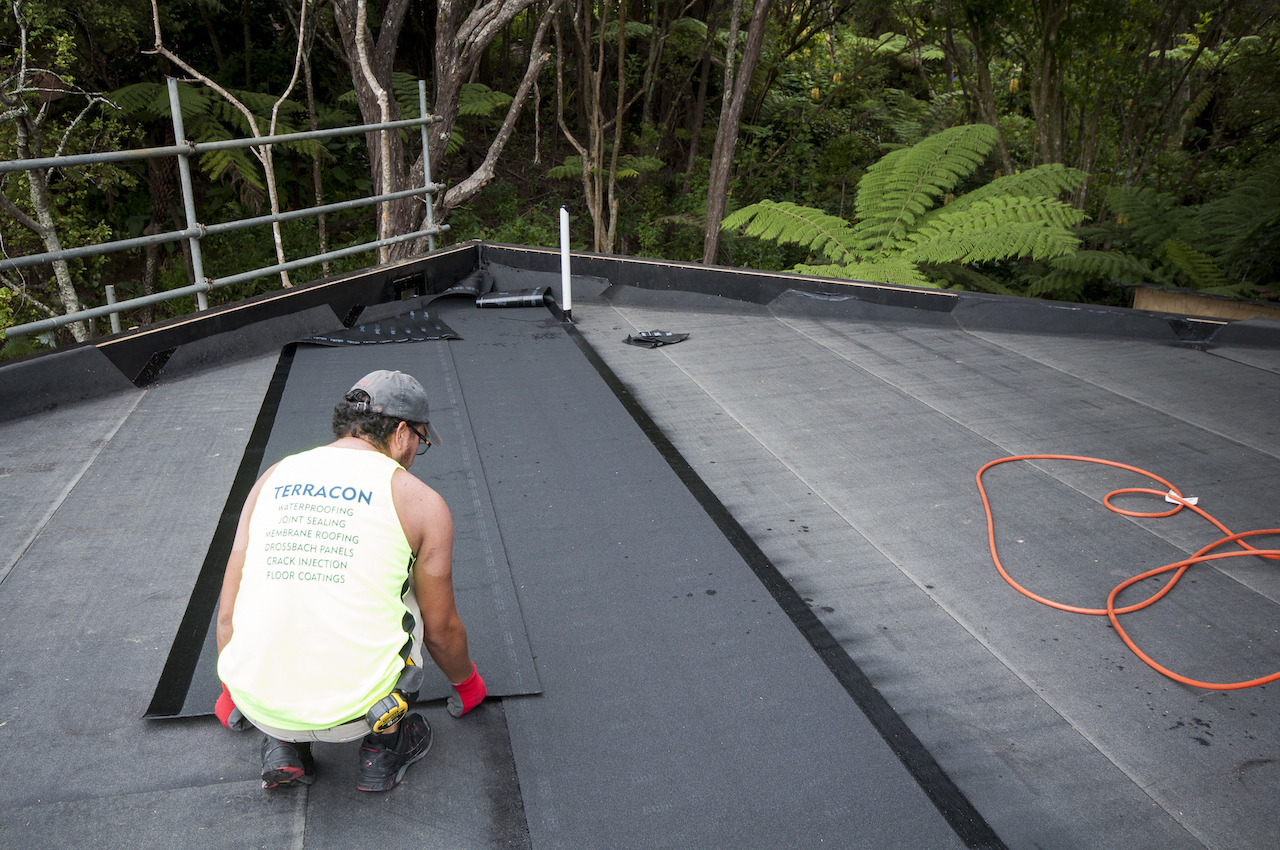
The second stage of the roof application could then begin, laying the base sheet.

The base sheet is peel and stick layer, with the runs leading down the fall to the outlets.
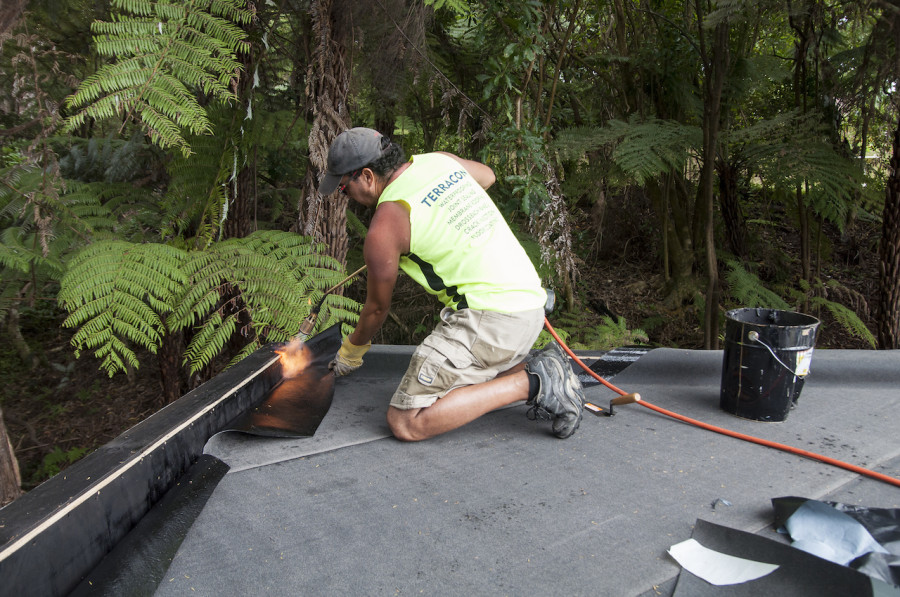
A bit of heat makes the base sheet a little more flexible to fit snuggly over the parapet.

And in pretty quick time the base sheet was down.

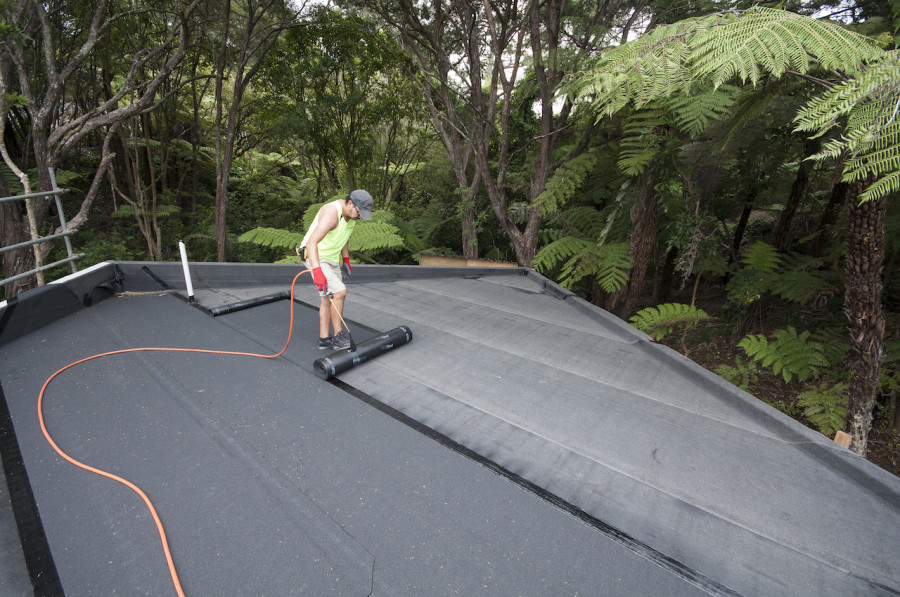
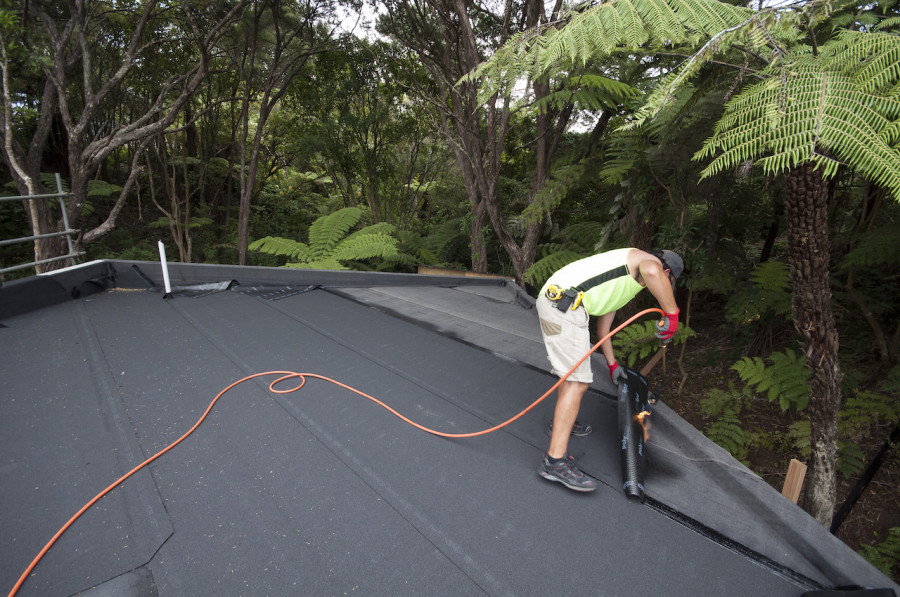
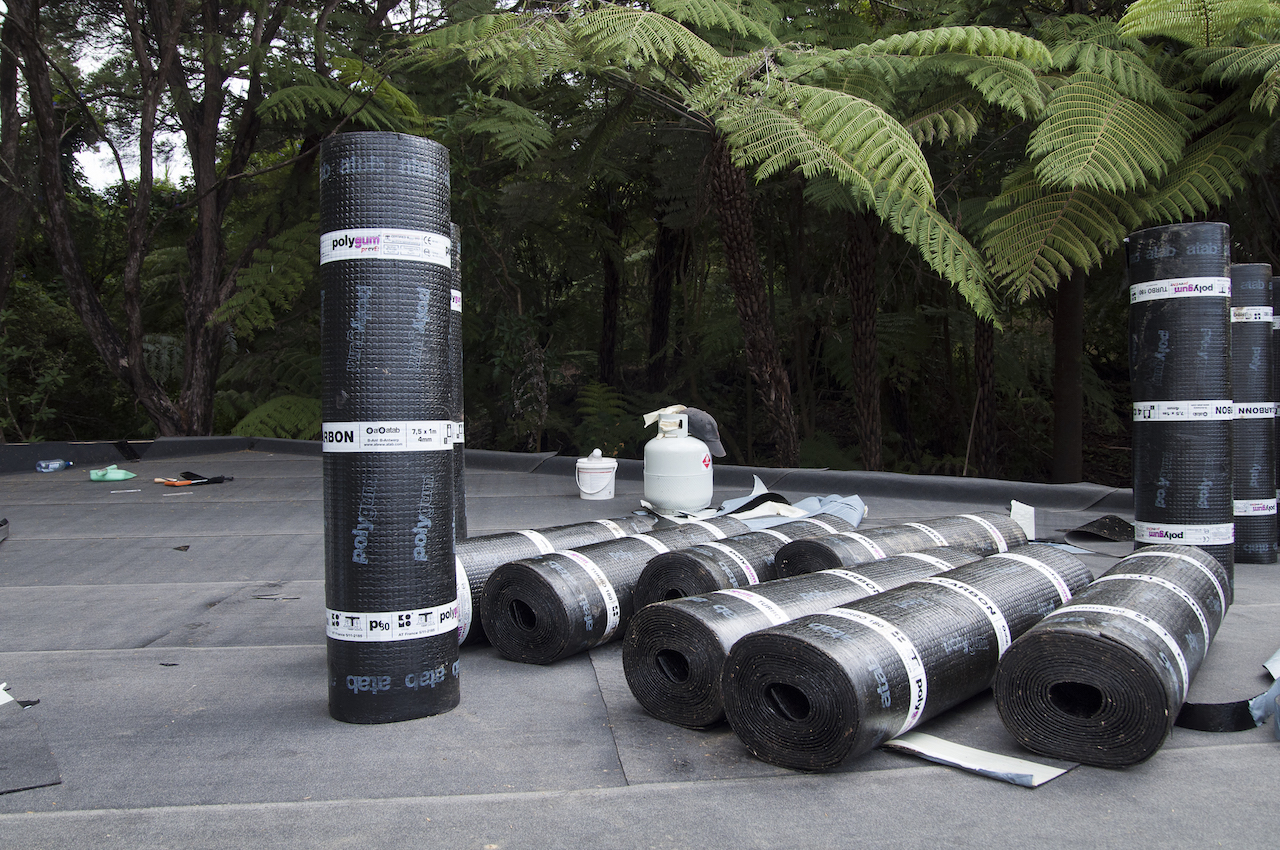
Ready for the rolls of the cap sheet to go down which is the second layer in the Nuraply 3PM system.
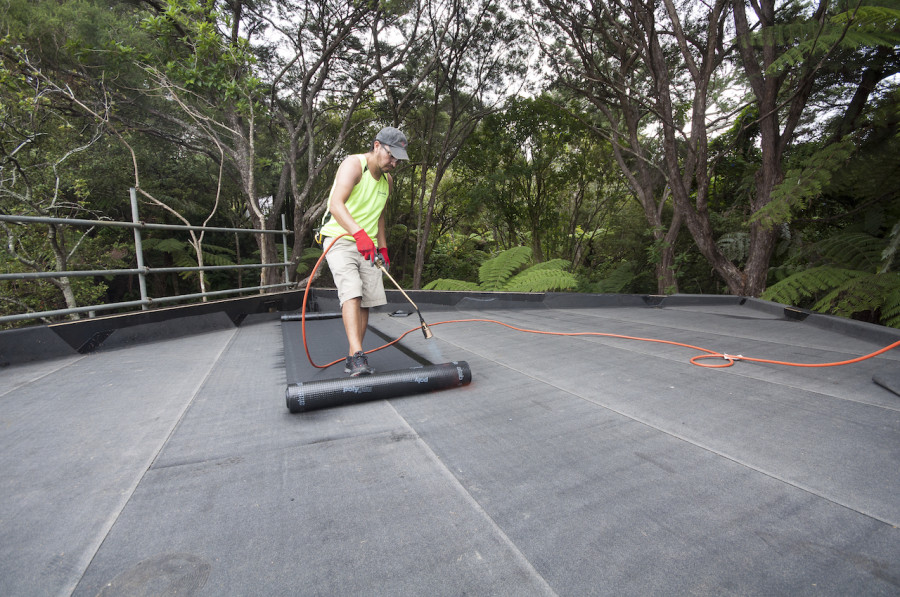
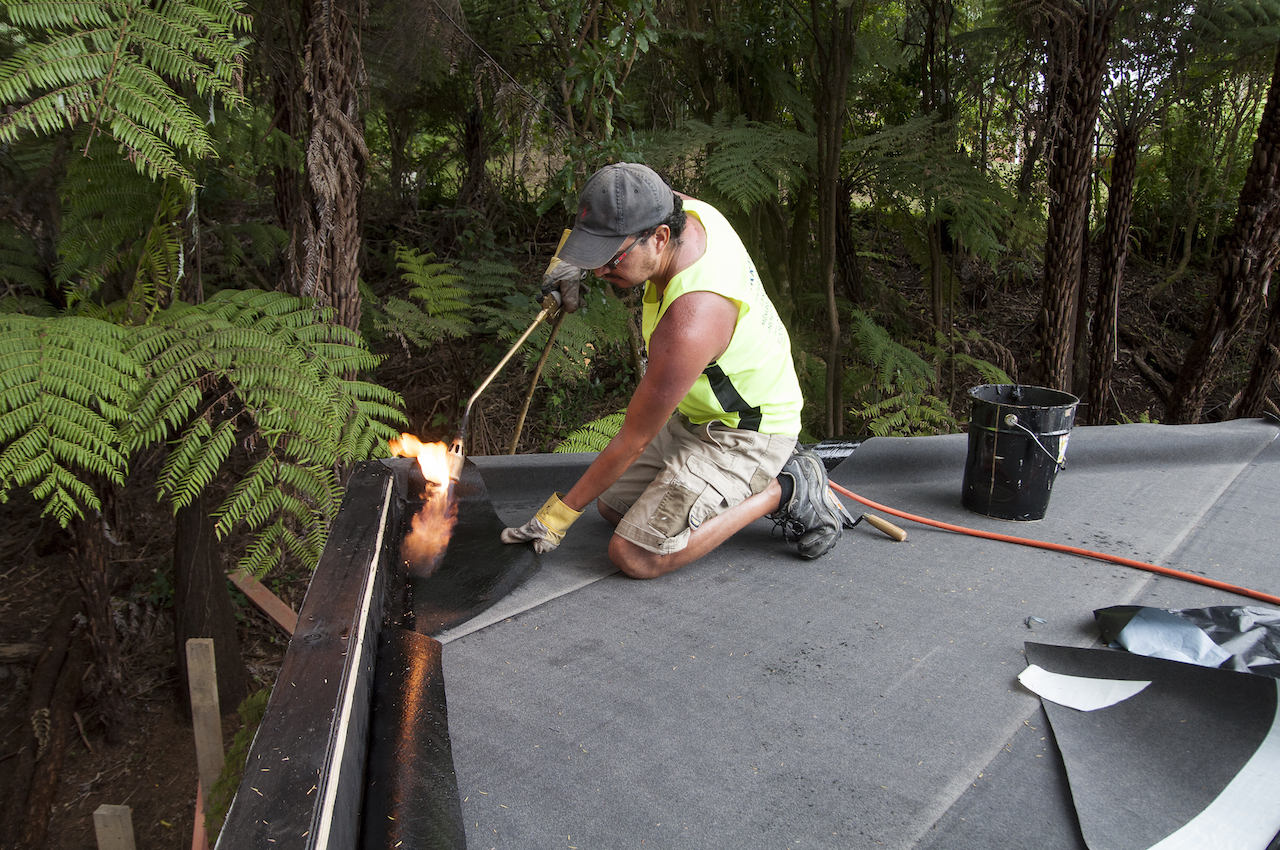
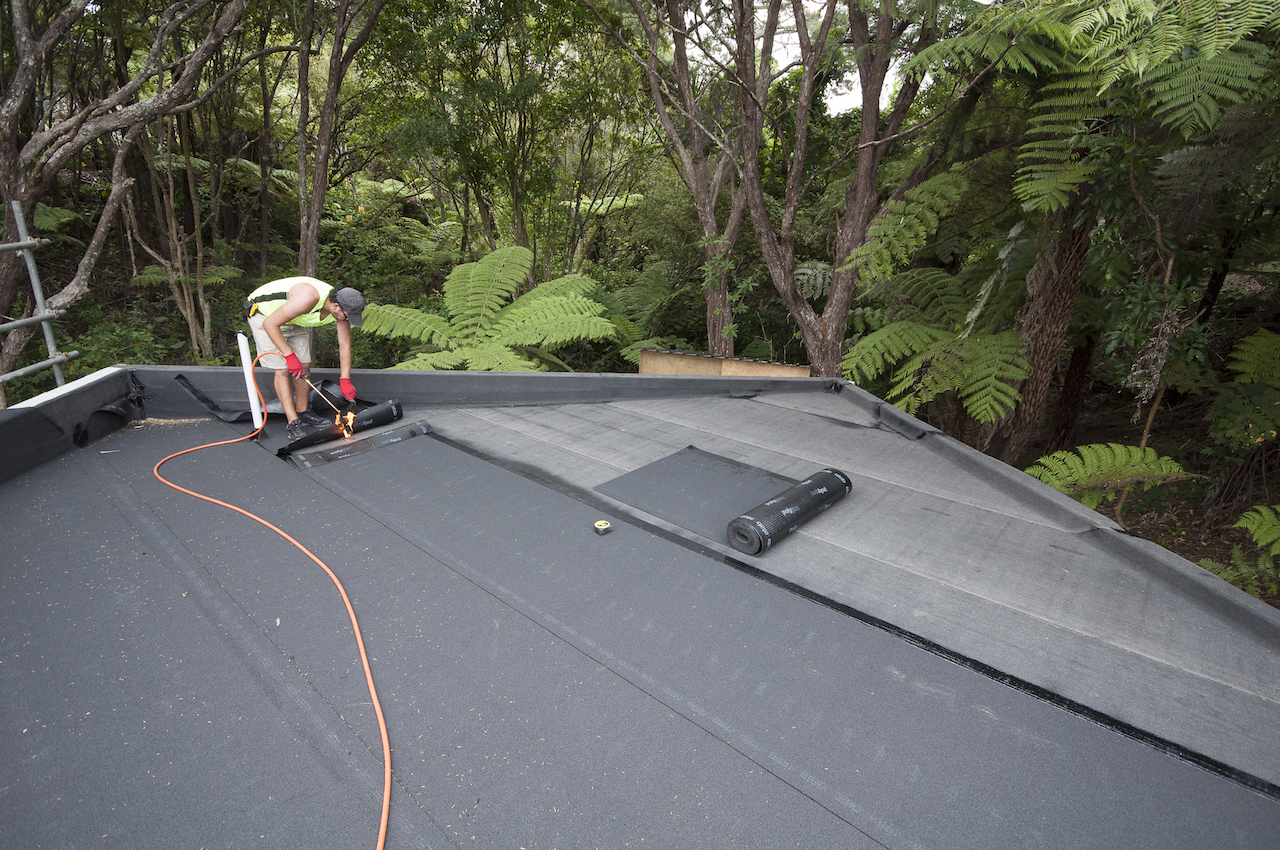
The cap sheet is torched on, basically welding it down to the base sheet below. You can see how the two layers are offset of each other, making the roof completely waterproof.
Luis is a one man flat roof application machine! Such a nice guy too.
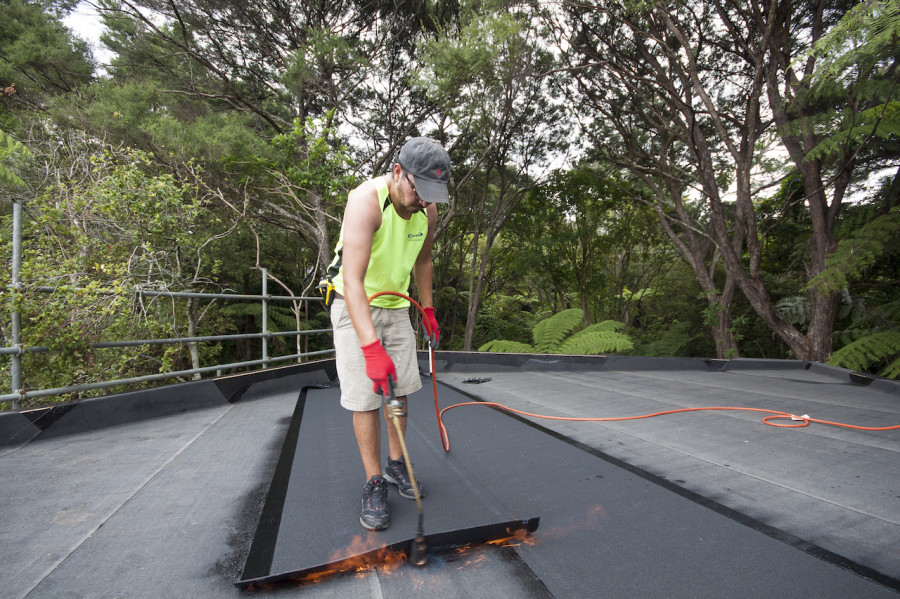
Careful Luis. Don’t burn the house down. Or the trees!
The bitumen cap sheet has a beautiful mineral chip finish and comes in about 5 colours. We chose the charcoal one to match the rest of our house.


And ta-da. All finished. How good does it look!

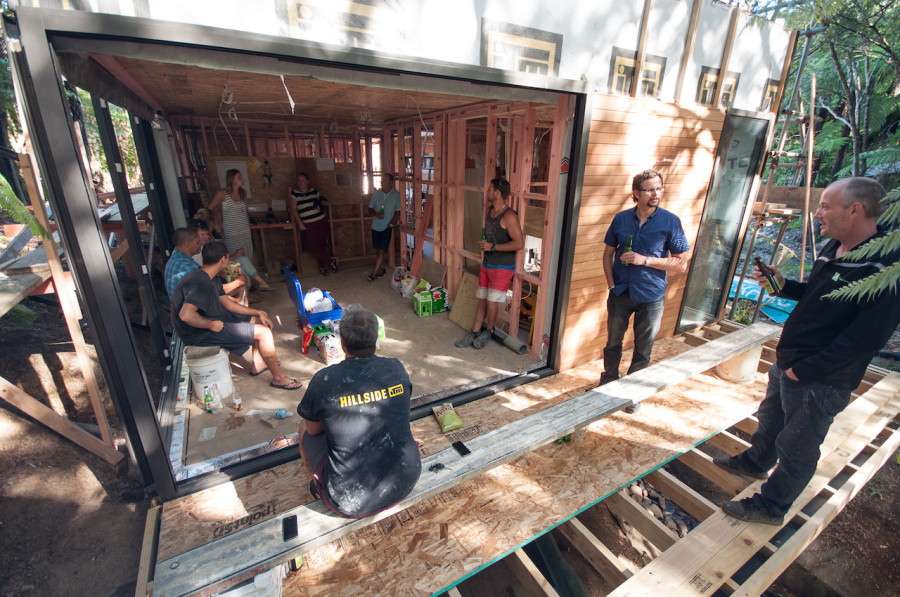
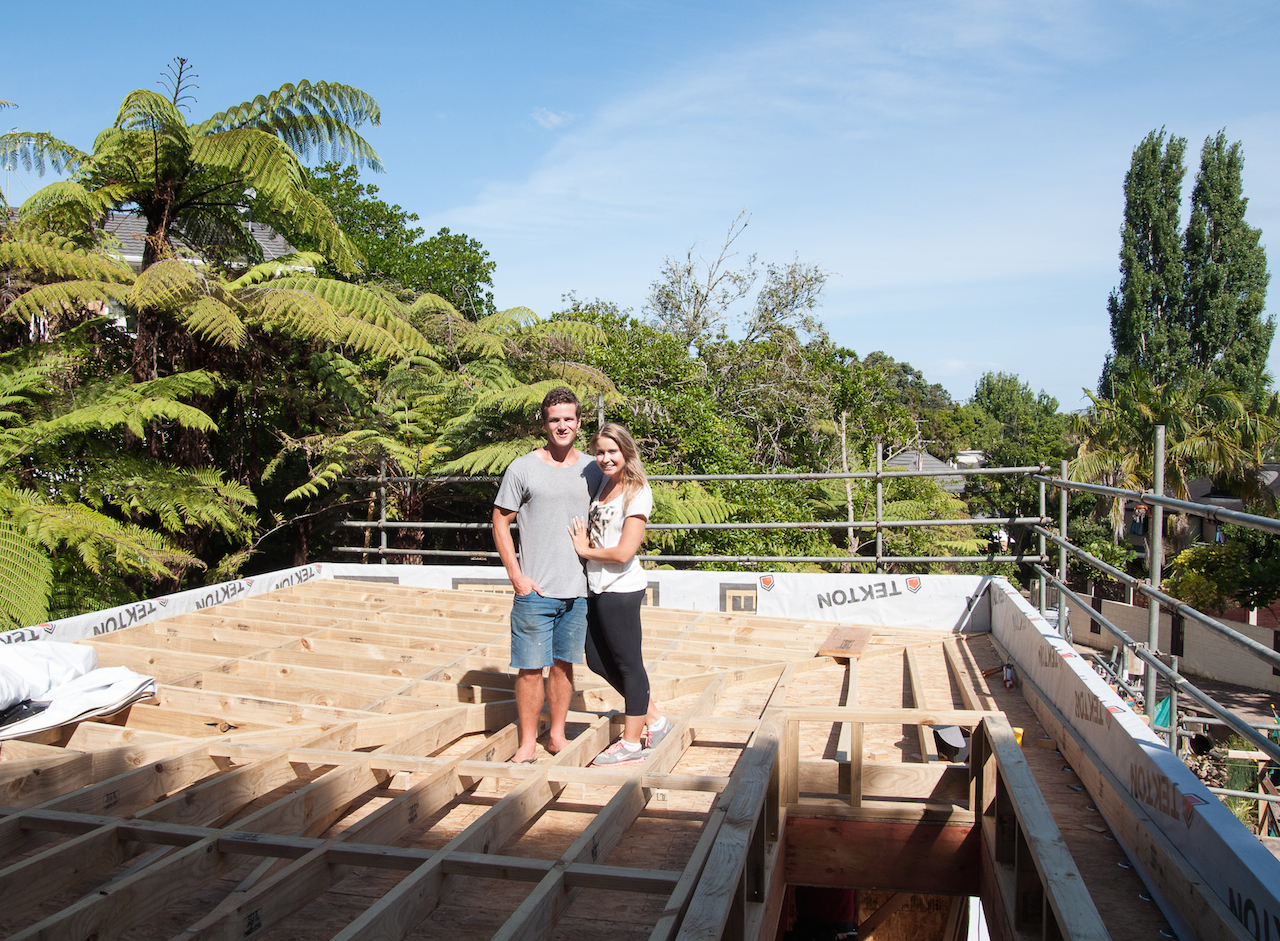
Roof shout! With the roof on, we put on a few beers for the guys.
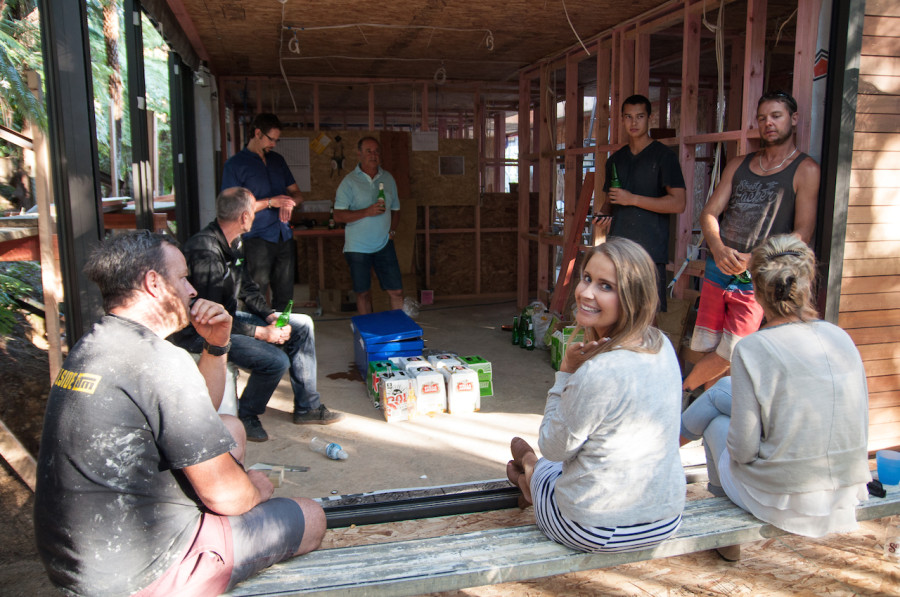
It was so much fun to hang out with everyone that’s helped make our dream come to life. To take a bit of time to thank them and reflect on how much has happened.
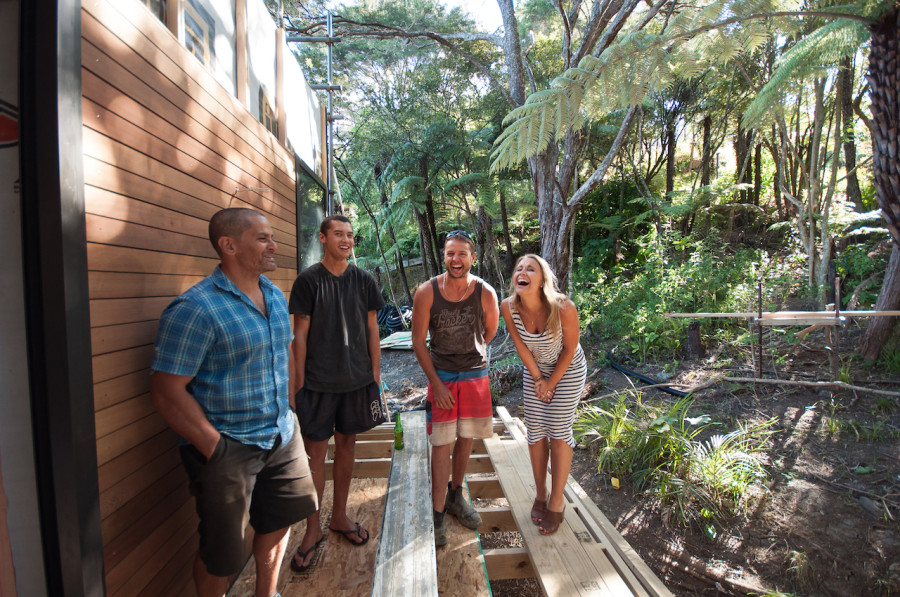
Such a cool photo. Kylie, Dan, Rawere and Ray.


