New Video Hot Off The Press
Episode Eleven – Getting into the interiors!

We’re painting our whole house and with the bedroom pod all but completed inside, we decided to lock in our paint so we can pull out the paint trays and rollers over the weekend. On The Block NZ I got to know the Dulux team and their awesome range of paints really well, so we were always going to use Dulux products to paint our house. But what about the colours?
We’ve always wanted a natural and neutral palette to suit our surroundings. Plus some of the rooms have limited direct sunlight due to the bush, so we knew we needed a base colour that was light and bright.
One of the cool things about the Dulux brand is the Dulux Colours of New Zealand – a huge range of colours inspired by locations from around the country. Kylie and I trawled through the fan deck and eventually settled on a really warm white called Little Manly Half. Maybe you could call it a coincidence but Little Manly Beach isn’t far up the road from our house, so we took it as a sign.
We were pretty tempted to paint the whole house in Little Manly Half, but were scared the house would look a bit stark. A little overwhelmed by the colour options out there, we decided to book a home consultation with a Dulux Colour Specialist to help give us some inspiration. (You can book an appointment here at dulux.co.nz).
It’s such an awesome service, opening your eyes to colours and combinations you may have never considered yourself. And it’s really reasonable, costing $140 for the first hour, then $70 for every hour after that. Fiona Small, our consultant met with us on site, listened to our desired aesthetic, took away samples of our flooring and other interior finishes and then came back a week later with some options for us.
Working with our Little Manly Half base, Fiona suggested some lovely muted tones that create a personality for each space. Some we liked, some we didn’t and some we loved, settling on a stunning combo. Down one side of our hallway we’re going with a light grey called Ohai Quarter to create warmth and impact. Then behind the beds in our spare bedrooms we’re using Sugarloaf Island Half – its subtle greeny-grey hues bringing a tranquil feel to each room. While in our entrance foyer a sense of drama will be created by the smokey-grey tones of Pukaki Double.
Now it’s over to us to bring this pod to life with our glorious suite of natural colours!
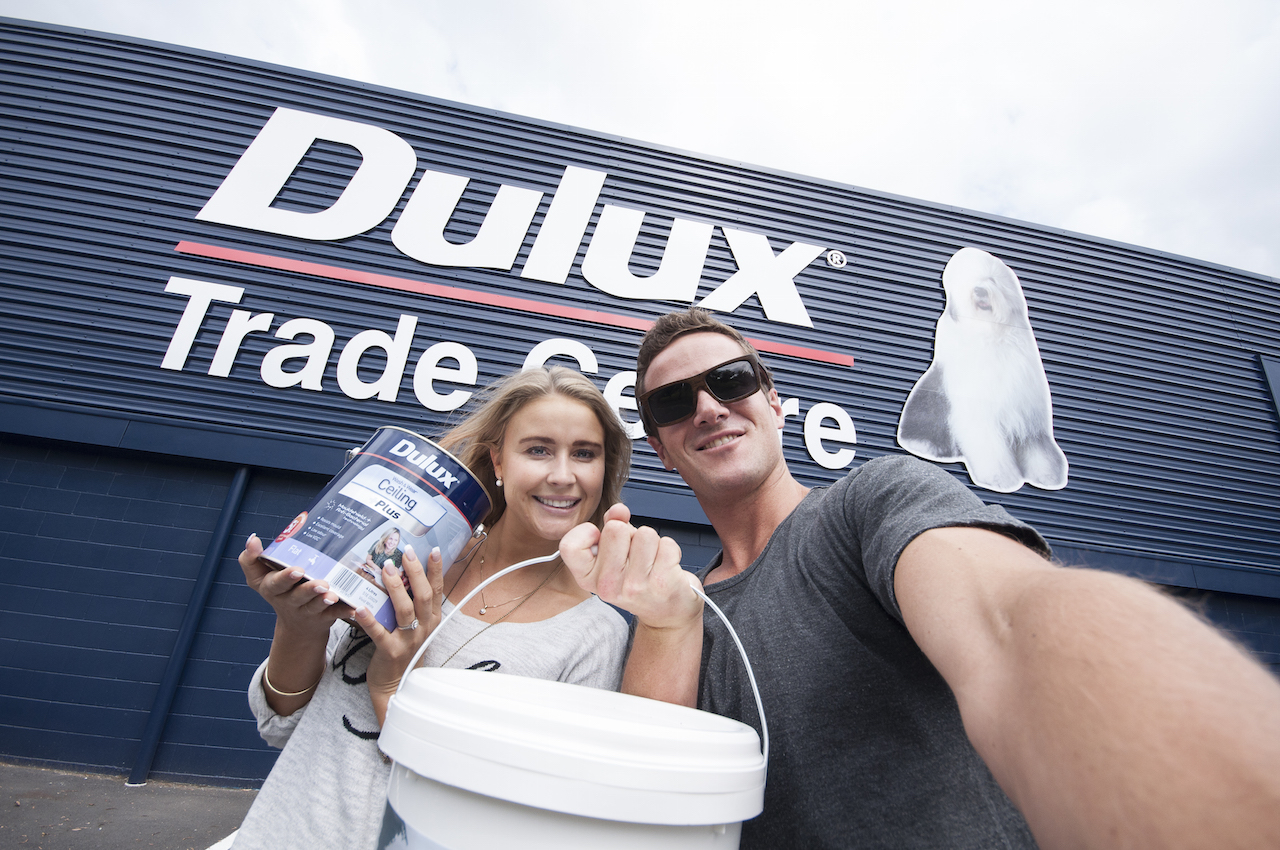
Picking up our paint!

Our awesome Dulux Colours of New Zealand – from left to right – Little Manly Half, Sugarloaf Island Half, Ohai Quarter and Pukaki Double.
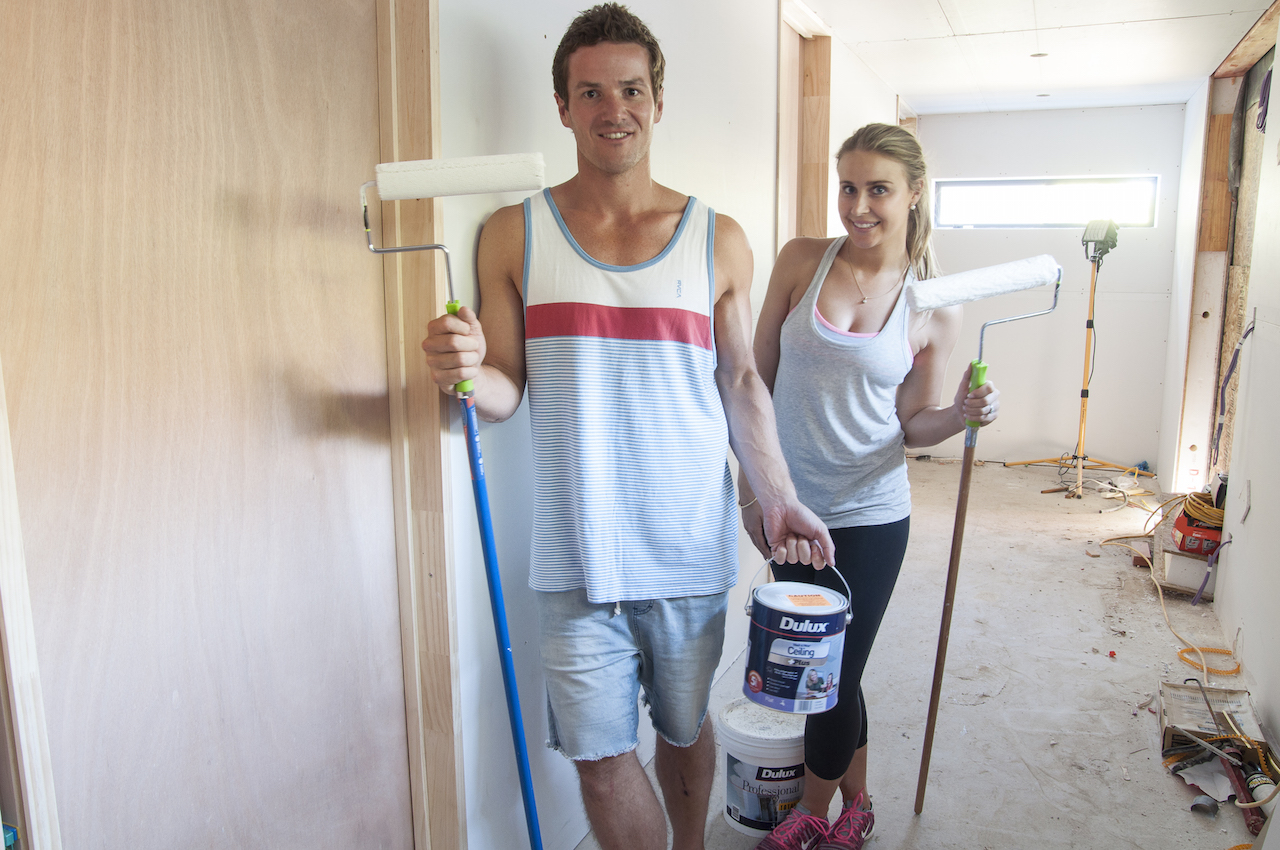
Let’s do this – all ready to go!!
A couple of weeks ago we bought our stunning bathroom tiles from the Tile Warehouse called the Discover Origin. As soon as we saw them in store we were smitten and knew they were perfect, but they look even better than we imagined now they have been laid. So good!

Our main bathroom all waterproofed and ready to go.
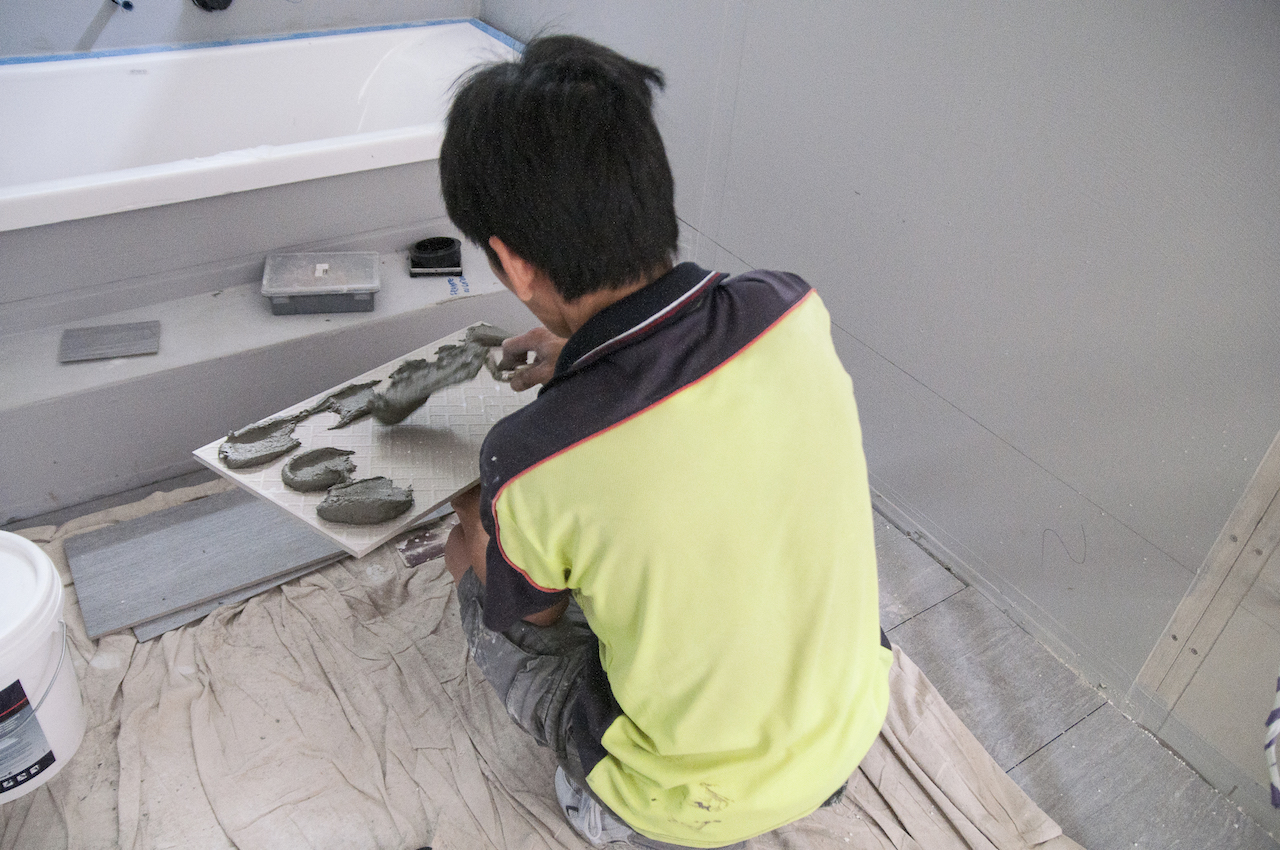
Tilers doing their thing.
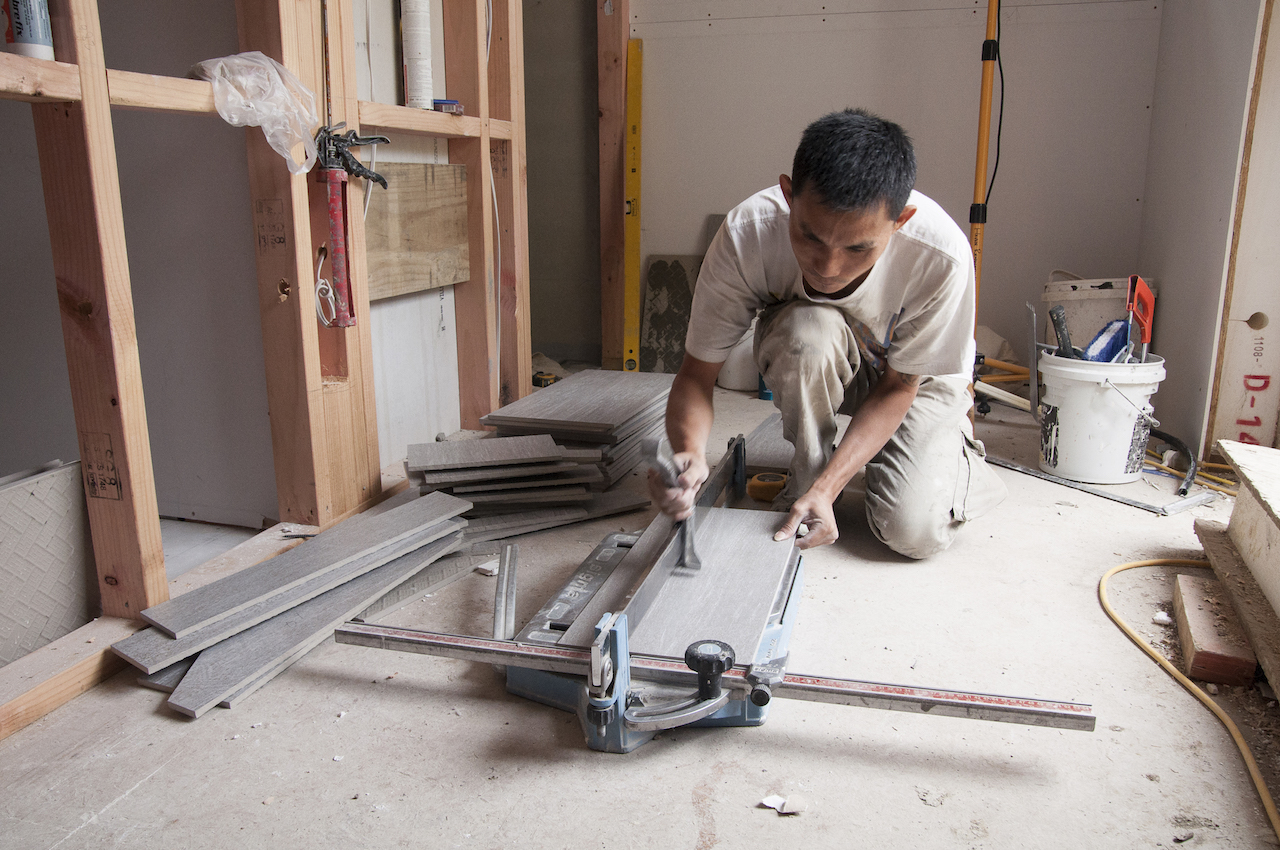
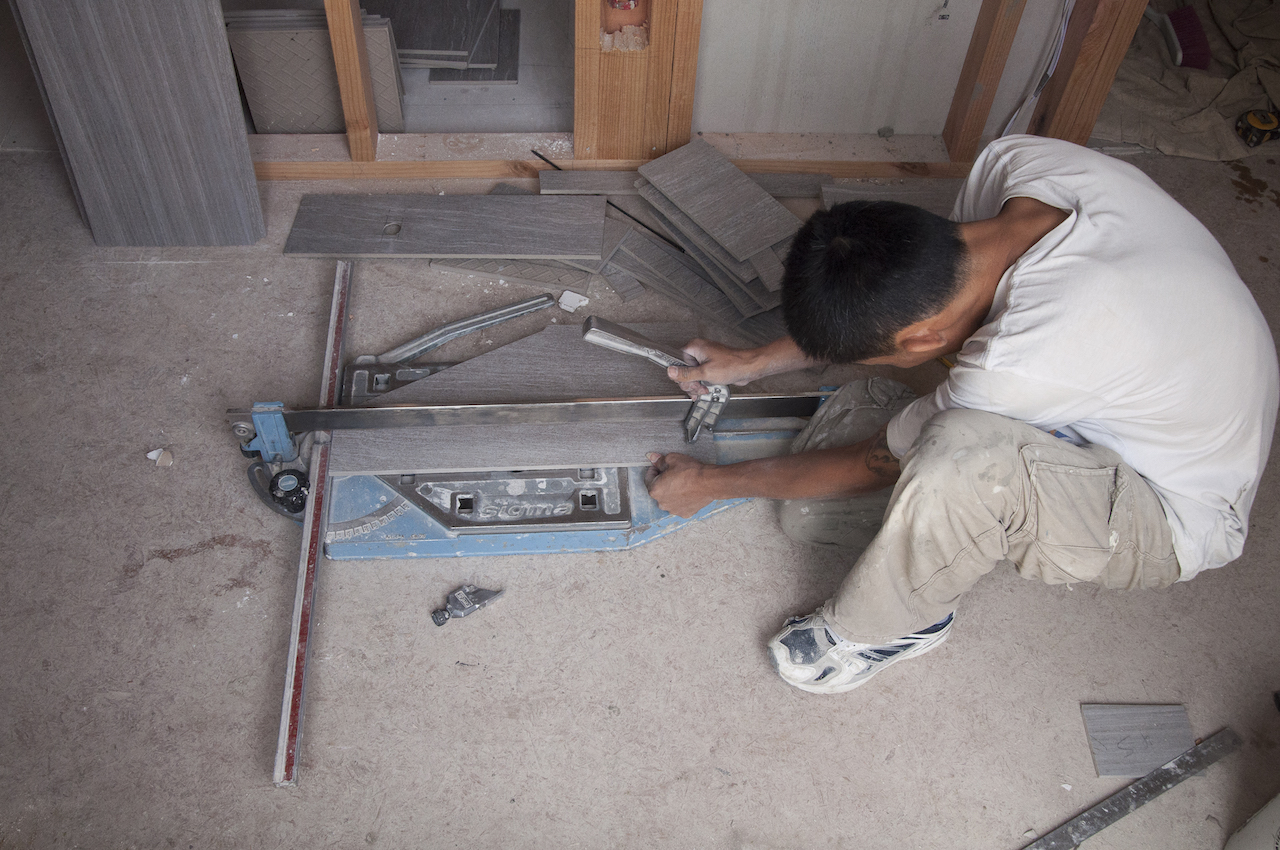
Cutting tiles to fit the room layout – took a while to decide on the best layout, keeping everything nice and symmetrical while not being left with a few small slivers of tile down a wall.

And up they go, in no time at all.
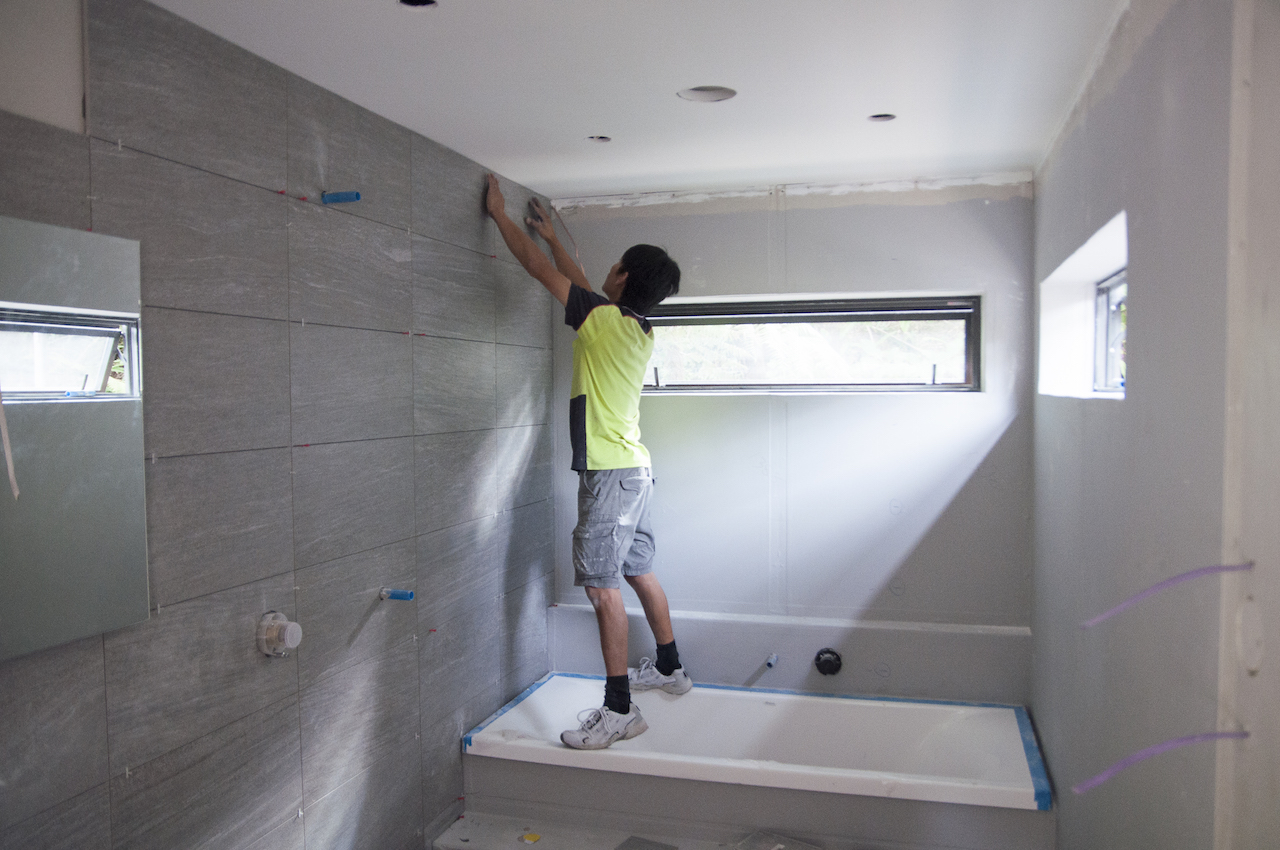
Yummo! The en suite has been finished now too….but we’ll save the final room reveals till later :)
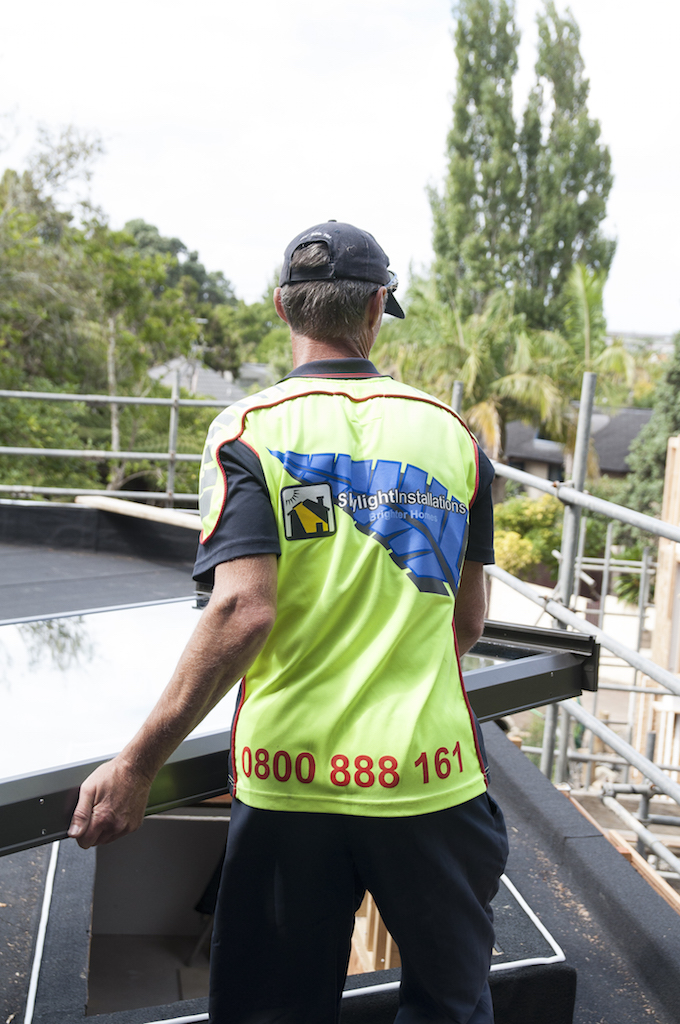
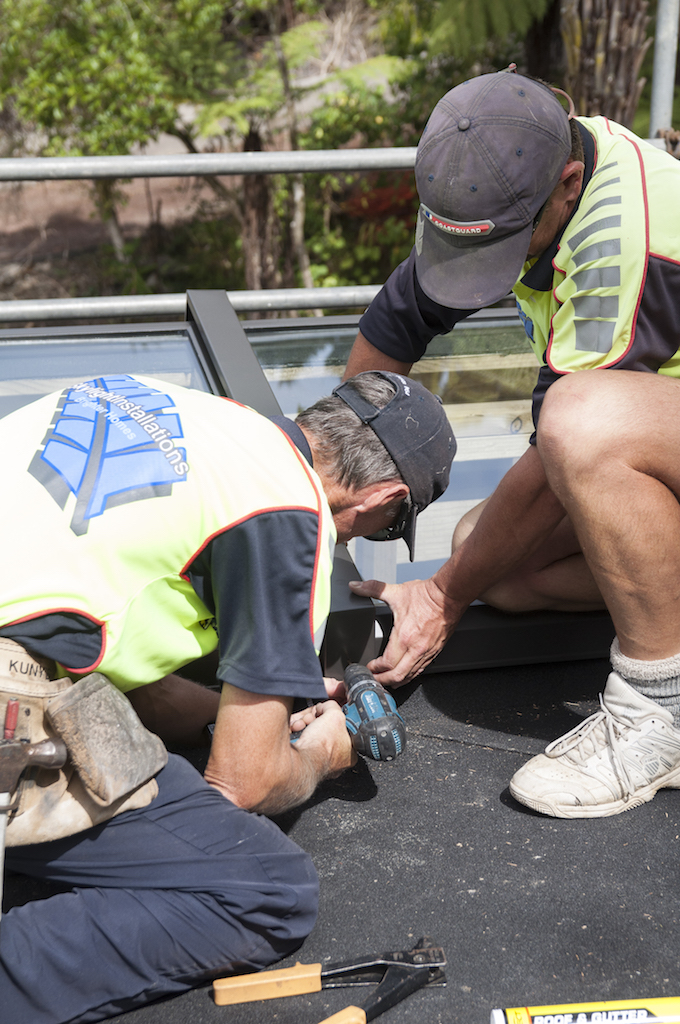
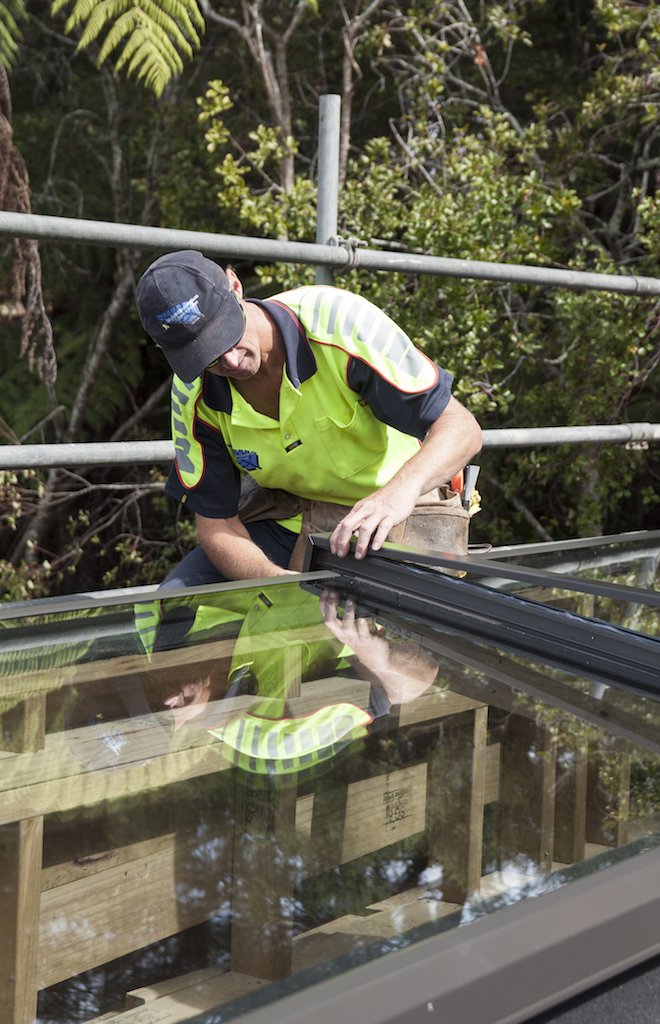
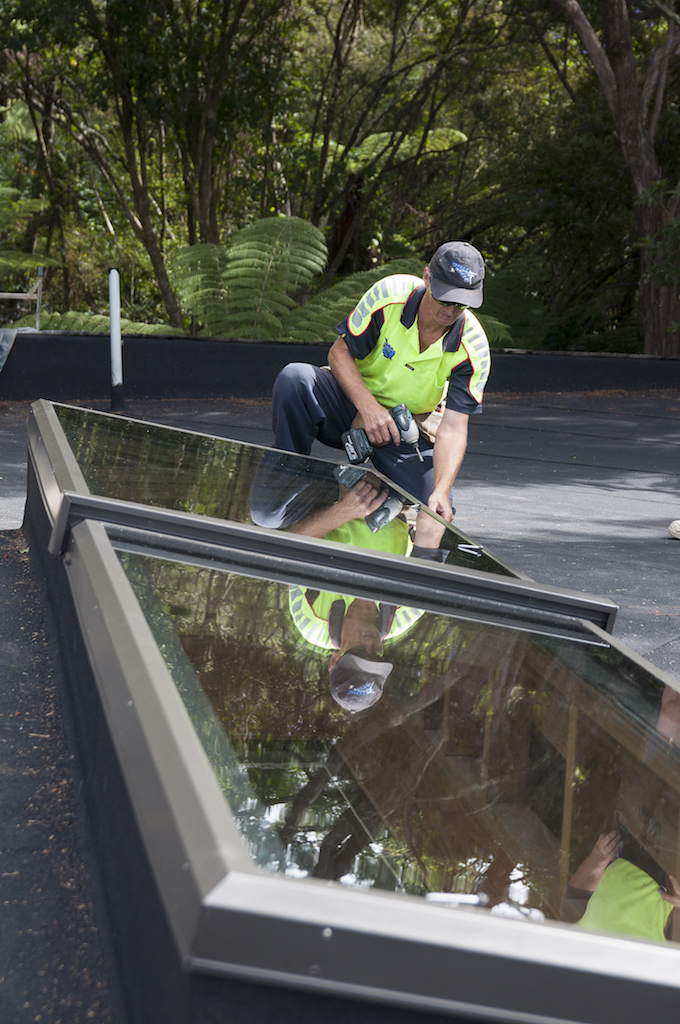
Our bedroom pod just keeps getting more beautiful, thanks to the huge skylight running above our passageway which was installed today! And damn it looks good. The once dark corridor is now awash with beautiful, natural light and the unit itself looks stunning, framing a lovely view up to the trees.
It was designed and built by skylight specialists Adlux. Call me naïve, but I just assumed we could whack up a normal window in the void, but there are a whole host of additional requirements when it comes to skylights. But the Adlux guys made it a breeze to navigate through these nuances and were able to virtually replicate our wall windows – colour matching the frame and double glazing the unit with the same high performance Planitherm glass we’ve used throughout the house.
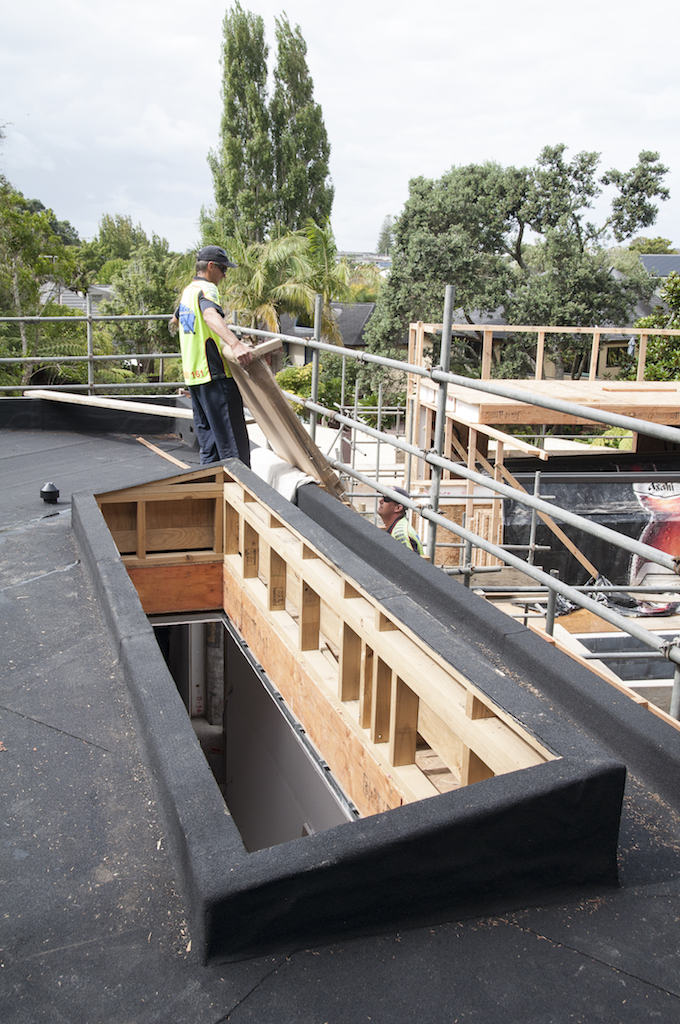
One half of the unit being lifted onto the roof.
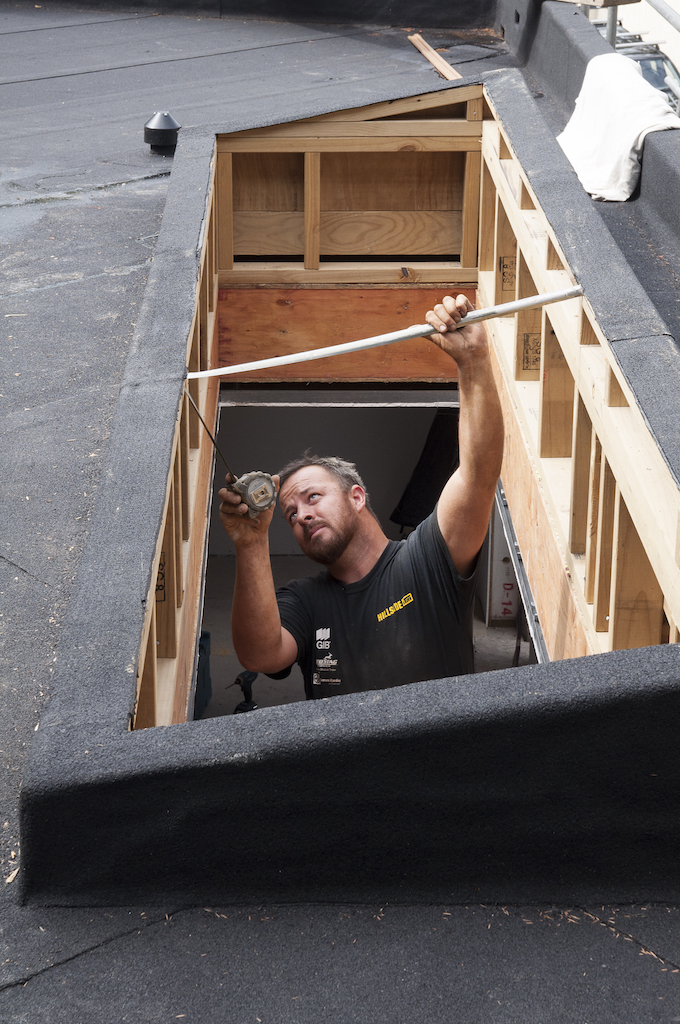
Garrick measuring up to fit a timber support for the skylight.
Carefully does it.
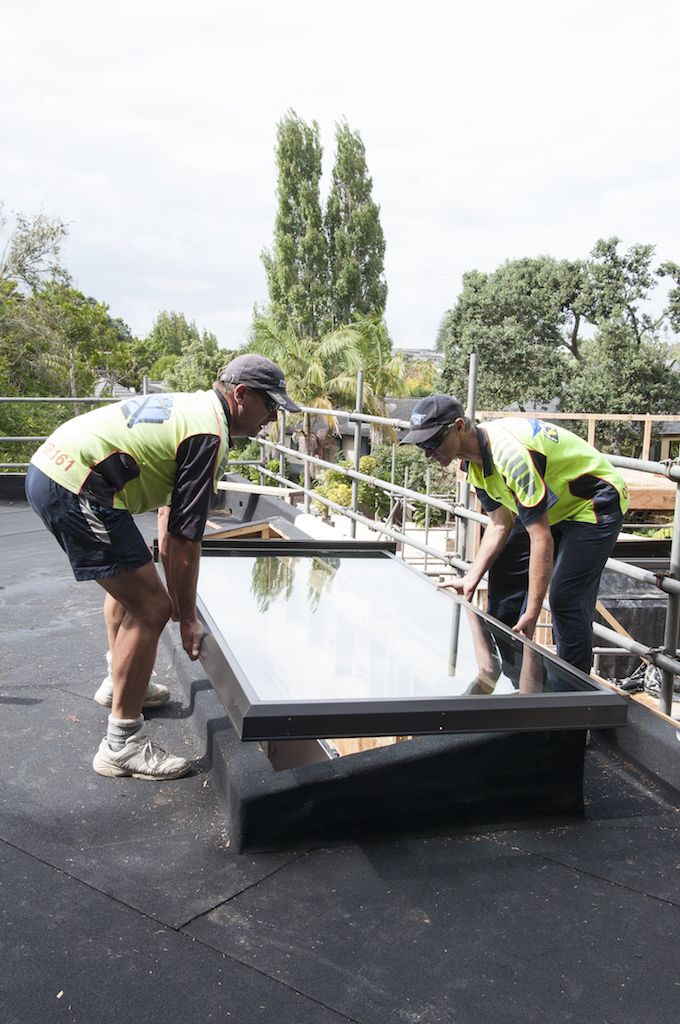
The first half being lowered into place.
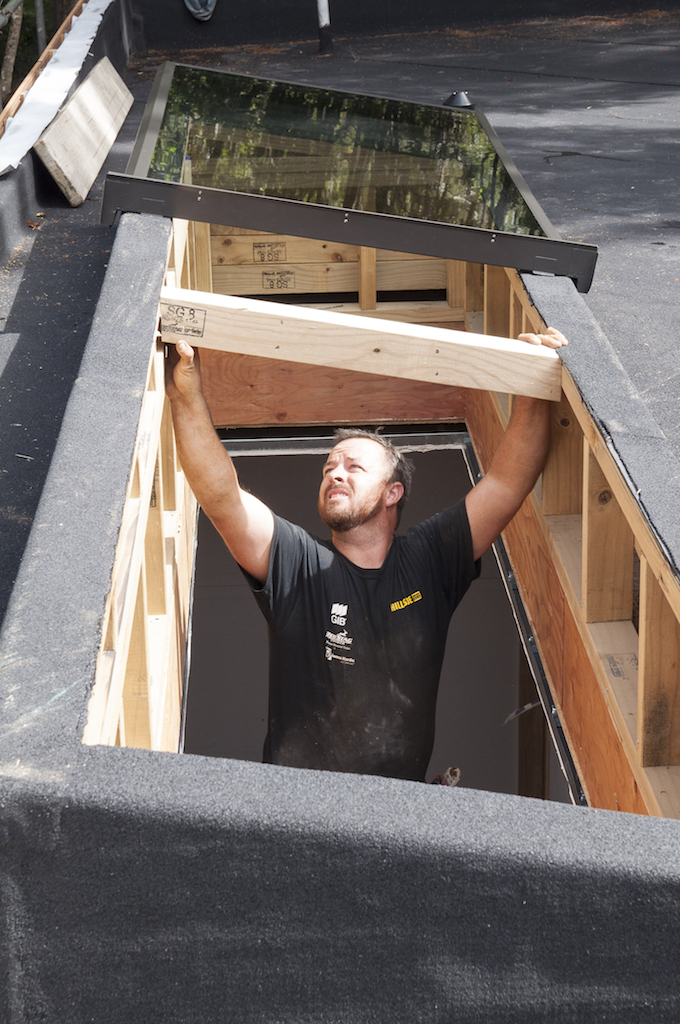
Garrick fitting the timber support.
Then the second half joins his mate.
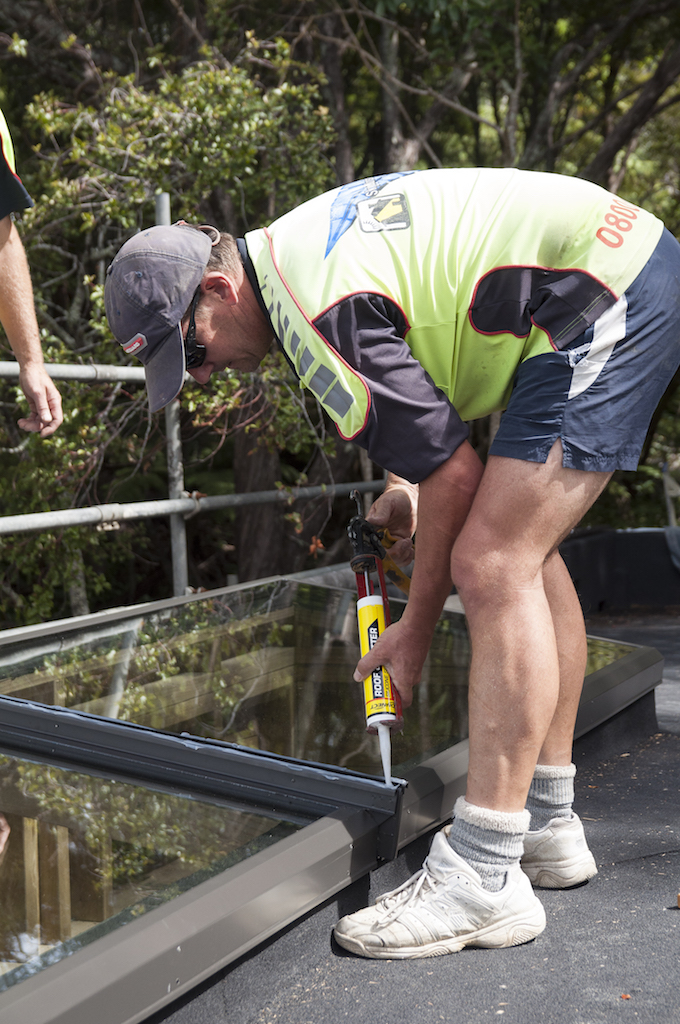
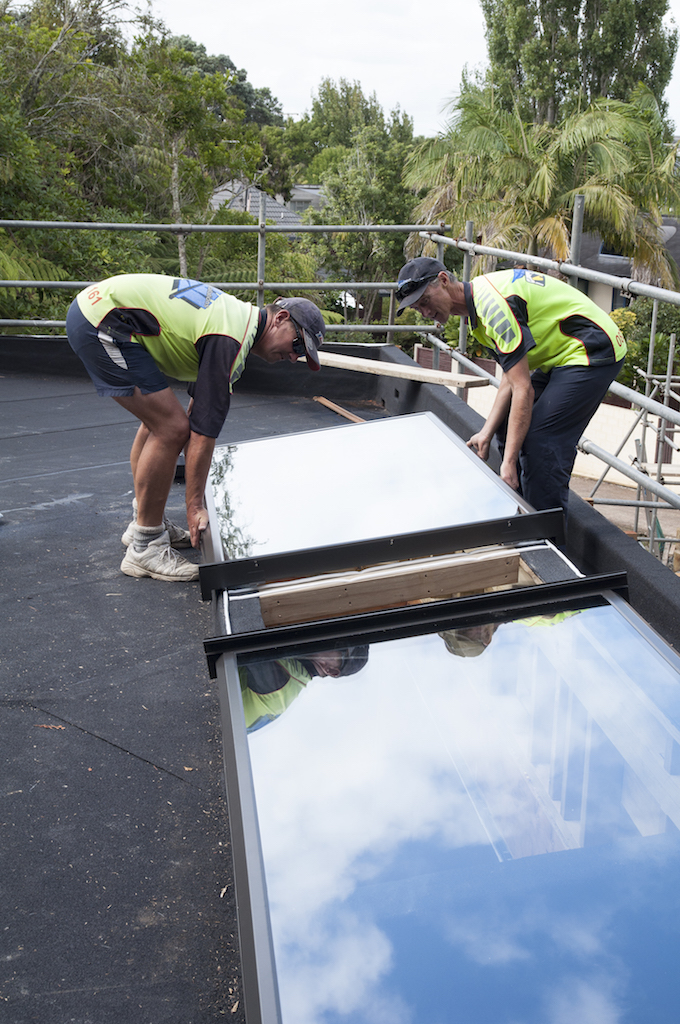
Making everything nice and water tight.
And she’s in. Beautiful!

Ok, there’s a bit of plasterboard to add to tidy the inside up, but check out that view!
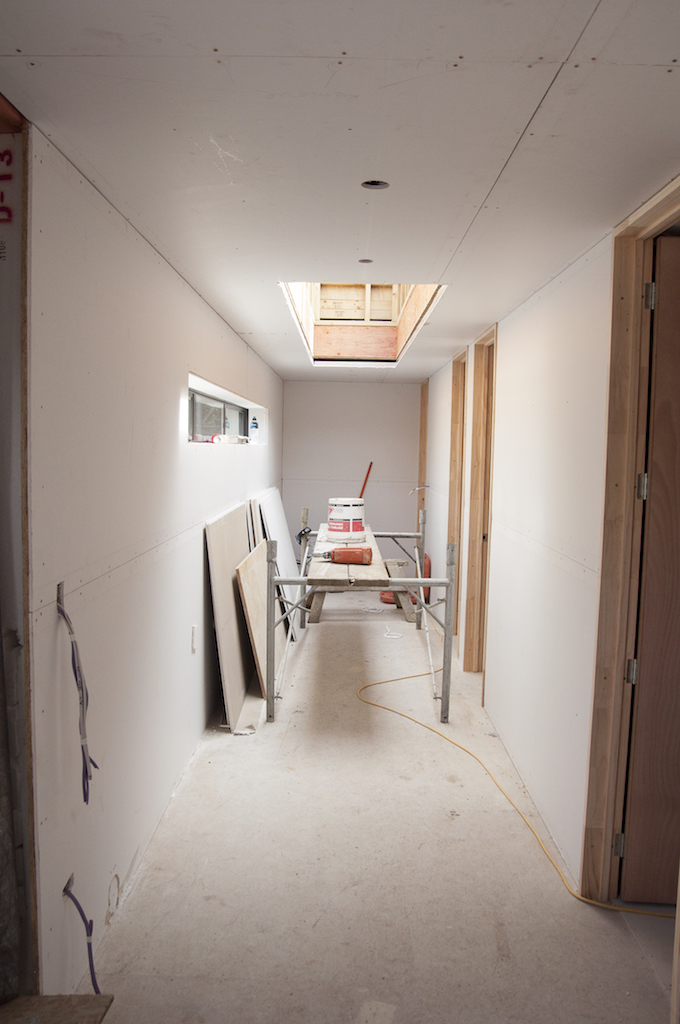
The 4m long opening drenches the hallway in light now.
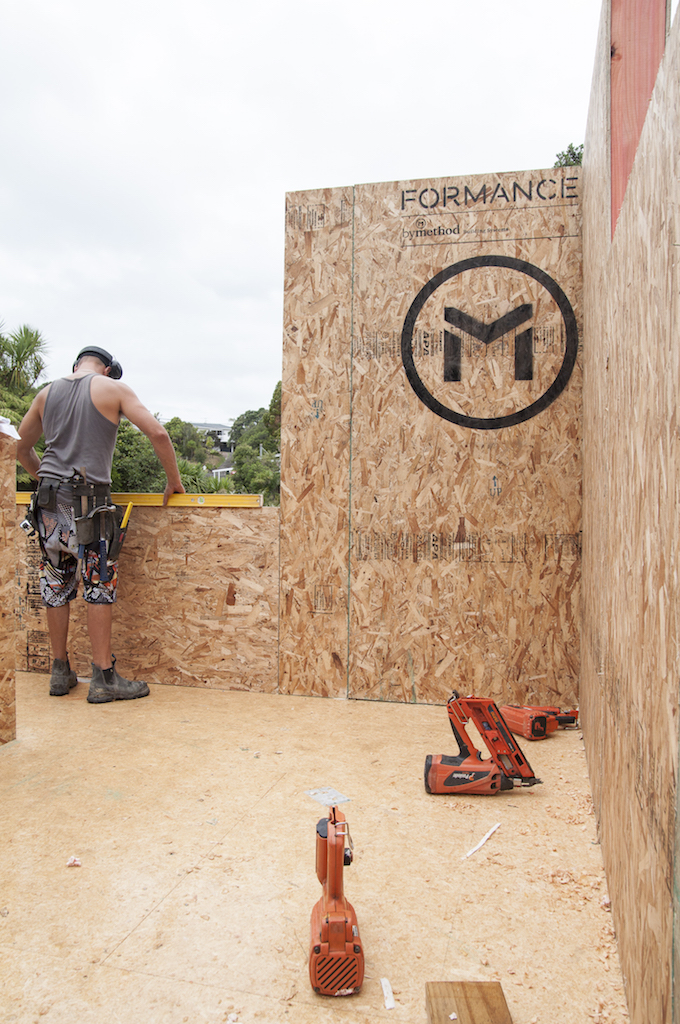
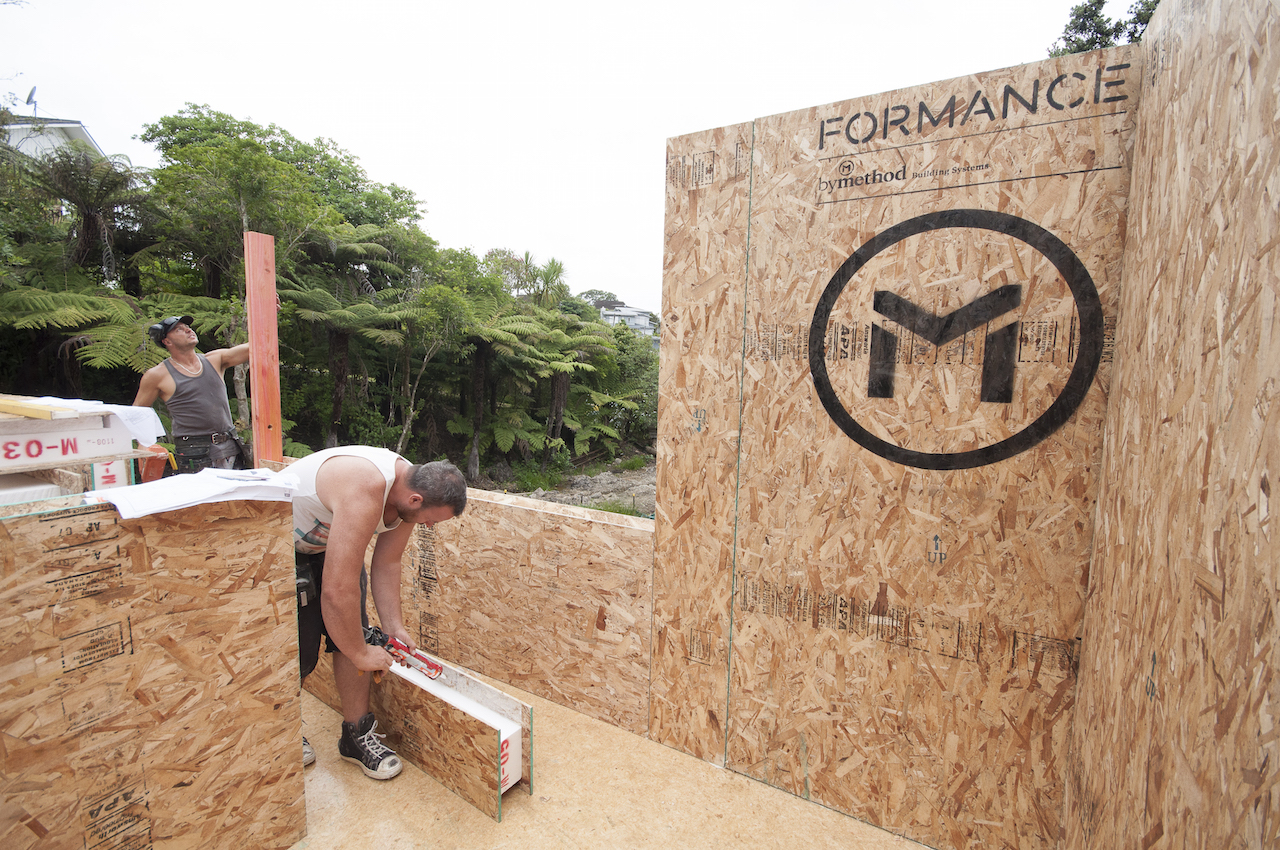
Our living pod has literally appeared before our eyes overnight. Yahoooooo!
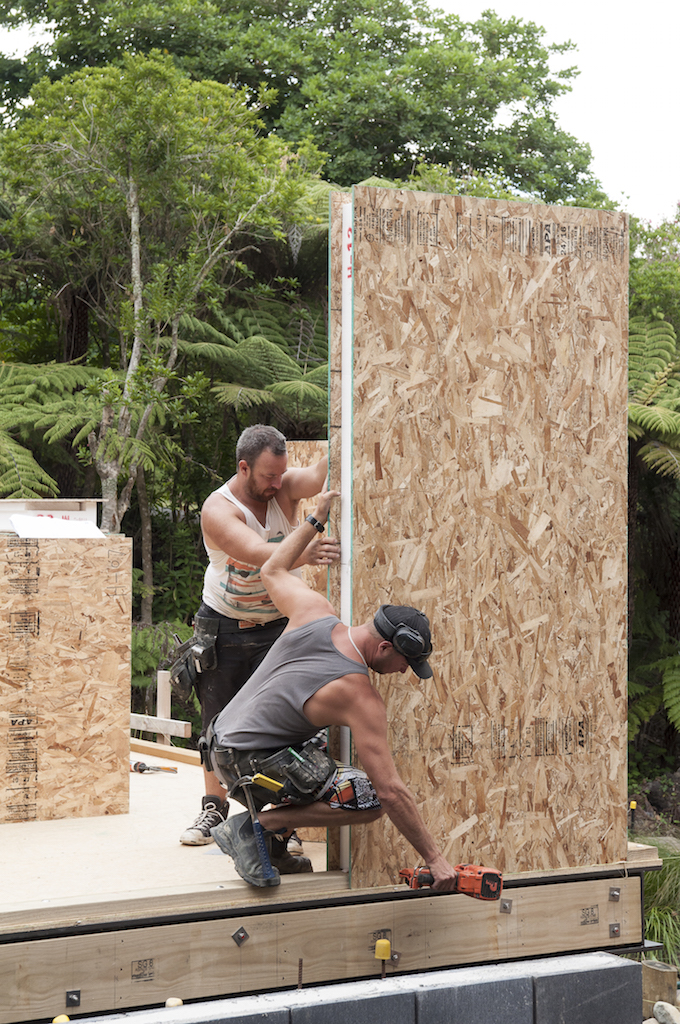
48 hours ago, all we had was piles and blockwork. Then the steel arrived and sub floor went down – then the advantage of building with SIPs became obvious, within hours the front half of the pod was erected from with our Formance SIP panels that had been waiting in storage. Walls and ceiling. If we weren’t still waiting for the rest of the steel to finish the back half of the pod, the whole structure would’ve been up within three days.
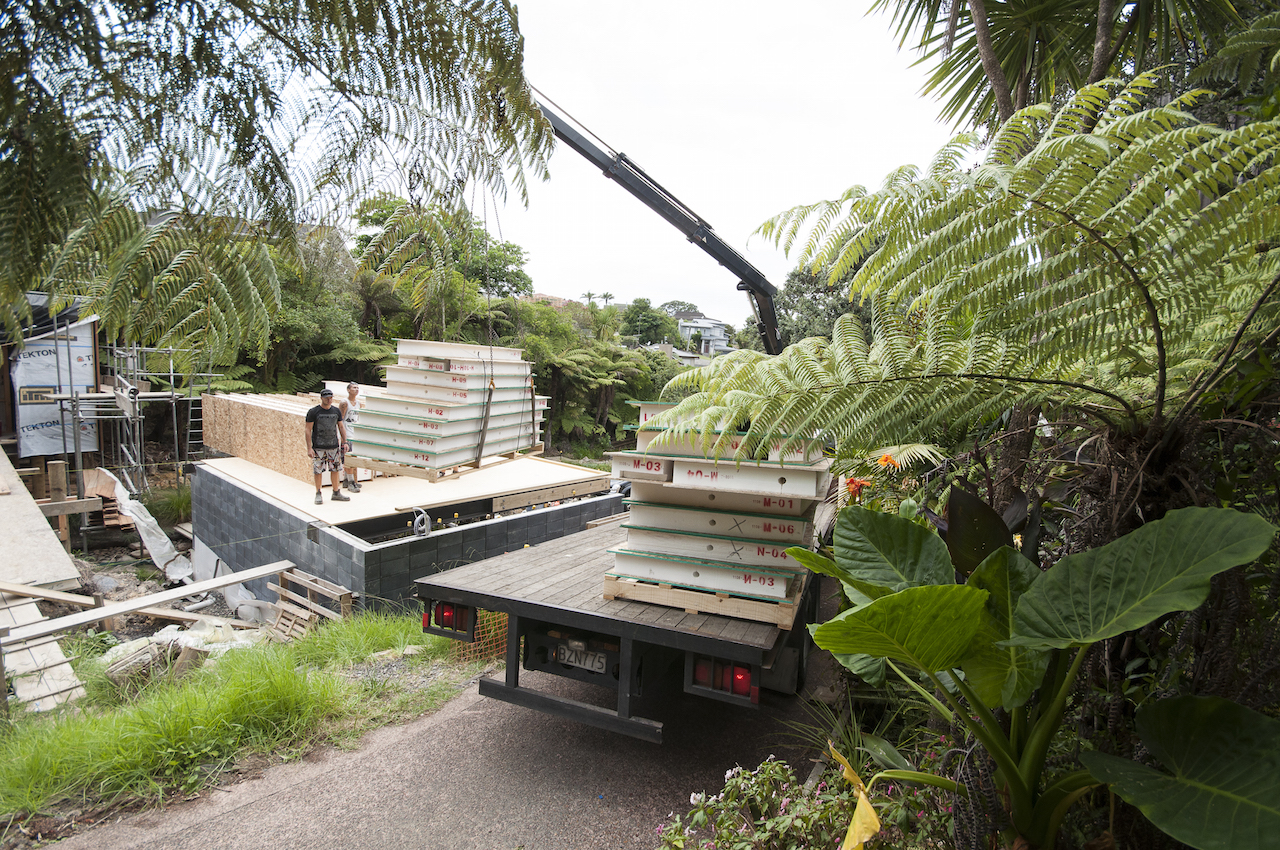
Our SIPs panels for the living pod arriving on site.
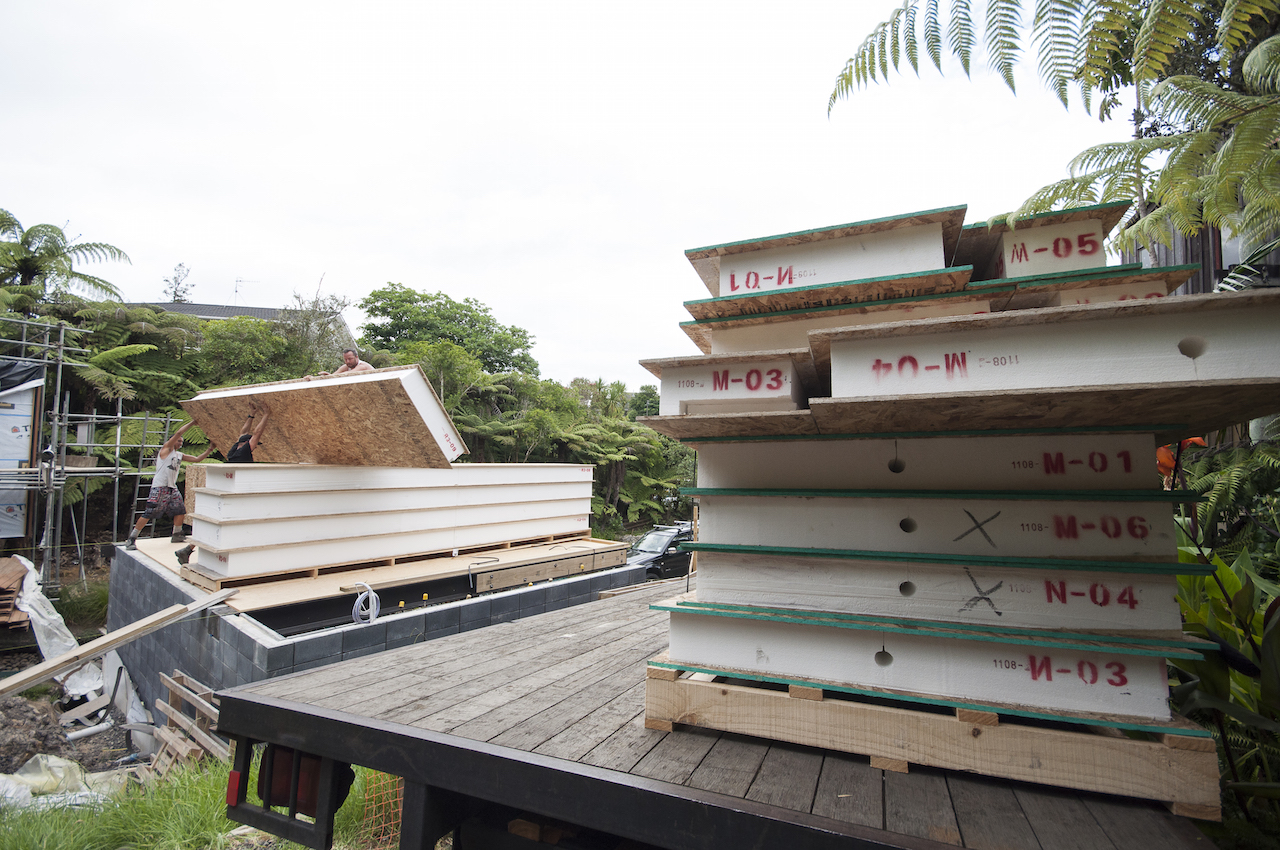
A bit of man handling needed to make space for everything.
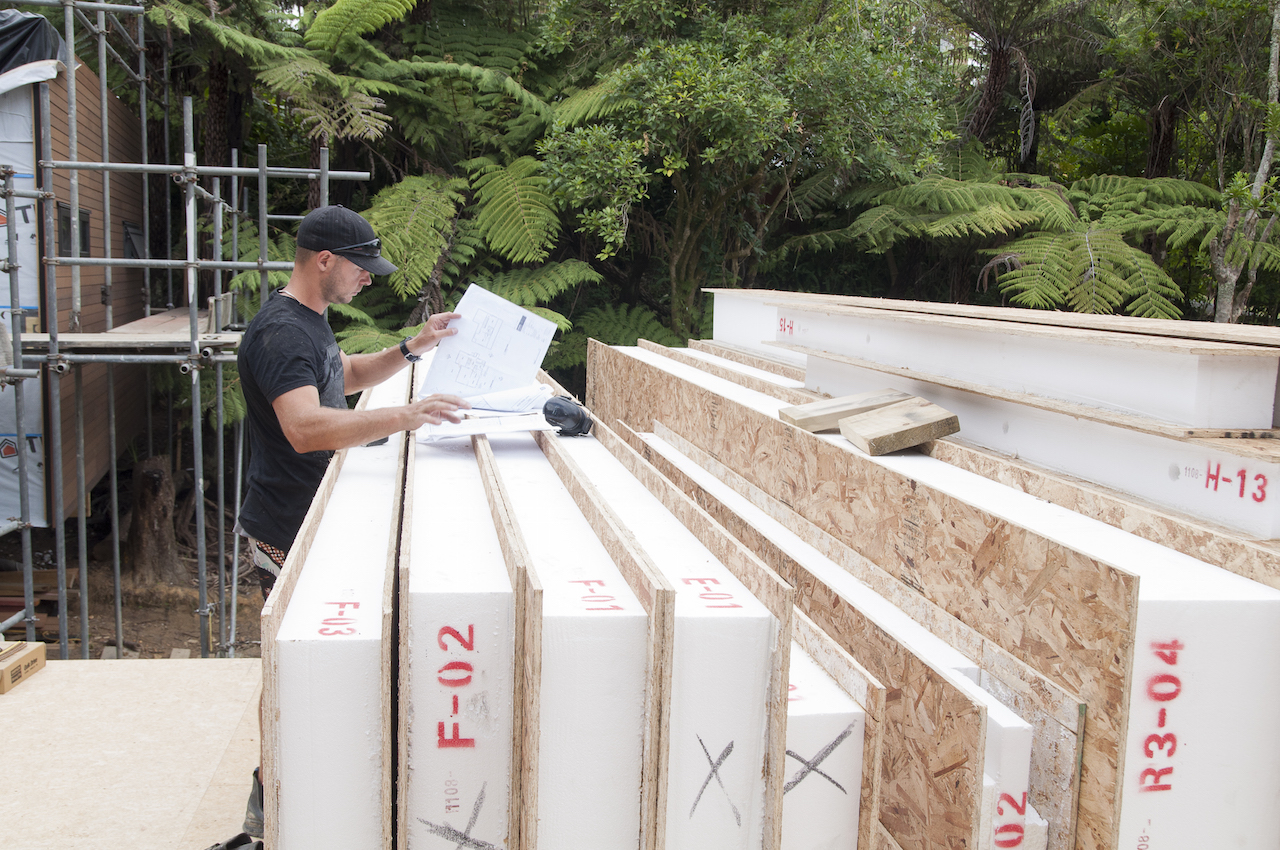
Dan reviewing the panel layout plans before getting stuck into it.
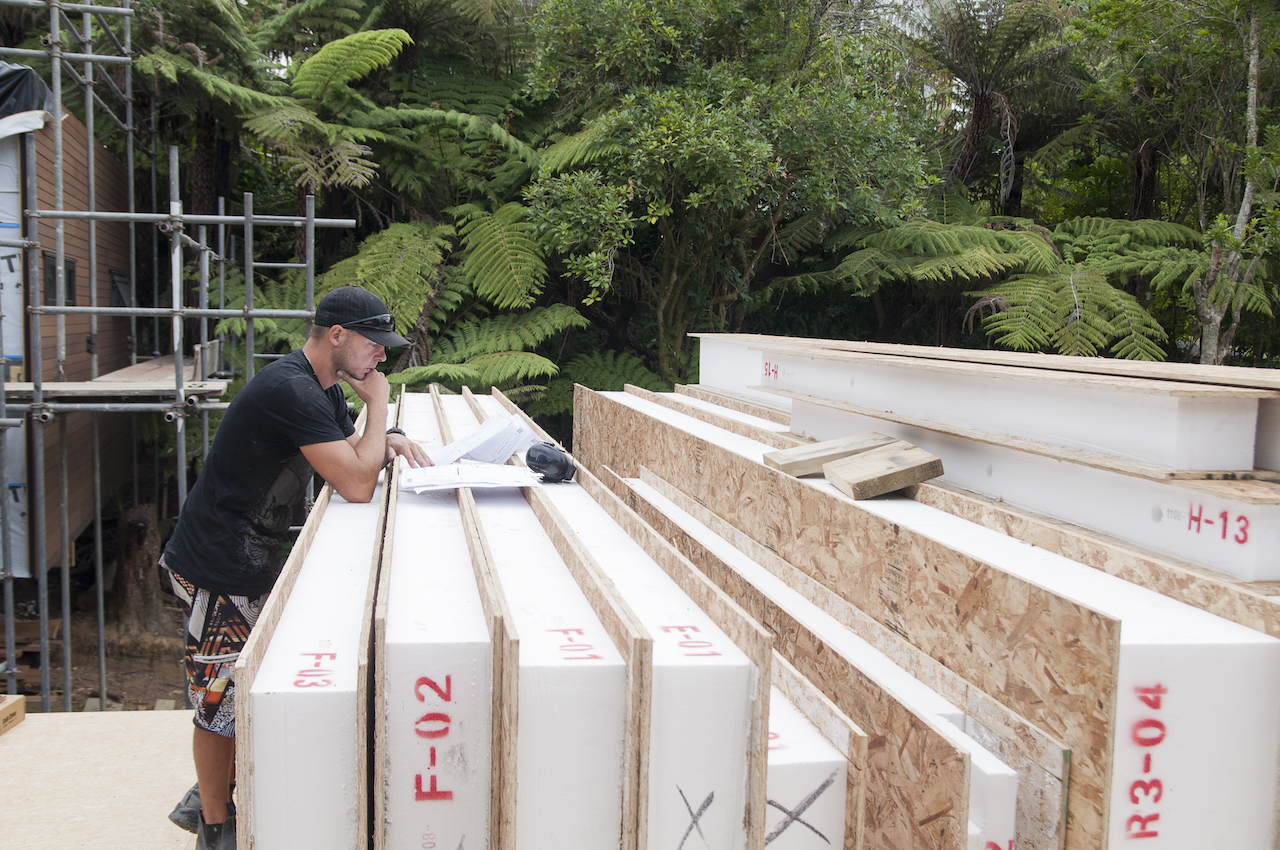
Great thinking pose.
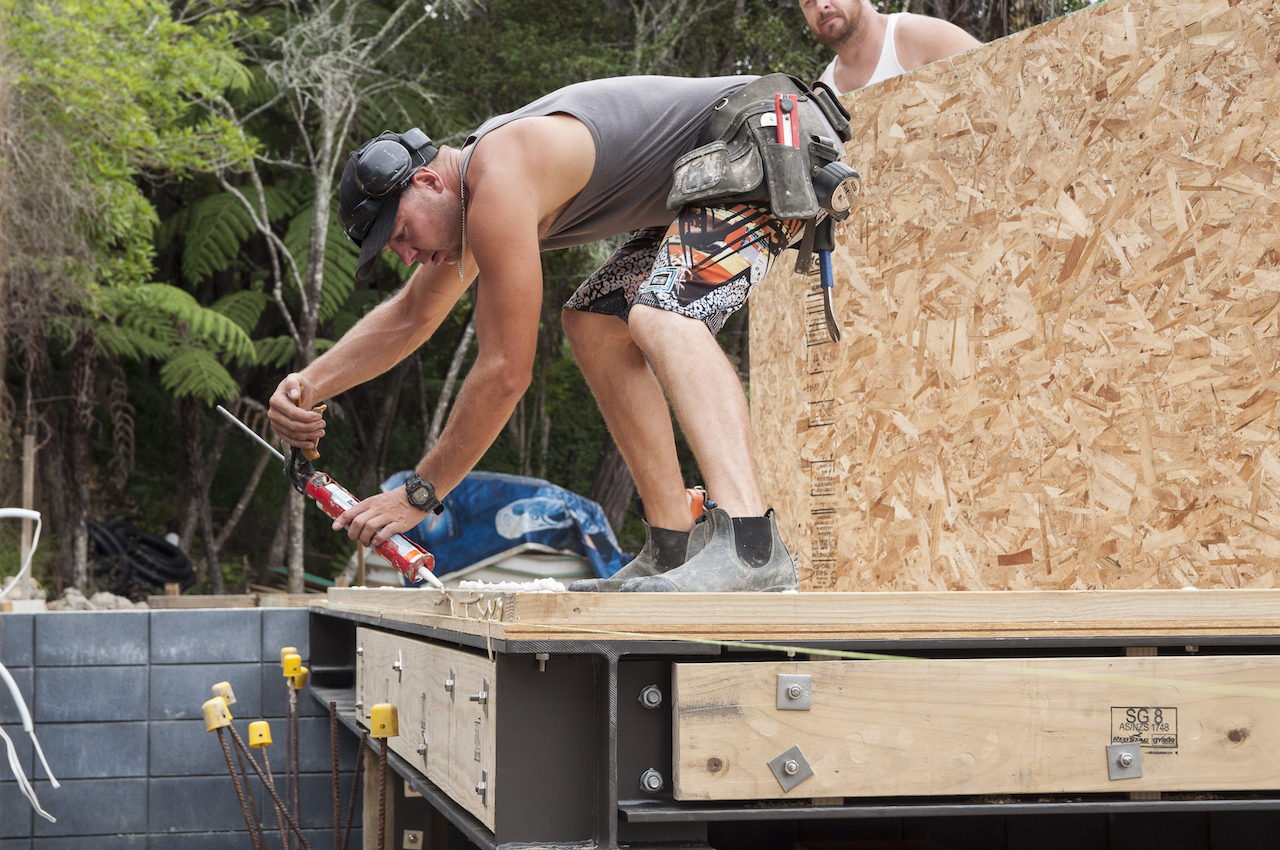
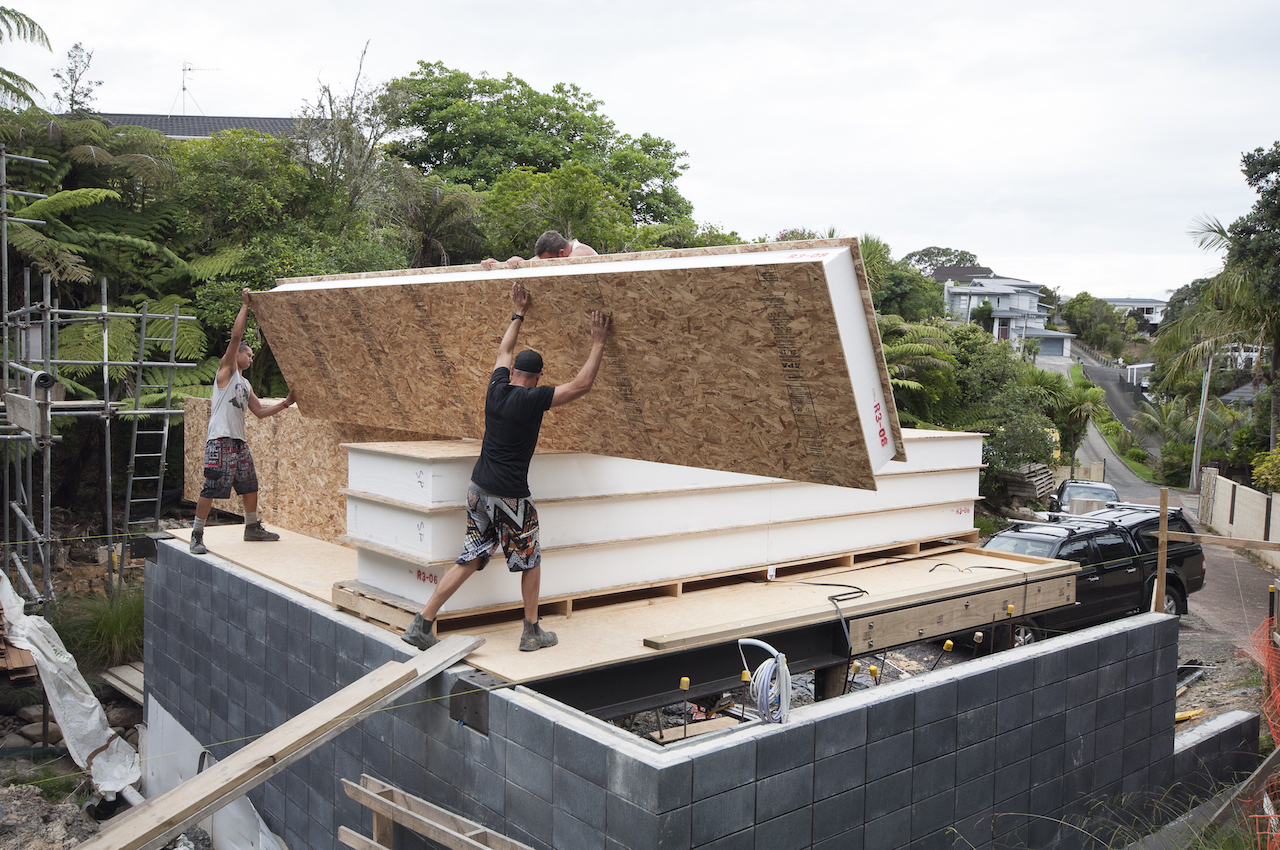
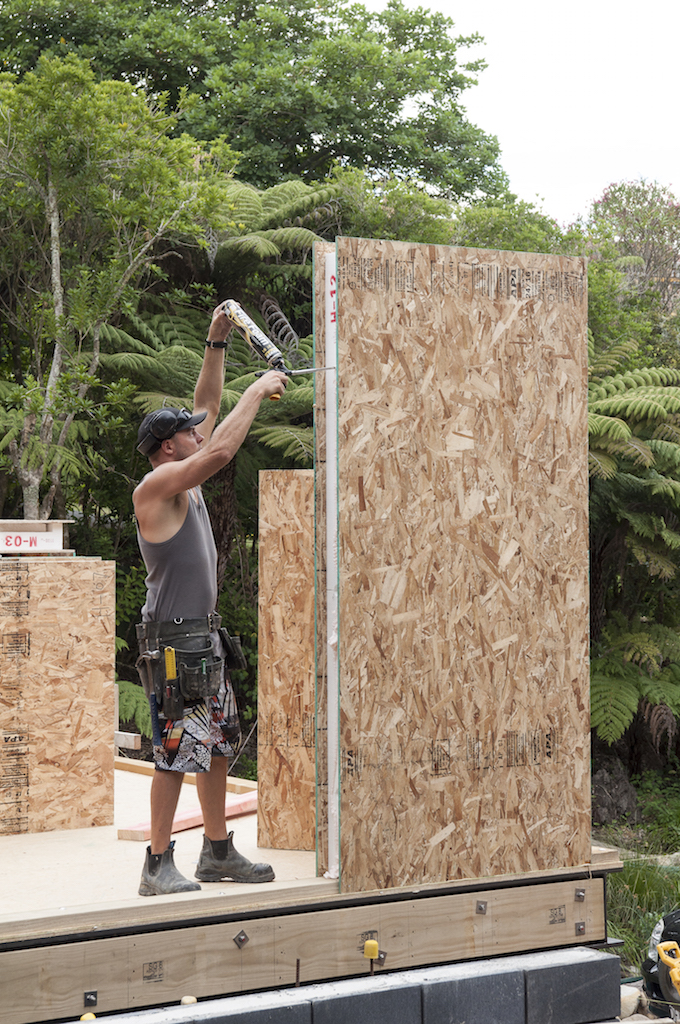
Dan putting down the glue along the bottom plate in preparation for the first panel to be put into place. You can also see the foam that goes down too, to make the joins perfectly airtight.
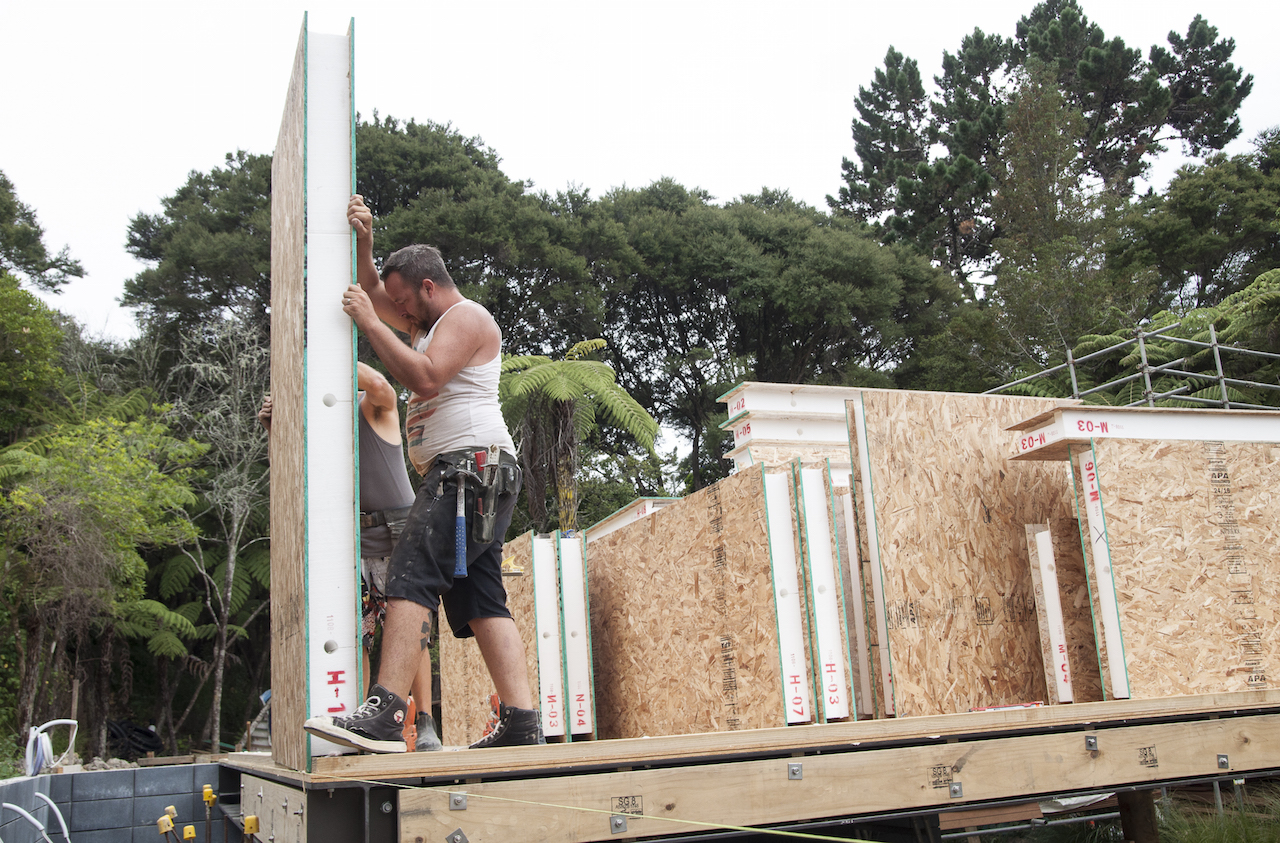
And then like a giant set of lego, the front half of our living pod appeared in a matter of hours.
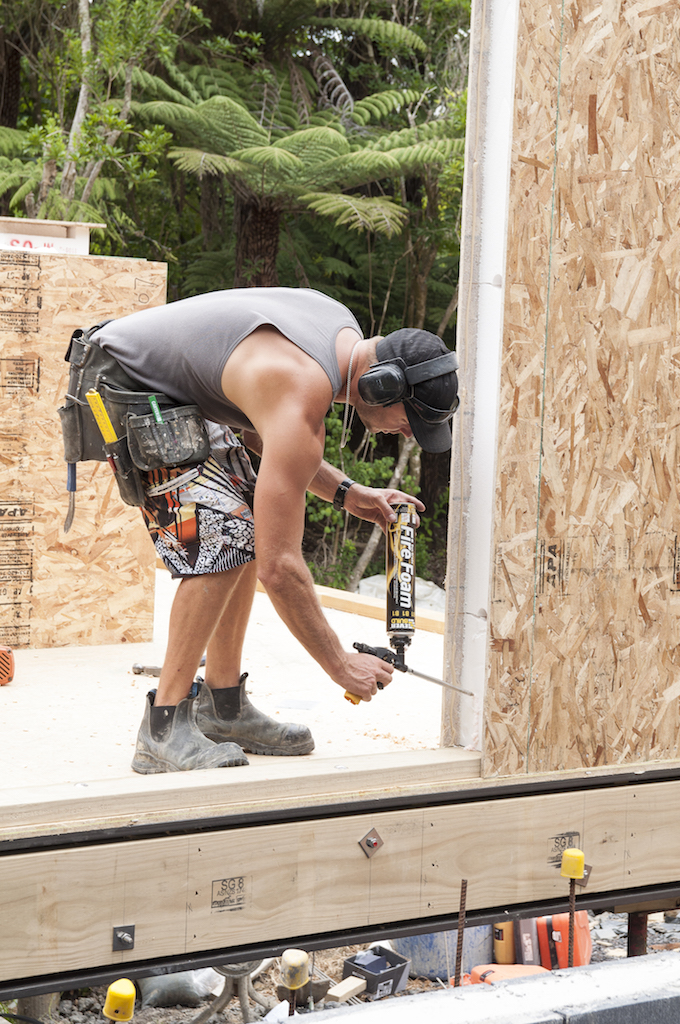
Foam goes between the poly and timber connections too.
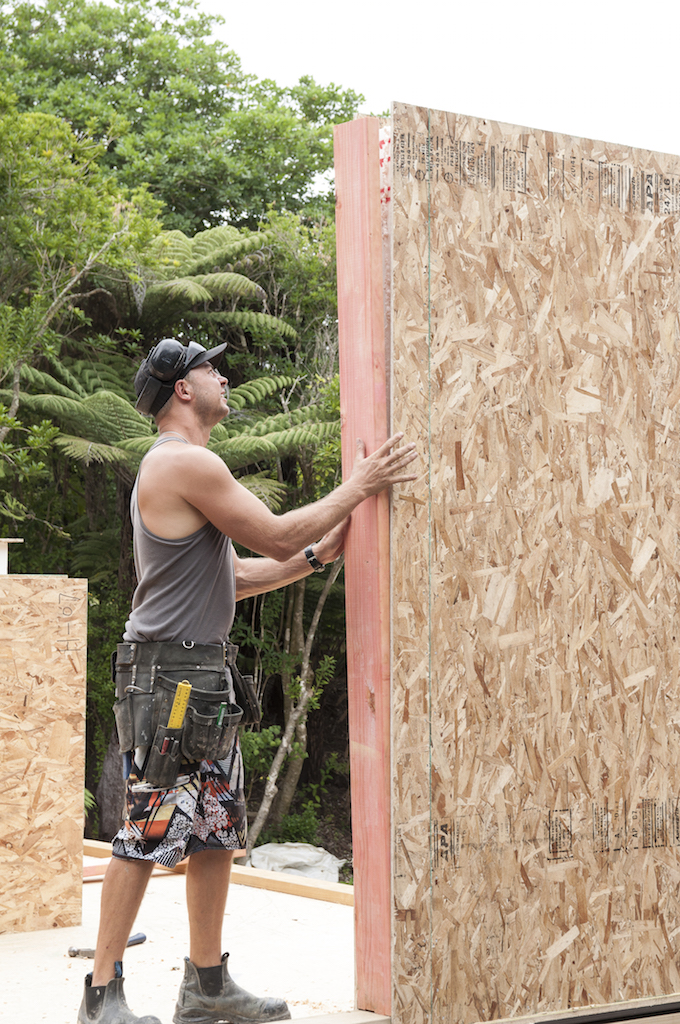
The large window along the front face of the pod starts to appear. She’s nice and level eh Dan?

And voila. So cool to be able to stand in our living pod for the first time, walk around inside it and look out the windows. The dream feels tantalisingly close now!