From the beginning, we’ve shared the vision of having a set of “floating” stairs in our house. An unnecessary extravagance some may say, but building gives you the tantalising opportunity to bring your design desires to life. So since this is our dream home that we’re planning to live in for many years, we’ve been pretty determined about building our very own stairway to heaven.
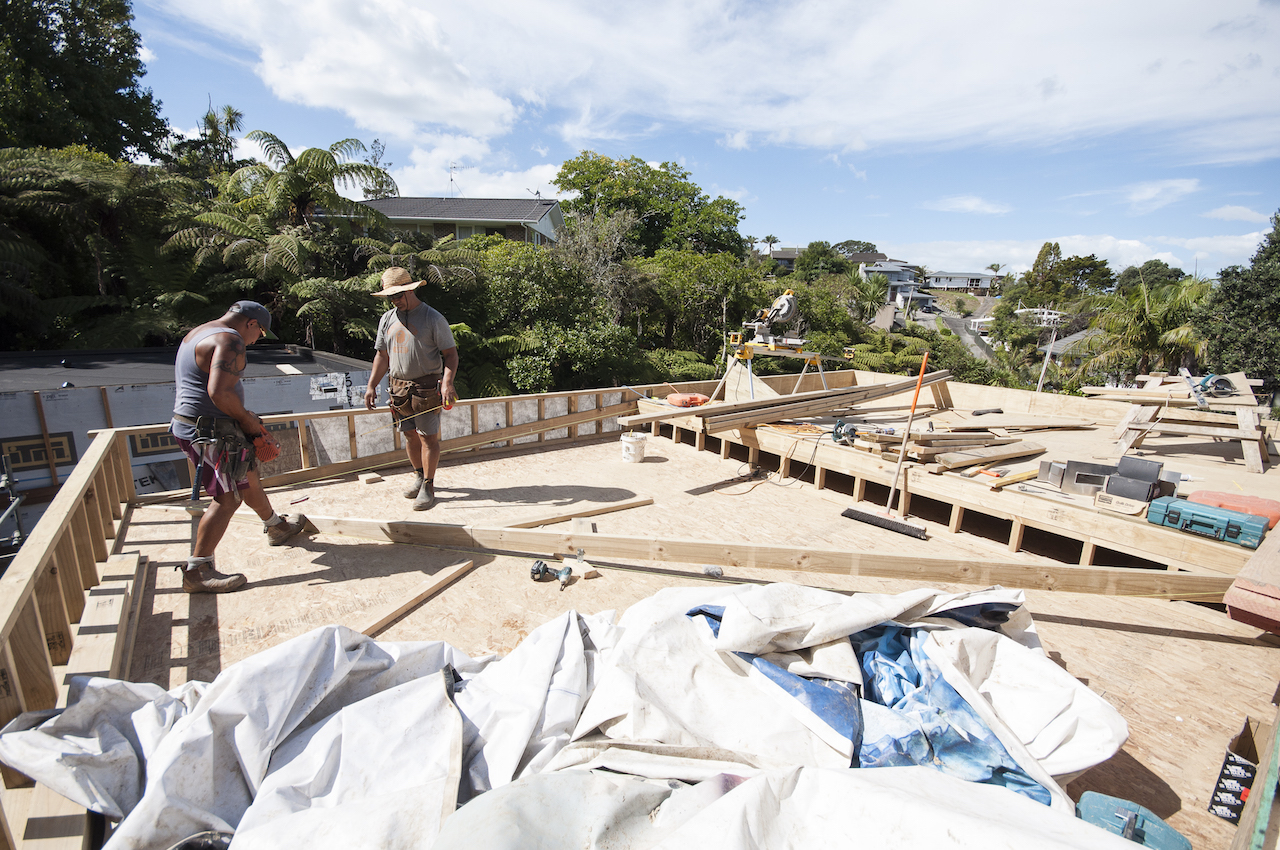
The stairs themselves will be situated in our entry foyer, providing access to our roof-top deck. It’s quite a cavernous space and we felt an enclosed set of stairs, though functional, missed an opportunity to create something special – a sculptural work of art that would be a key feature of our home.
When we began scoping out the construction of the staircase, we thought our builders would whip them up for us. Oh the ignorance! As we discovered, the construction of designer stairs is an art form requiring a set of specialist skills, so we began the hunt for a suitable manufacturer. After extensive online searches, it became apparent that there are just a handful of companies producing the quality and style of stairs we were after.
One that caught our eye was Wellington-based Stylecraft Stairways because their homepage contained images of the exact set of stairs we’d been dreaming about. We were initially concerned about the company being in another city, but our doubts were erased when we found out Stylecraft designs, manufactures and installs stairs every week right around the country, with location no longer a barrier in this digital age.
Since then we’ve been working through the design process with Cindy and the team over email and phone, which has been super easy, as we’ve shared photos and Pinterest boards full of stairs we like and then the guys at Stylecraft would send back 3D models for us to review and comment on.
We’ve now settled on our design and they’re getting made, which is so exciting. We can’t wait to take our first walk up them – with a drink in hand to enjoy on our roof top deck!
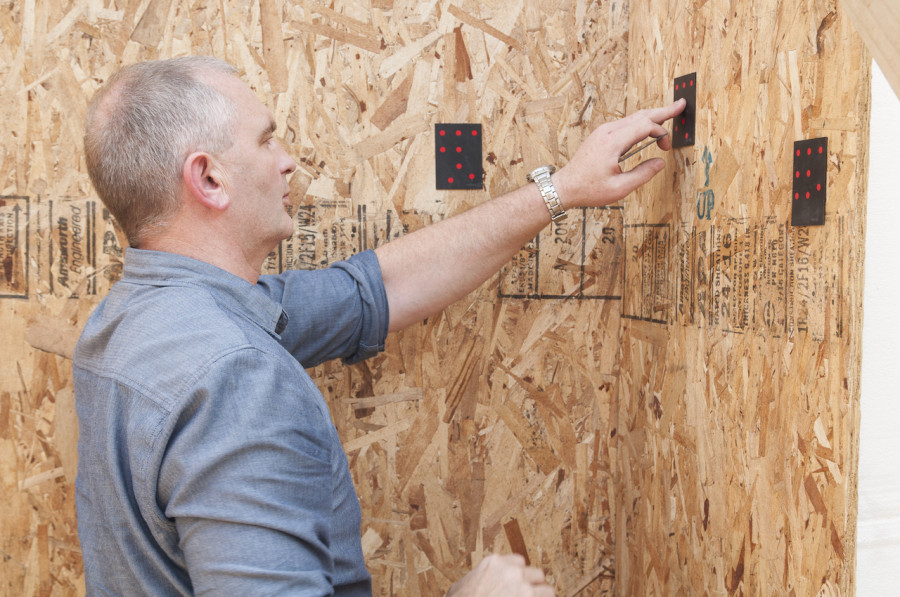
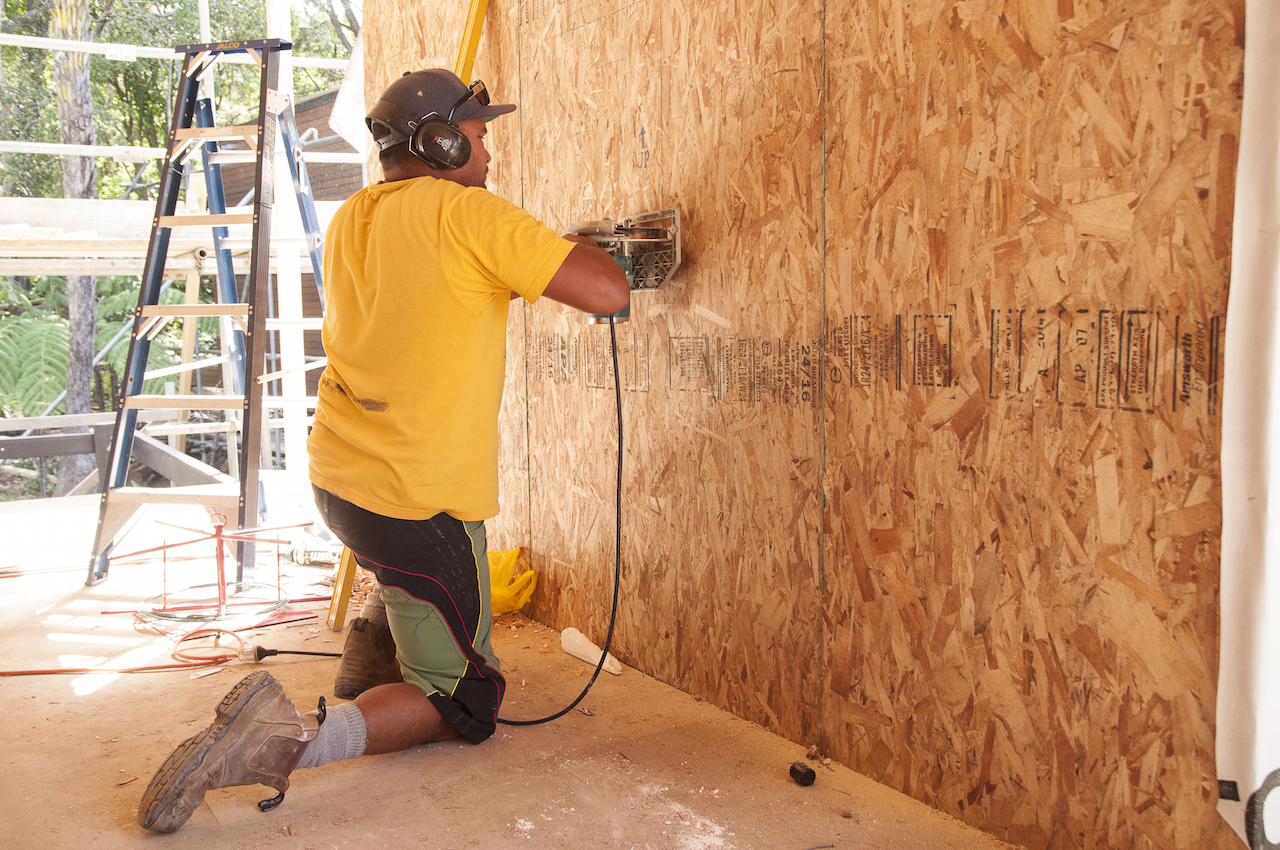
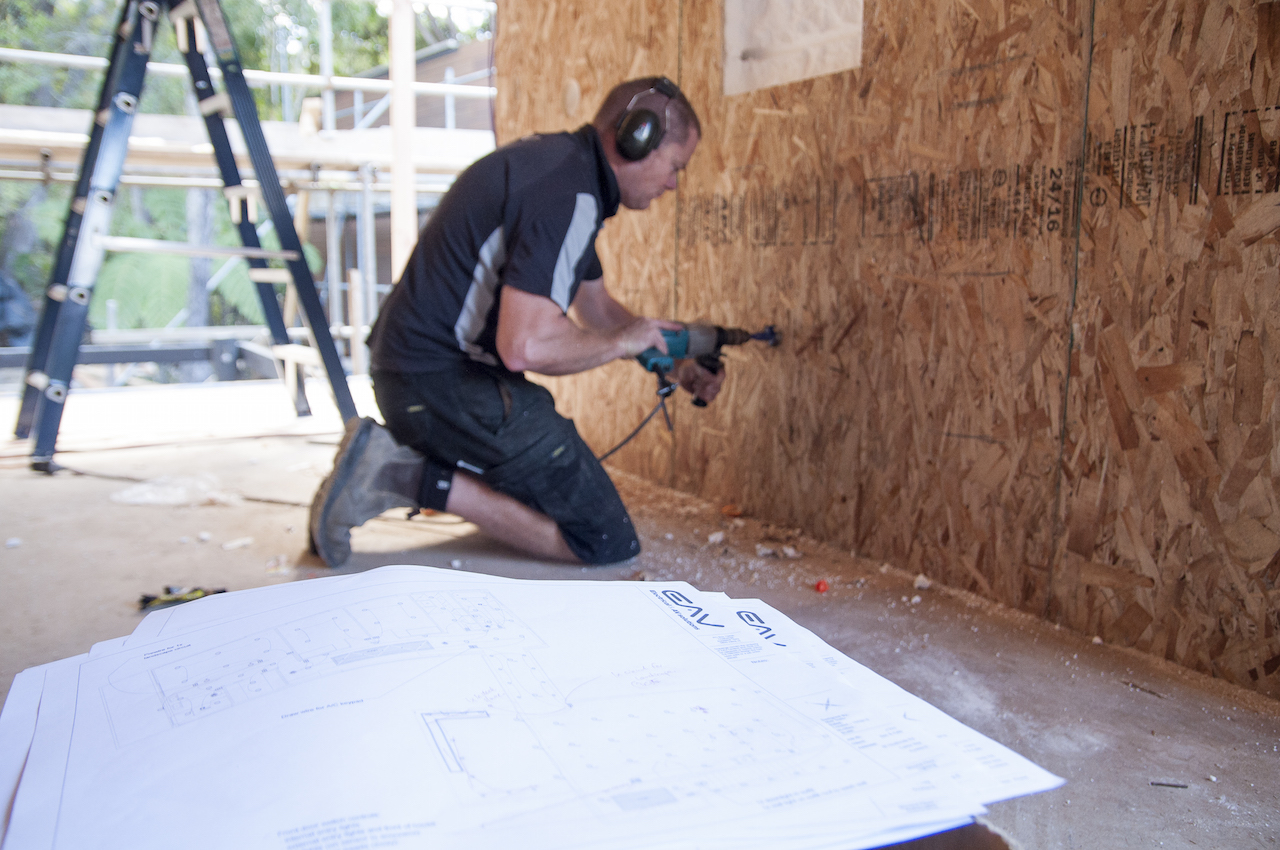
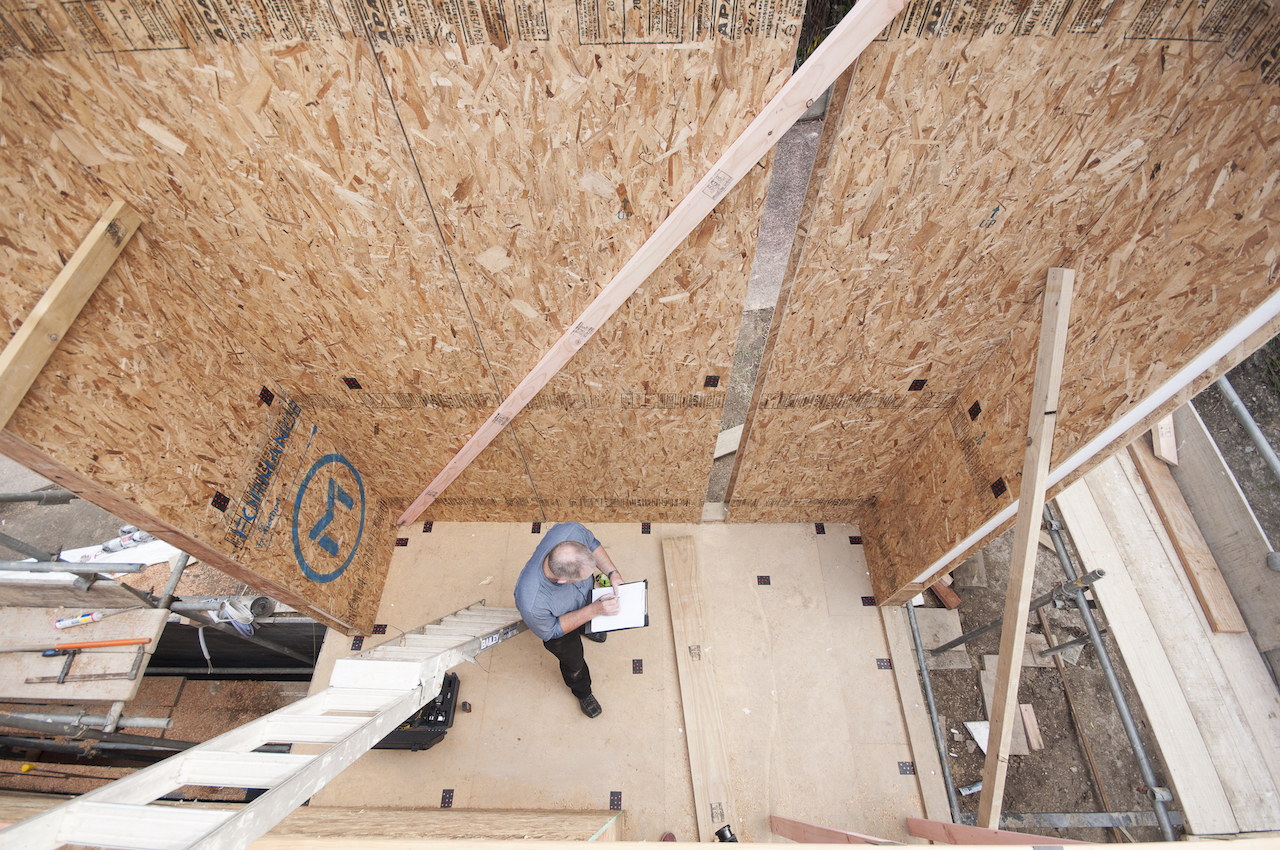
Mike from Stylecraft Stairways putting up reference points around our stairwell during his site measure, the area is then photographed and loaded into CAD software which models the space perfectly. Very cool technology! It also means he can travel the country doing site measures, with just a small case of gear.

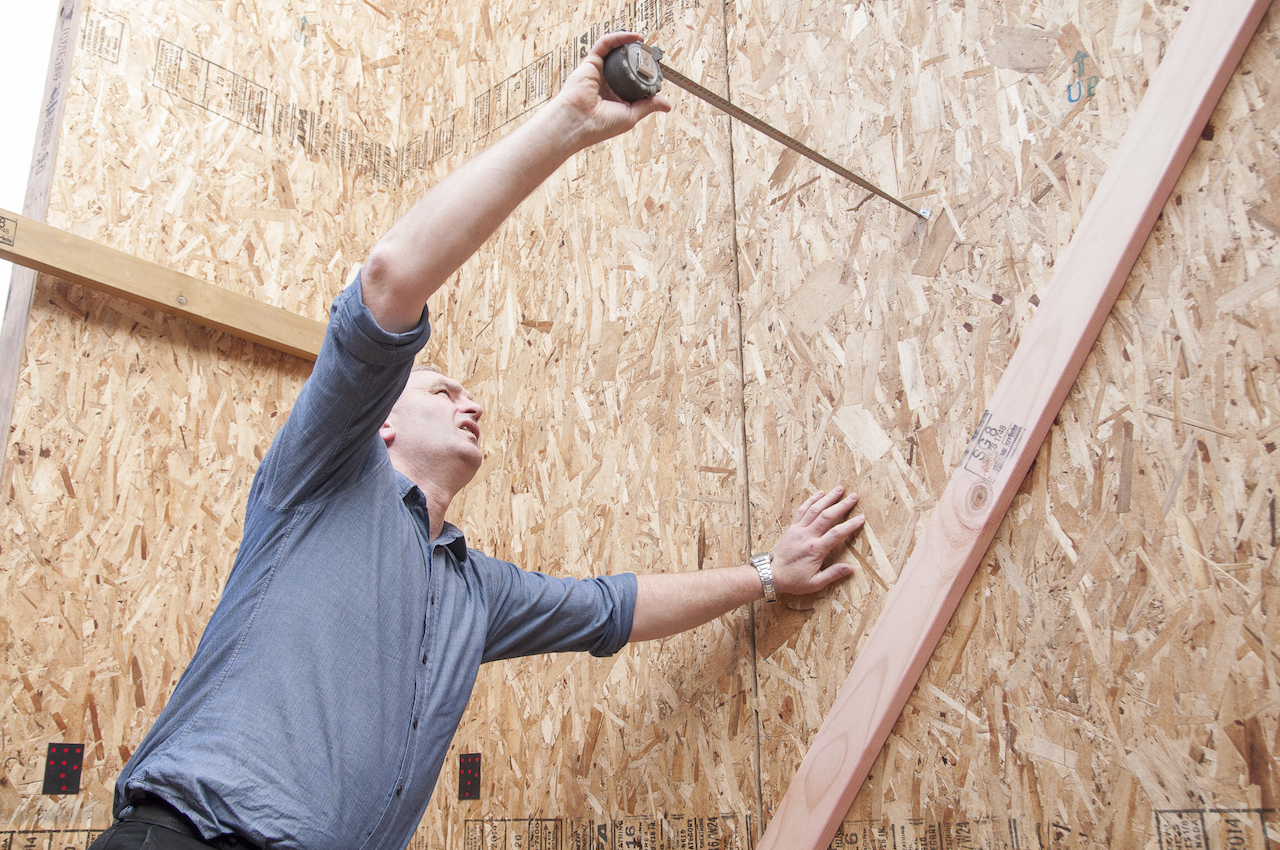
There’s still a need for the old school tape measure though!

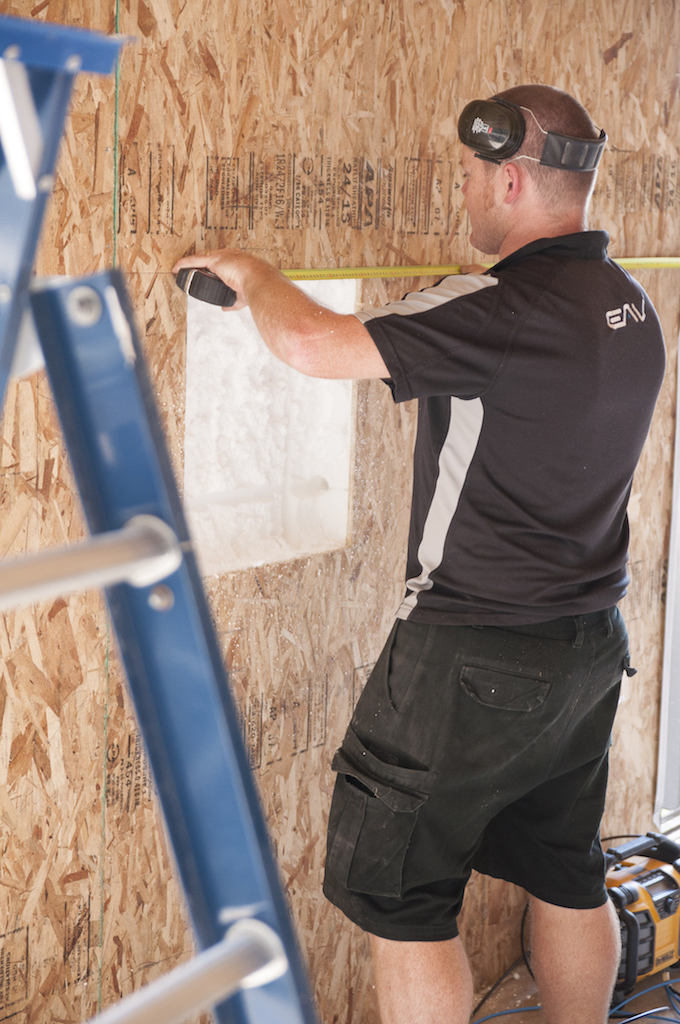
Mike setting up the line laser to assist with creating a perfect site measure. It also keeps the builders honest, with accuracy up to 3/4 of a mm in a space the size of ours.

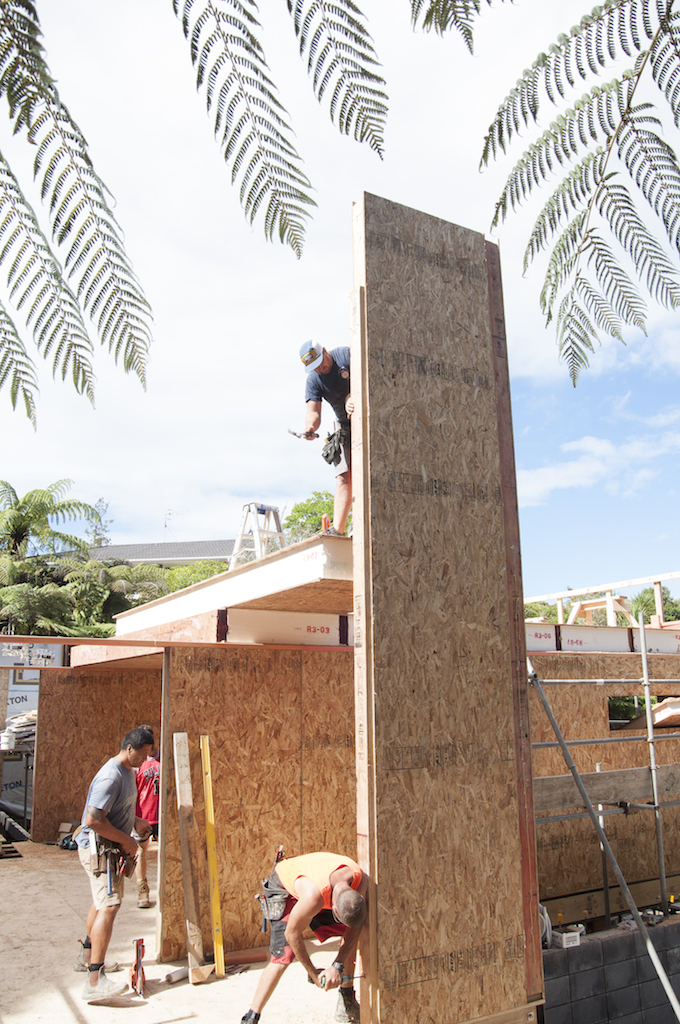
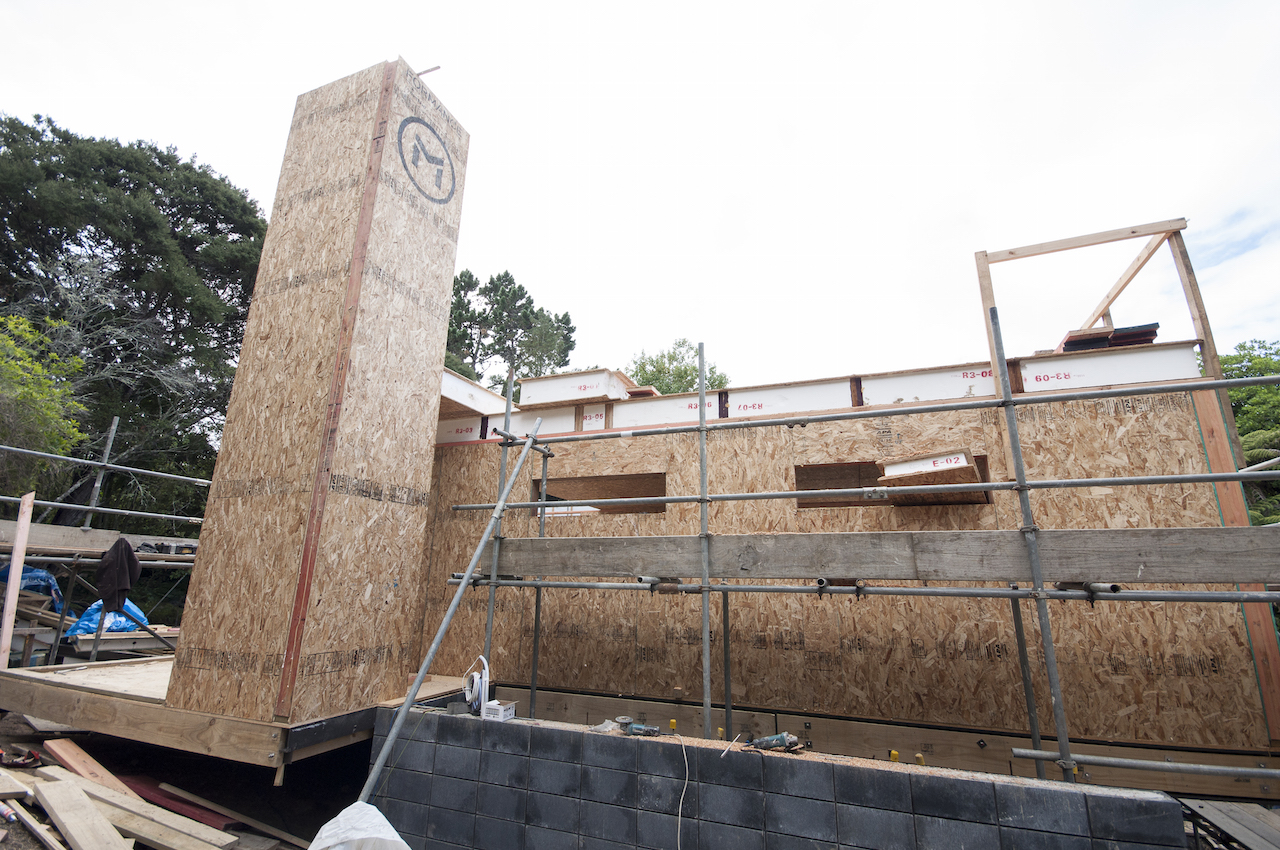
With everything in place, Mike then took down all the measurements. You can also get a sense of the space from this photo, a tall column leading up to our roof deck.
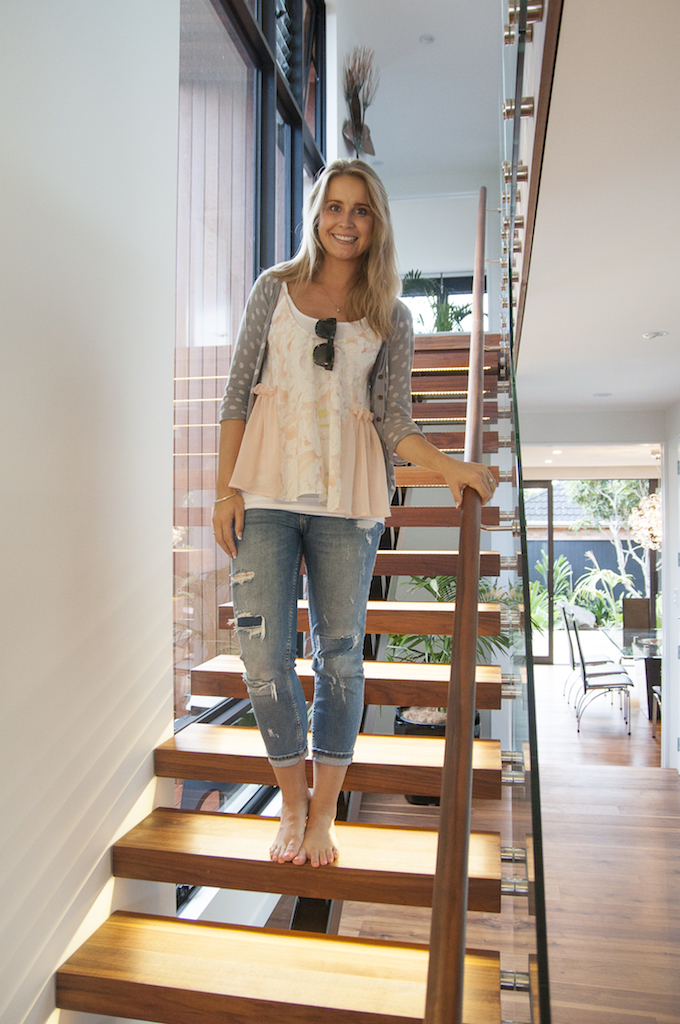
The Stylecraft guys also arranged for us to view a set of stairs similar to ours that they’d just completed in a house in Point Chevalier. If we had any doubts left about choosing to work with Stylecraft on our dream stairs, they dissipated the second we walked through the front door.
They are absolutely beautiful. To see them in the flesh also meant we could view and touch every detail, allowing us to confidently confirm the final aspects for our own stairs.
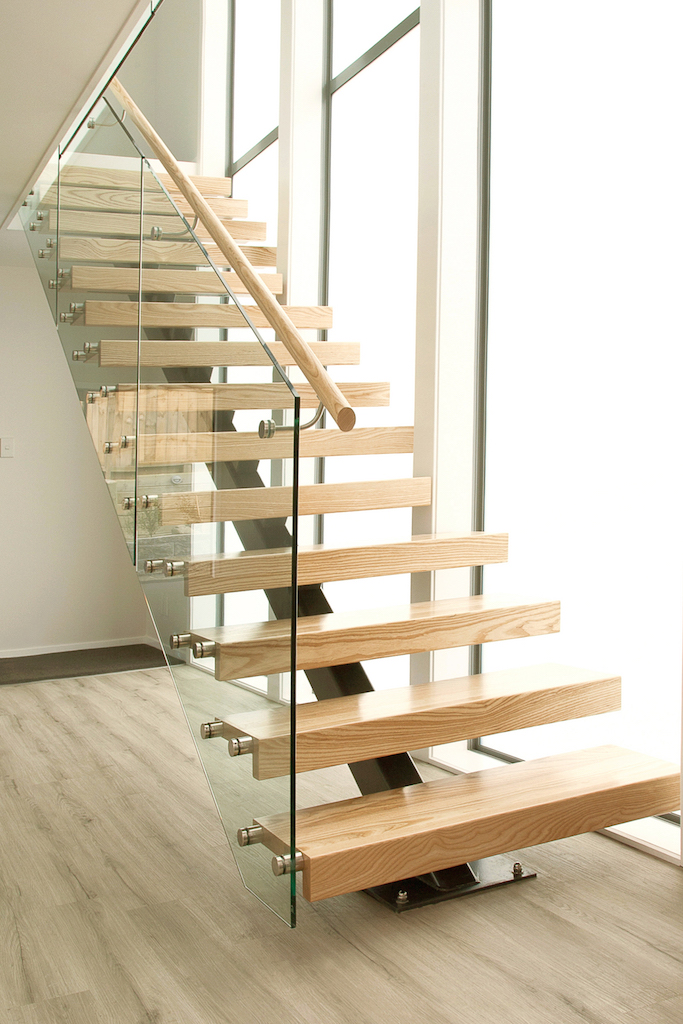
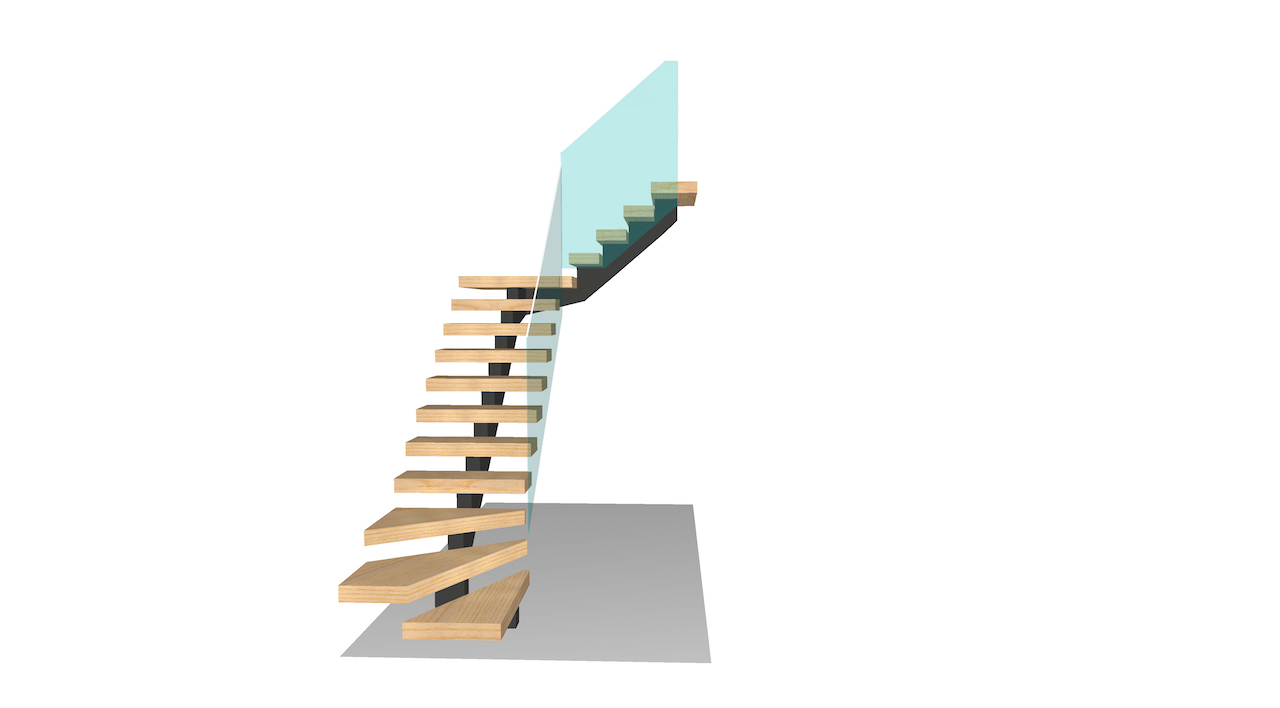
So ours will have a pale timber tread like these ones that Stylecraft have also built. And we’ll have the same steel stringer running up the middle, painted in ironsand, along with a glass balustrade. Although the hand rail will run along the wall.
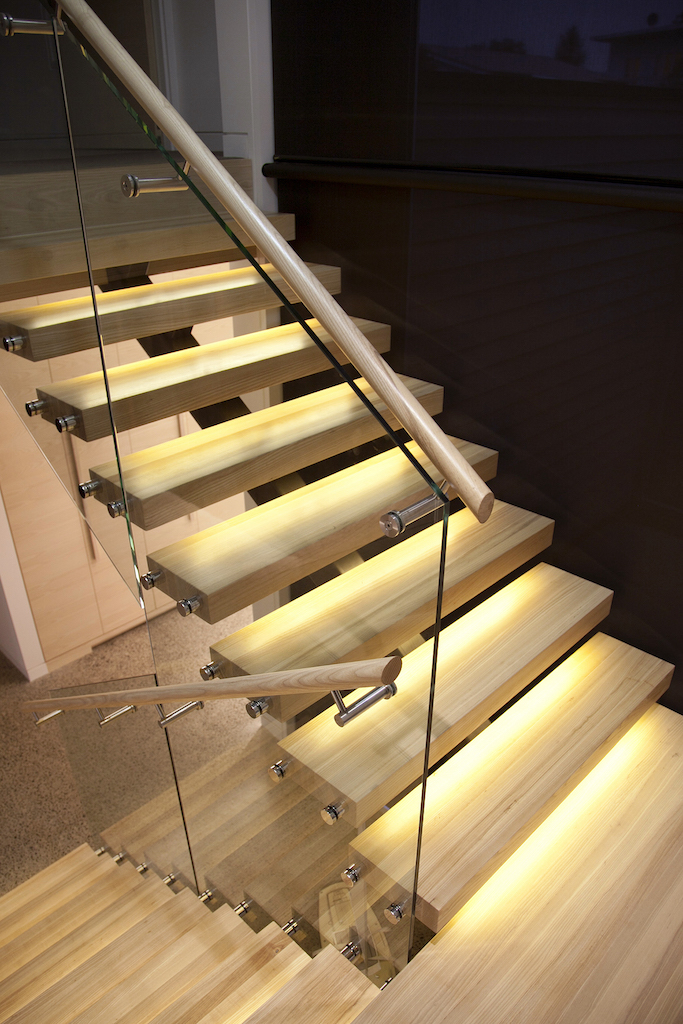
However ours will not be a straight run like the house in Pt Chev, they will kink around a bit like these ones made by Stylecraft, and they’ll also have the LED lighting on the treads.

And here is the actual 3D model of what our stairs will look like, including the pale timber treads and an ironsand coloured steel stringer. Yummo!


