Our Build

Diary

Underfloor Insulation

We had the Mammoth Insulation guys on-site this week installing all of our underfloor insulation.

Given how well insulated the rest of the house is, we knew it would be irresponsible of us not to use the best possible products, so as not to comprise the thermal integrity of the house, as up to 14% of heat can be lost through your floors.

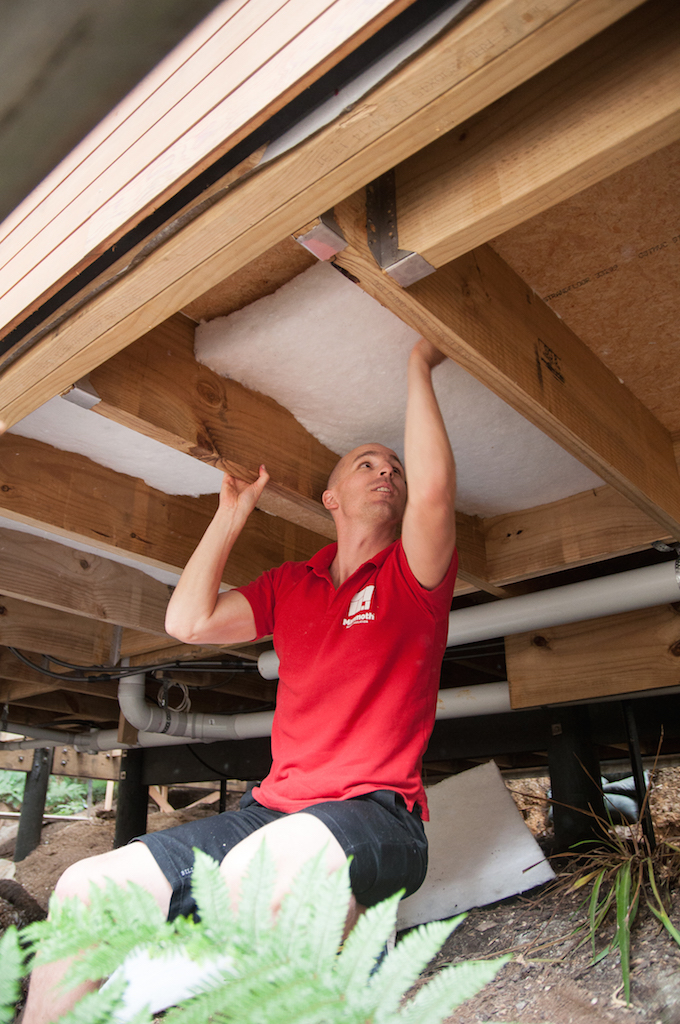
After some research and shopping around, we eventually settled on Mammoth Multi Underfloor. Before this construction adventure, we knew very little about insulation and thermal performance. But we’ve become pretty well versed in heat transfer and R-values, so it made sense to us that we use this unique, friction-fit system.

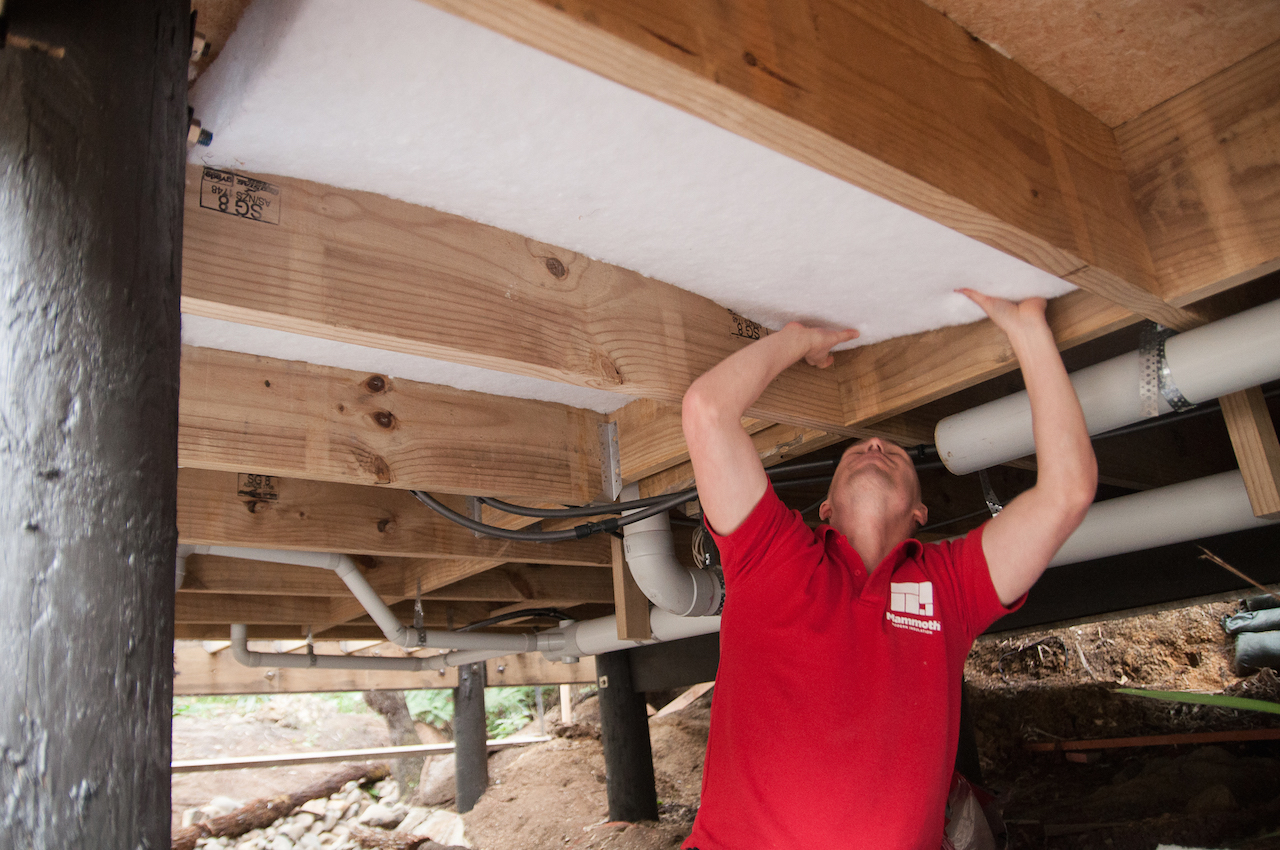
As opposed to other products where their insulating properties are compromised when they’re stretched as they get stapled or strapped in the floor cavity, Mammoth Multi Underfloor is a self-supporting form of polyester. You simply cut sections slightly larger than the joist space and squeeze them into position, friction holding them securely in place. This also compresses the fibres and maintains the insulating performance and corresponding R-value.

Ben and Kylie Underfloor Mammoth Insulation 6

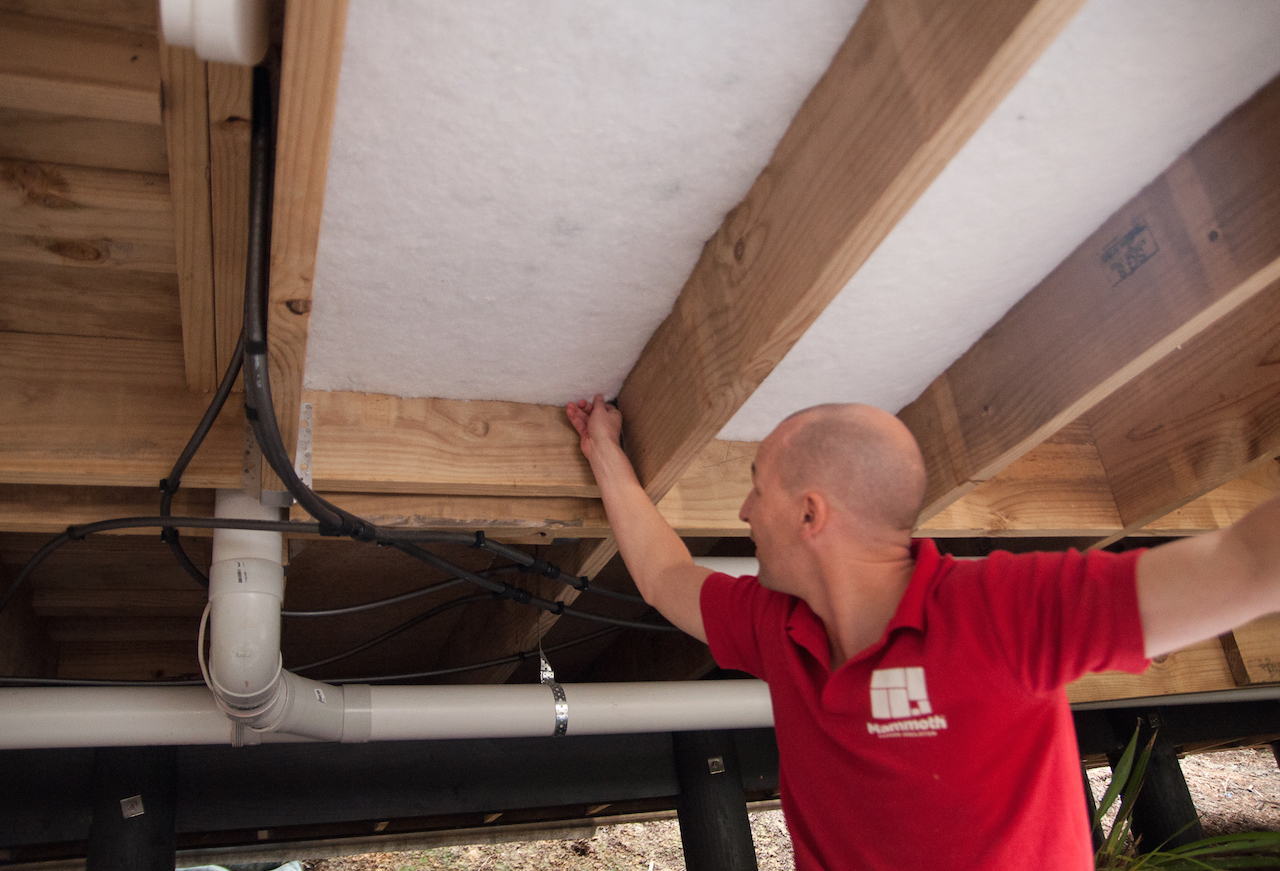
The insulation is slightly wider than the gaps in the floor joists, with friction all that holds them in place. Making for a super fast installation process and a thermally superior insulation solution.

Ben and Kylie Underfloor Mammoth Insulation 5

Ben and Kylie Underfloor Mammoth Insulation 4

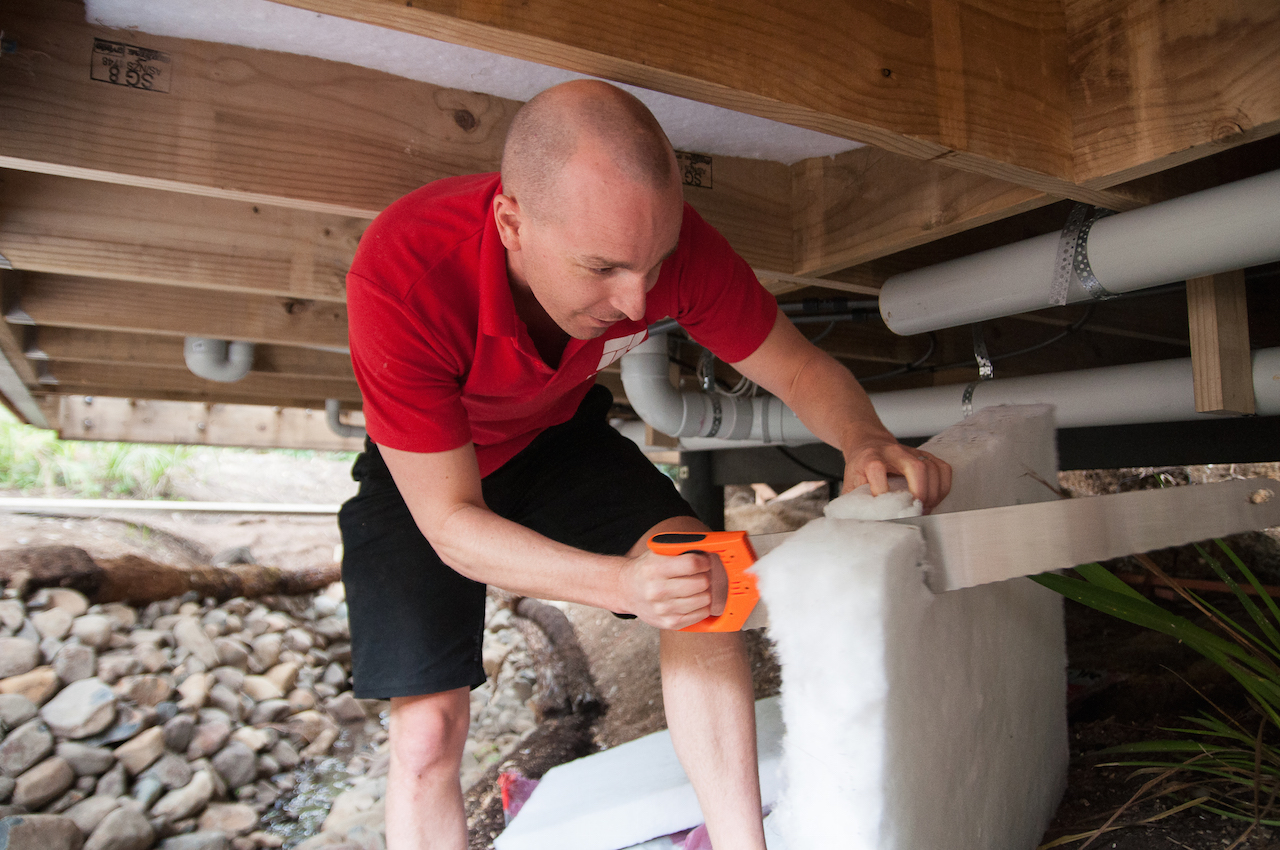
They cut and rip easily to fit them in and around joists, bearers and in our case, waste water pipes.

Ben and Kylie Underfloor Mammoth Insulation 3

Ben and Kylie Underfloor Mammoth Insulation 2

Nice and tight for cosy toes all night!

Ben and Kylie Underfloor Mammoth Insulation 1r

Our giant LevelStep Stacker door

I went along to the Rylock factory to watch our giant LevelStep Stacker door being made. Seeing it in the flesh, it’s an absolute giant, but after all it is the entire end wall of our living pod! Can’t wait to see it in the house and to able to take advantage of the perfectly level transition between inside and out – perfect for entertaining and BBQs!

DSC_0508

You can see the frame in the foreground – the door itself is 6m long by 2.4m high, but because it slides back over the cladding, the frame is about 8m long. Huge!

DSC_0493_1

The Rylock team assembling the individual door panels that sit in the big frame. There are 3 panels that slide back onto each other and out over the cladding, literally sliding the entire wall away.

DSC_0506

DSC_0525

DSC_0524
DSC_0504_1

DSC_0499

DSC_0496

DSC_0575

You can see the opening at the rear of the living pod where the door is going.

Checking out our kitchen and other cabinetry.

We had a pretty exciting afternoon today – we got to go and see our all-but-finished kitchen and other cabinetry. Dean and his DL Cabinetmaking team had assembled everything for us to view in his factory before sending it all off to get sanded and then coated with a blonding and waterproofing paint/stain/product.

When we walked in we couldn’t believe it was all ours as it filled most of the factory floor. But it is our entire kitchen, 2 wardrobes, a walk in wardrobe, full laundry, internal doors, vanities and other custom storage and shelving.

It all looks so awesome. The detailing and craftsmanship is incredible and after deliberating for so long about what timber to use, we couldn’t be happier with our choice – gaboon marine grade ply. We didn’t want to see the ply detail as didn’t want a bach like feel, so Dean has concealed all of the ply edges and you would never know it was ply. But we love the tone (will go slightly blonder when stained) and grain which is why we chose it.

DSC_0383_1

Kylie opening the cupboard that will conceal our fridge.

DSC_0404

DSC_0387

Plenty of storage!

DSC_0388_1

Love the custom recessed handles on our tall cupboards. A detail carried through to the laundry, wardrobes and vanities.

DSC_0393_1

Testing out our F&P oven.

DSC_0401

DSC_0414

What, all of this is ours?!


Living pod gets some cladding

Finally the living pod is catching up with the bedroom pod and it’s starting to look pretty damn good with most of the cladding now on.

Paul cutting a mitre on the end of a board - it's a time consuming and perfectionist job cladding the house.

Paul cutting a mitre on the end of a board – it’s a time consuming and perfectionist job cladding the house.

DSC_0373


DSC_0380

Mmm, mmm.

Mmm, mmm.

DSC_0455_2

Kylie and her Dad doing an awesome job oiling the cedar. How good does that vertical contrast look!?


DSC_0430

DSC_0433


DSC_0442_1

Living Pod Roof. Check.

It’s been great to see the Nuraply 3PM roof membrane being applied to the roof of our living pod, and now it’s fully water tight. Yahoo! Just like over on the bedroom side, I’ve been fascinated watching the Terracon guys torching the membrane on, with the last of the cap-sheet on, she’s all ready to begin building our roof deck. Beers anyone?

The ply down and falls created, waiting for the primer to be painted on. From the roof, you suddenly remember that we have neighbours!

The ply down and falls created, waiting for the primer to be painted on. From the roof, you suddenly remember that we have neighbours, while inside you’d have no idea!

The base and cap sheets waiting to be applied.

The base and cap sheets waiting to be applied.

Base sheet down and Lyndon from Terracon torching on the cap-sheet

Base sheet down and Lyndon from Terracon torching on the cap-sheet.

DSC_0480 2

DSC_0477 2


Lyndon wears jandals so as not to damage the cap sheet which becomes very soft when hot.

Lyndon wears jandals so as not to damage the cap sheet which becomes very soft when hot.

Getting it perfectly flat and heat welded to the base layer.

Getting it perfectly flat and heat welded to the base layer.

Dan sets up the roof over the bridge, the final area that needs the roof membrane applied.

Dan sets up the roof over the bridge, the final area that needs the roof membrane applied.

DSC_0464 2